Asus F7Kr User Manual - Page 18
Left Side, Kensington, Lock Port, Air Vents, Optical Drive Emergency Eject, Optical Drive
 |
View all Asus F7Kr manuals
Add to My Manuals
Save this manual to your list of manuals |
Page 18 highlights
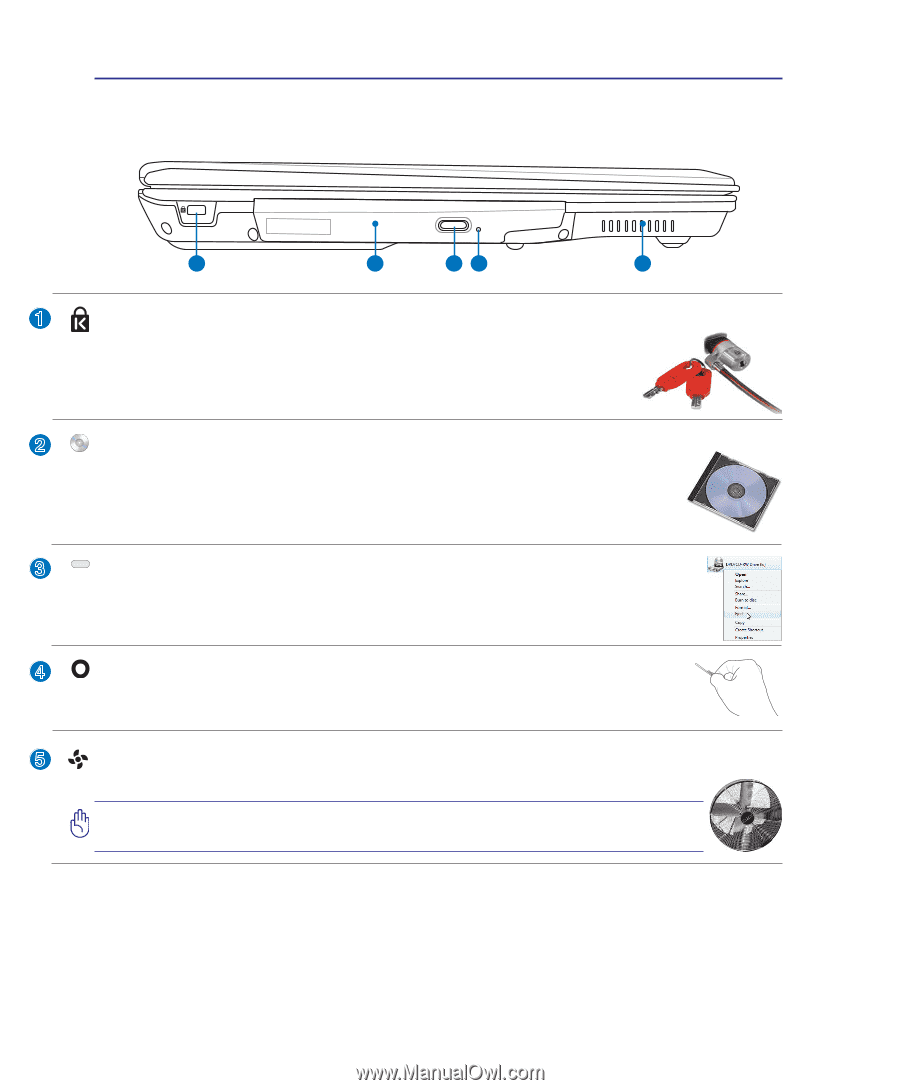
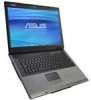
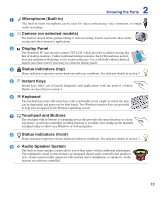
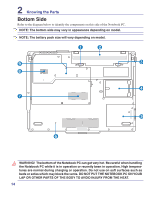
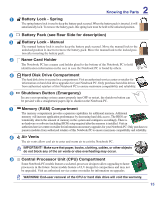
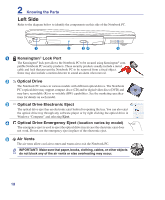
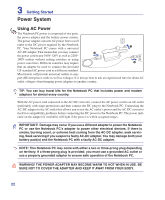
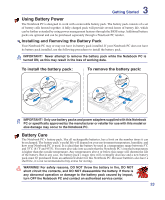
2 Knowing the Parts Left Side Refer to the diagram below to identify the components on this side of the Notebook PC. 1 2 34 5 1 Kensington® Lock Port The Kensington® lock port allows the Notebook PC to be secured using Kensington® com- patible Notebook PC security products. These security products usually include a metal cable and lock that prevent the Notebook PC to be removed from a fixed object. Some may also include a motion detector to sound an alarm when moved. 2 Optical Drive The Notebook PC comes in various models with different optical drives. The Notebook PC's optical drive may support compact discs (CD) and/or digital video discs (DVD) and may have recordable (R) or re-writable (RW) capabilities. See the marketing specifica- tions for details on each model. 3 Optical Drive Electronic Eject The optical drive eject has an electronic eject button for opening the tray. You can also eject the optical drive tray through any software player or by right clicking the optical drive in Windows "Computer" and selecting Eject. 4 Optical Drive Emergency Eject (location varies by model) The emergency eject is used to eject the optical drive tray in case the electronic eject does not work. Do not use the emergency eject in place of the electronic eject. 5 Air Vents The air vents allow cool air to enter and warm air to exit the Notebook PC. IMPORTANT! Make sure that paper, books, clothing, cables, or other objects do not block any of the air vents or else overheating may occur. 18
-
 1
1 -
2
-
3
-
4
-
5
-
6
-
7
-
8
-
9
-
10
-
11
-
12
-
 13
13 -
 14
14 -
 15
15 -
 16
16 -
 17
17 -
 18
18 -
 19
19 -
 20
20 -
 21
21 -
 22
22 -
 23
23 -
24
-
25
-
26
-
27
-
28
-
29
-
30
-
31
-
32
-
33
-
34
-
35
-
36
-
37
-
38
-
39
-
40
-
41
-
42
-
43
-
44
-
45
-
46
-
47
-
48
-
49
-
50
-
51
-
52
-
53
-
54
-
55
-
56
-
57
-
58
-
59
-
60
-
61
-
62
-
63
-
64
-
65
-
66
-
67
-
68
-
69
-
70
-
71
-
72
-
73
-
74
-
75
-
76
-
77
-
78
-
79
-
80
-
81
-
82
-
83
-
84
-
85
-
86
-
87
 |
 |