Asus K7V K7V User Manual - Page 26
Attaching the Heatsink, Installing the Universal Retention Mechanism
 |
View all Asus K7V manuals
Add to My Manuals
Save this manual to your list of manuals |
Page 26 highlights
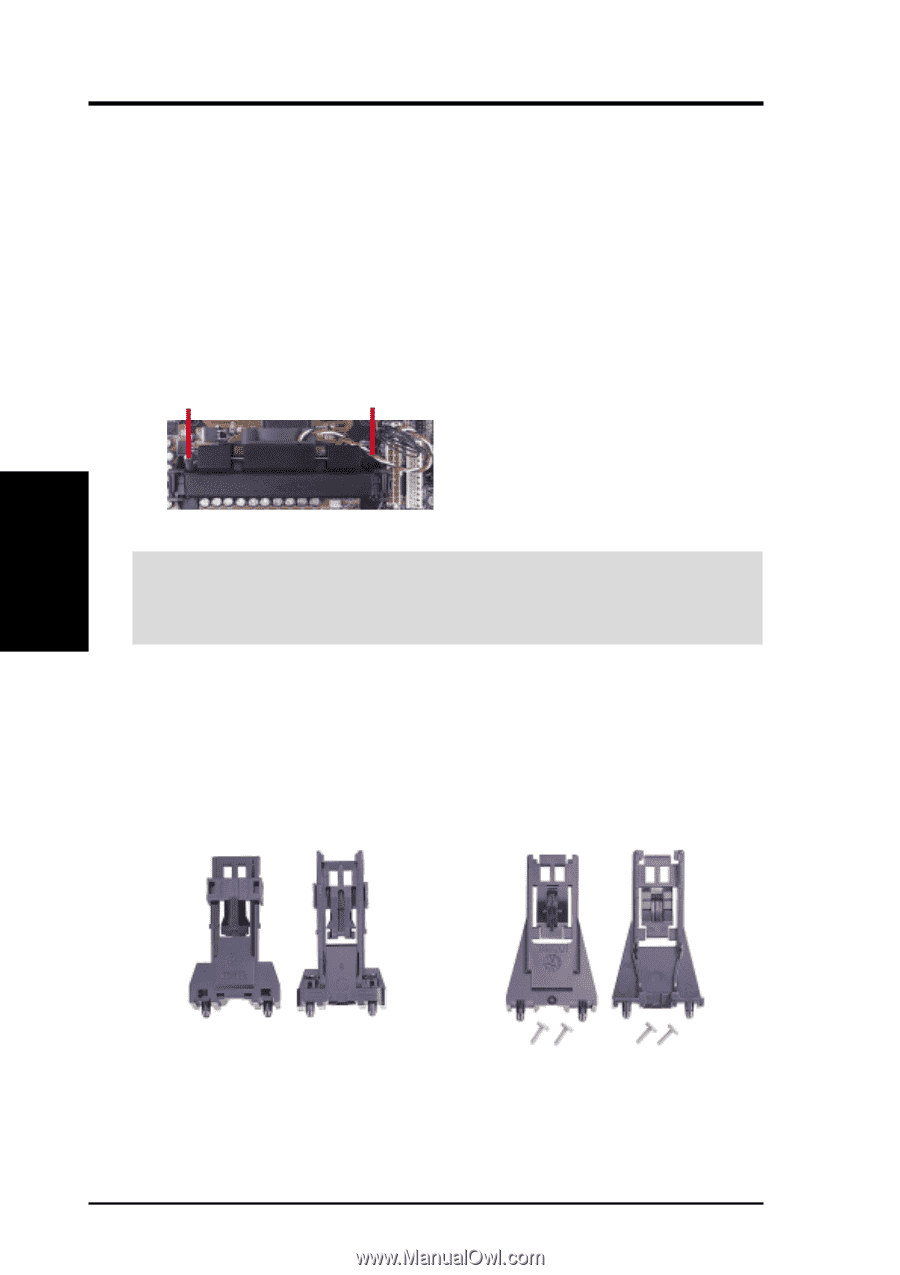
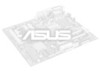
3. HARDWARE SETUP 3.6.2 Attaching the Heatsink NOTE: If provided, you should follow the heatsink attachment instructions that came with your heatsink or processor. The following steps are provided only as a general guide and may not reflect those for your heatsink. 1. Attach the heatsink to the processor core with a good quality thermal interface material. 2. Mount the heatsink to the processor package. Push the two lock arms one direction to clamp the heatsink onto the processor and the other direction to release. Lock Arm Lock Arm WARNING! Make sure the heatsink is mounted tightly against the SECC; otherwise, the CPU will overheat. You may install an auxiliary fan to provide adequate circulation across the processor's passive heatsink. 3.6.3 Installing the Universal Retention Mechanism Your motherboard comes with a set of Universal Retention Mechanism (URM), which supports Athlon processors. There are two types of URMs: (A) With Integrated Retainer Pins and (B) With Separate Retainer Pins. URM (A) URM (B) 3. H/W SETUP CPU Integrated Retainer Pins Separate Retainer Pins 26 ASUS K7V User's Manual
-
 1
1 -
2
-
3
-
4
-
5
-
6
-
7
-
8
-
9
-
10
-
11
-
12
-
13
-
14
-
15
-
16
-
17
-
18
-
19
-
20
-
 21
21 -
 22
22 -
 23
23 -
 24
24 -
 25
25 -
 26
26 -
 27
27 -
 28
28 -
 29
29 -
 30
30 -
 31
31 -
32
-
33
-
34
-
35
-
36
-
37
-
38
-
39
-
40
-
41
-
42
-
43
-
44
-
45
-
46
-
47
-
48
-
49
-
50
-
51
-
52
-
53
-
54
-
55
-
56
-
57
-
58
-
59
-
60
-
61
-
62
-
63
-
64
-
65
-
66
-
67
-
68
-
69
-
70
-
71
-
72
-
73
-
74
-
75
-
76
-
77
-
78
-
79
-
80
-
81
-
82
-
83
-
84
-
85
-
86
-
87
-
88
-
89
-
90
-
91
-
92
-
93
-
94
-
95
-
96
-
97
-
98
-
99
-
100
-
101
-
102
-
103
-
104
-
105
-
106
-
107
-
108
-
109
-
110
 |
 |