Asus L4L User Manual - Page 19
Right Side
 |
View all Asus L4L manuals
Add to My Manuals
Save this manual to your list of manuals |
Page 19 highlights
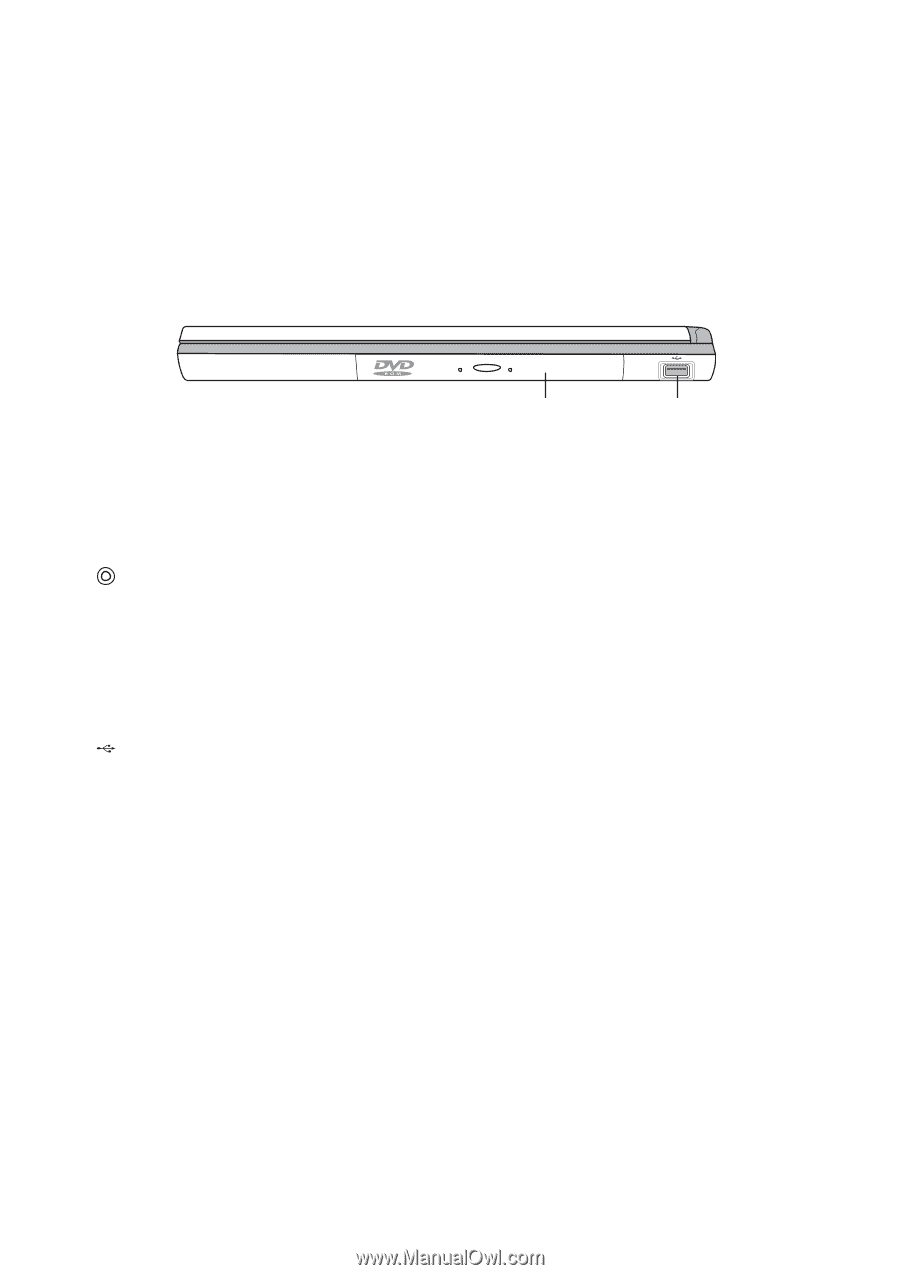
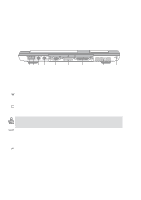
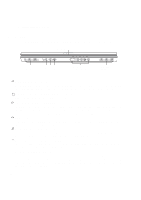
2 Knowing the Parts Right Side Refer to the diagram below to identify the components on the right side of the Notebook PC. Optical Drive USB Port The following describes the components on the right side of the Notebook PC as shown by the illustration above. Optical Drive This Notebook PC comes in many models with three optical drives to choose from. Available configurations are CD-ROM, CD-RW, or DVD-ROM drive. The eject button is electronic and requires that the Notebook PC be turned ON for it to function. You can also eject the tray through any software CD/DVD player or by right clicking the CD icon in Windows™ "My Computer." The emergency eject (insert a straightened paper clip into the hole next to the eject button) is used to eject the tray in case the electronic eject does not work. Do not use this in place of the electronic eject or as a substitute to turning on the Notebook PC and using the electronic eject button. USB Port (see Left Side) 19
-
 1
1 -
2
-
3
-
4
-
5
-
6
-
7
-
8
-
9
-
10
-
11
-
12
-
13
-
 14
14 -
 15
15 -
 16
16 -
 17
17 -
 18
18 -
 19
19 -
 20
20 -
 21
21 -
 22
22 -
 23
23 -
 24
24 -
25
-
26
-
27
-
28
-
29
-
30
-
31
-
32
-
33
-
34
-
35
-
36
-
37
-
38
-
39
-
40
-
41
-
42
-
43
-
44
-
45
-
46
-
47
-
48
-
49
-
50
-
51
-
52
-
53
-
54
-
55
-
56
-
57
 |
 |