Asus P4BGV-MX P4BGV-MX User Manual - Page 18
Expansion slots, System memory - motherboard driver
 |
View all Asus P4BGV-MX manuals
Add to My Manuals
Save this manual to your list of manuals |
Page 18 highlights
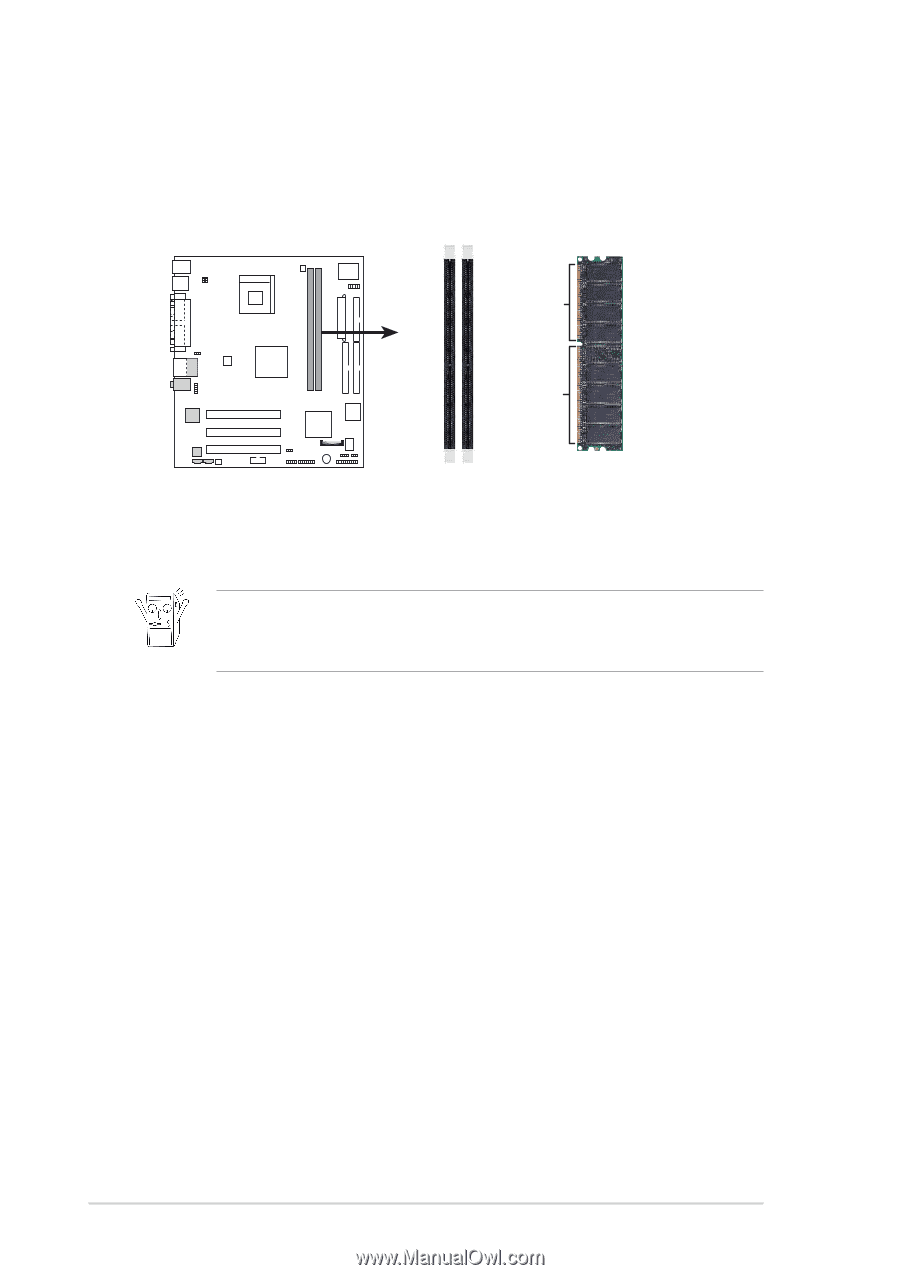
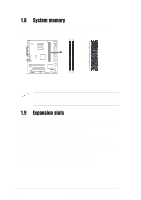
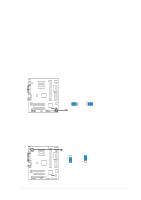
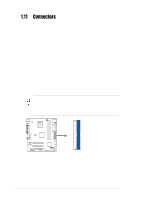
1.8 System memory The motherboard has two Double Data Rate (DDR) DIMM sockets that supports up to 2GB non-ECC PC2100/1600 DDR. 80 Pins P4BGV-MX 104 Pins P4BGV-MX 184-Pin DDR DIMM Sockets 1. A DDR DIMM is keyed with a notch so that it fits in only one direction. DO NOT force a DIMM into a socket to avoid damaging the DIMM. 1.9 Expansion slots The P4BGV-MX motherboard has three (3) expansion slots. The following sub-sections describe the slots and the expansion cards that they support. 1.9.1 Configuring an expansion card After physically installing the expansion card, configure the card by adjusting the software settings. 1. Turn on the system and change the necessary BIOS settings, if any. See Chapter 2 for information on BIOS setup. 2. Assign an IRQ to the card. Refer to the tables below. 3. Install the software drivers for the expansion card. 1-8 Chapter 1: Motherboard Information
-
 1
1 -
2
-
3
-
4
-
5
-
6
-
7
-
8
-
9
-
10
-
11
-
12
-
 13
13 -
 14
14 -
 15
15 -
 16
16 -
 17
17 -
 18
18 -
 19
19 -
 20
20 -
 21
21 -
 22
22 -
 23
23 -
24
-
25
-
26
-
27
-
28
-
29
-
30
-
31
-
32
-
33
-
34
-
35
-
36
-
37
-
38
-
39
-
40
-
41
-
42
-
43
-
44
-
45
-
46
-
47
-
48
-
49
-
50
-
51
-
52
-
53
-
54
-
55
-
56
-
57
-
58
-
59
-
60
 |
 |