Audiovox P-950 Owners Manual - Page 8
Notes On Use Of Front Panel
 |
UPC - 011160044599
View all Audiovox P-950 manuals
Add to My Manuals
Save this manual to your list of manuals |
Page 8 highlights
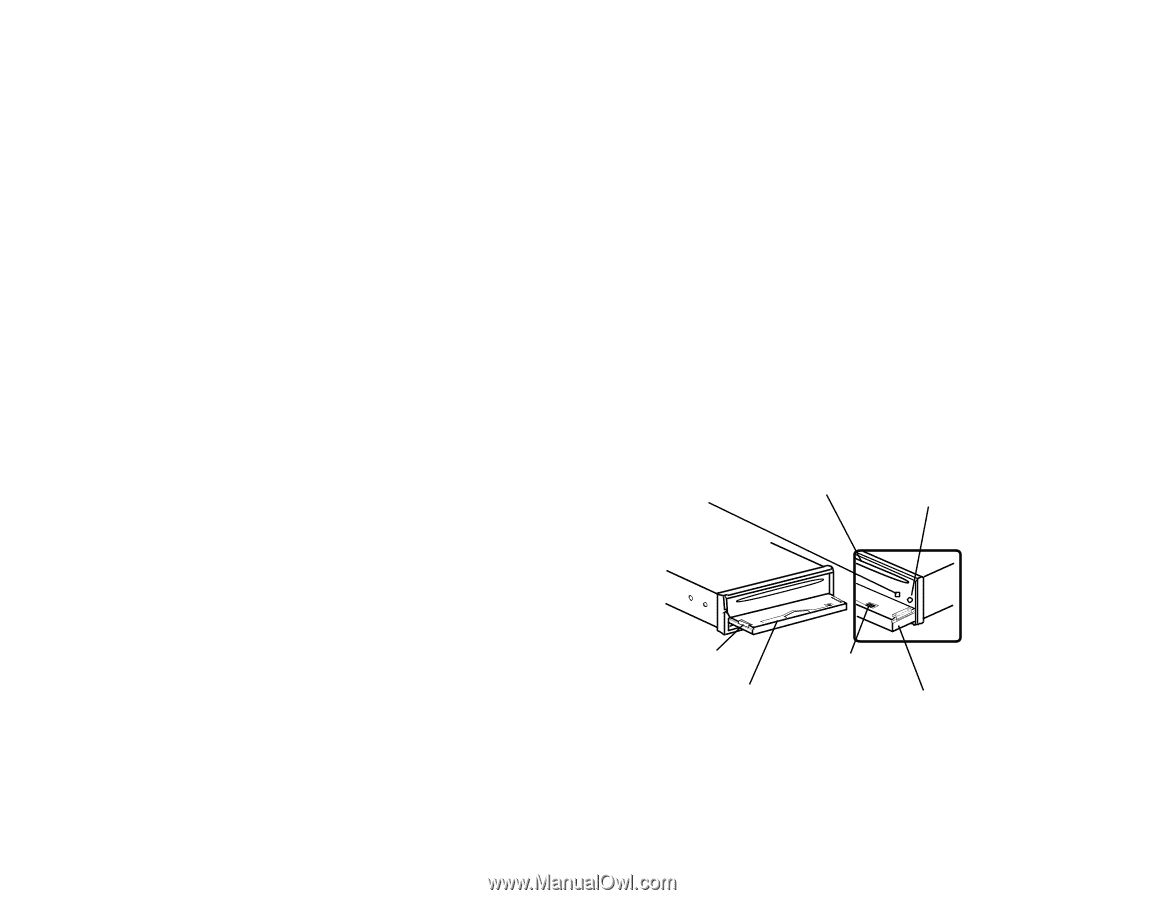
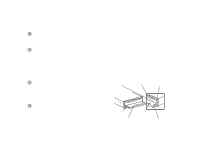
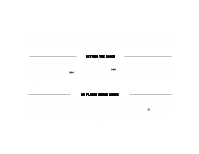
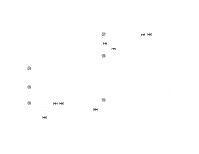
dl THEFT-DETERRENT LED Located on the chassis behind the front panel, a light-emitting diode (LED) will flash when the panel is physically removed. The flashing light serves as a visual warning to the would-be thief that the unit has been disabled by removal of the front panel. dm RESET BUTTON The RESET button is located to the right of the theft deterrent LED. The reset circuitry should only be activated under the following circumstances as it will erase the time and pre-set memories: NOTES ON USE OF FRONT PANEL 1. Make sure the front panel is positioned correctly when slid ing it into the front mounting plate, as it cannot be attached when up-side down. Use moderate pressure to fully seat the panel into position. 2. To verify correct panel installation, swing the panel as sembly up into position until it locks easily into place. If any resistance is encountered, re-check panel orienta tion in chassis mounting plate. 1. Upon initial installation after all wiring is completed. 2. If there is a malfunction of any of the switches on the unit, pressing the RESET button may clear the system and return to normal operation. dn FRONT PANEL RELEASE BUTTON (OPEN) This button is used to release the mechanism that holds the front panel to the chassis. To detach the front panel, press the button so that the panel drops to the lowered position. Grasp the panel at the middle and pull it off of the chassis. To re-attach the panel, press it straight onto the chassis until the mechanism locks it into place. 3. When taking the front panel with you, please use the sup plied carrying case to protect the panel from dirt and damage. Make sure there is no dust or dirt on the electrical terminals on the back of the panel as this could cause intermittent operation or other malfunctions. THEFT DETERRENT LED (30) DISC SLOT (19) RESET BUTTON (31) do REMOTE SENSOR The sensor to detect the infrared signal from the wireless remote control is located behind the LCD display lens. For optimum operation of the remote control, always aim the control at the LCD display. MOUNTING PLATE GUIDE (2 PLACES) CD EJECT BUTTON (27) PANEL MOUNTING PLATE FRONT PANEL -8-
-
 1
1 -
2
-
 3
3 -
 4
4 -
 5
5 -
 6
6 -
 7
7 -
 8
8 -
 9
9 -
 10
10 -
 11
11 -
 12
12 -
 13
13 -
14
-
15
-
16
 |
 |