Behringer XENYX 802 User Manual - Page 3
Table of contents - diagram
 |
View all Behringer XENYX 802 manuals
Add to My Manuals
Save this manual to your list of manuals |
Page 3 highlights
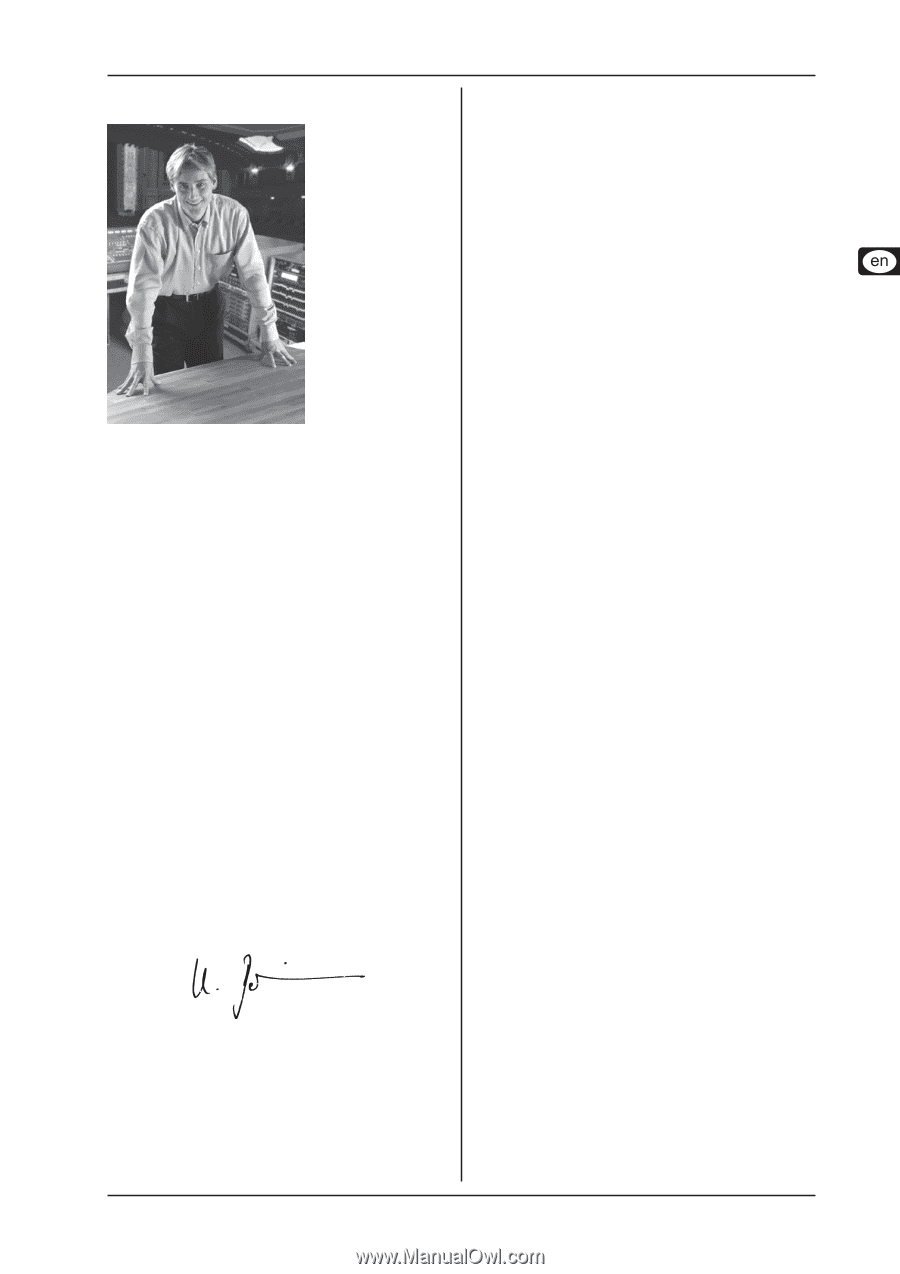
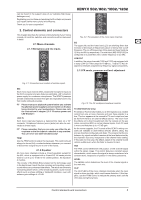
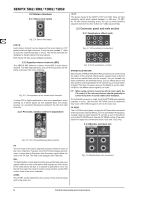
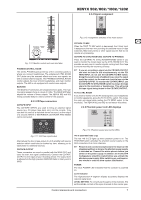
XENYX 502/802/1002/1202 Forword Table of contents Dear Customer, I'm sure you're one of those people who have devoted themselves body and soul to your chosen area and no doubt this has made you an expert in your field. Well, for over 30 years, my passion has been music and electronics. This not only led me to establish BEHRINGER, but also enabled me to share my enthusiasm with our employees. During all the years I've been involved with studio technology and end users, I have developed a feel for the things that really count, such as sound quality, reliability and ease of use. What is more, I have always had the desire to test the boundaries of what is technically feasible. It was precisely this motivation that prompted me to start work on a new series of mixing consoles. Since our EURORACKs had already set new standards world-wide, I knew the development objectives behind the next generation of mixing consoles had to be especially ambitious. Thus, the concept and design of the new XENYX mixing consoles bear my signature. The design work, the entire circuit diagram and PCB development, and even the mechanical concepts are my own work. I carefully selected each individual component - with the aim of pushing the mixing consoles' combining analog and digital technologies to their limits. My vision was to enable you, the user, to give free rein to your true potential and creativity. The result is mixing consoles that combine incredible performance with intuitive operability. They cannot fail to impress with their extremely flexible routing possibilities plus a fantastic wealth of functions. Innovative technologies, such as the completely new XENYX Mic Preamps and the „British" EQs, guarantee optimum sound quality. And extraordinarily high-quality components provide unrivalled reliability, even under extreme loads. Thanks to the quality and ease of use of your new XENYX mixing console you'll soon come to appreciate that I, both personally and in my capacity as musician and sound engineer, put you, the end user, first and that these products were only possible because of the passion and the attention to detail that went into them. Thank you for the confidence you have placed in us by purchasing the XENYX mixing console. I should also like to thank all those who, with their personal commitment and passion, have helped me create this impressive series of mixing consoles. Kindest regards, 1. Introduction 4 1.1 General mixing console functions 4 1.2 The user's manual 4 1.3 Before you get started 4 1.3.1 Shipment 4 1.3.2 Initial operation 4 1.3.3 Online Registration 4 2. Control elements and connectors 5 2.1 Mono channels 5 2.1.1 Microphone and line inputs 5 2.1.2 Equalizer 5 2.1.3 FX sends, panorama and level adjustment......... 5 2.2 Stereo channels 6 2.2.1 Stereo line inputs 6 2.2.2 Equalizer stereo channels (802 6 2.2.3 FX sends, balance and level adjustment 6 2.3 Connector panel and main section 6 2.3.1 Send/return effects path 6 2.3.2 Monitor and main mix 6 2.3.3 CD/Tape connectors 7 2.3.4 Signal assignment 7 2.3.5 Phantom power and LED displays 7 3. Installation 8 3.1 Mains connection 8 3.2 Audio connections 8 4. Specifications 9 5. Warranty 10 Uli Behringer 3
-
 1
1 -
 2
2 -
 3
3 -
 4
4 -
 5
5 -
 6
6 -
 7
7 -
 8
8 -
 9
9 -
10
-
11
 |
 |