Beko BXIF35300 User Manual - Page 17
until
 |
View all Beko BXIF35300 manuals
Add to My Manuals
Save this manual to your list of manuals |
Page 17 highlights
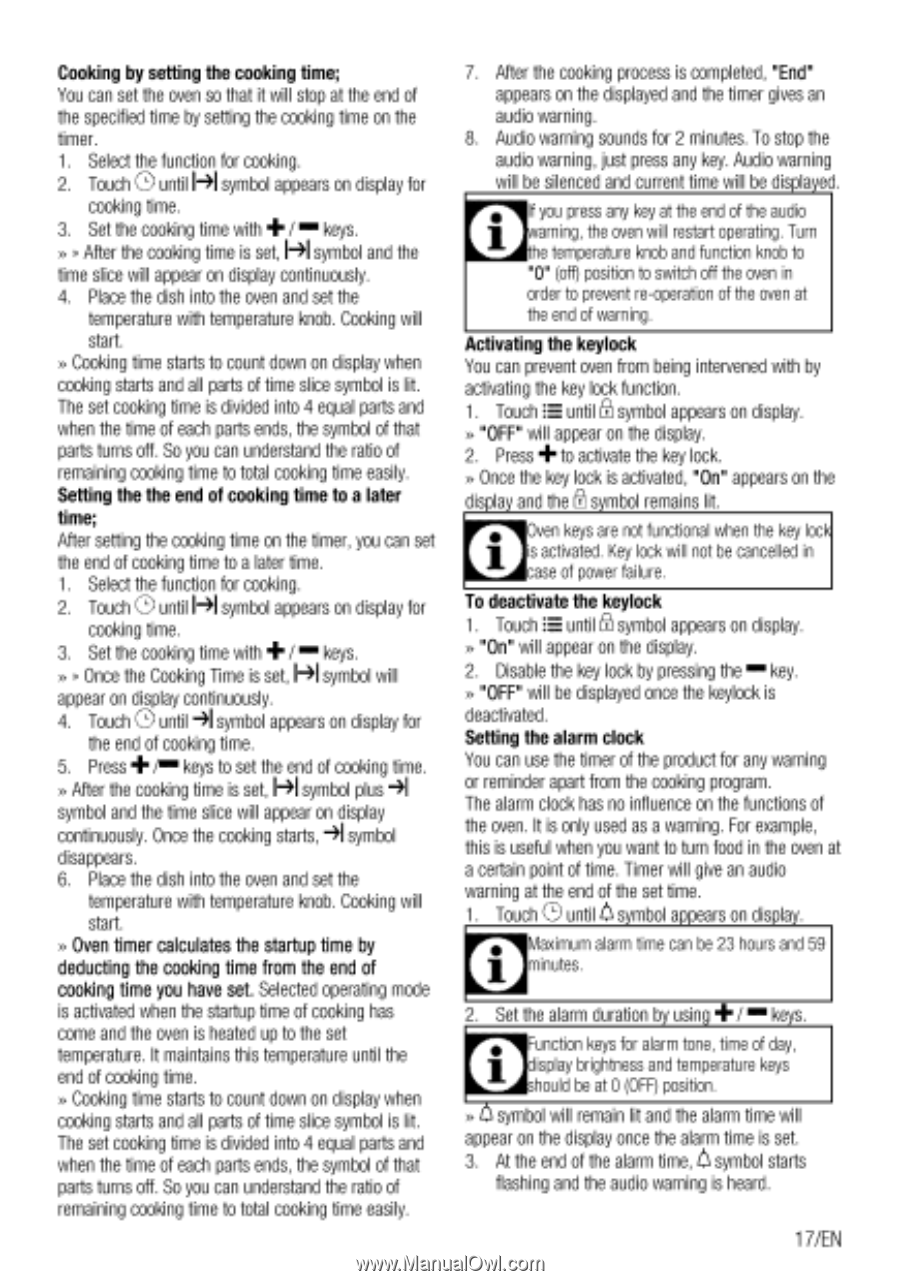
Cooking by setting the cooking time; You can set the oven so that it will stop at the end of the specified time by setting the cooking time on the timer. 1. Select the function for cooking. 2. Touch 0 until 141symbol appears on display for cooking time. 3. Set the cooking time with + / um' keys. >, After the cooking time is set, F41symbol and the time slice will appear on display continuously. 4. Place the dish into the oven and set the temperature with temperature knob. Cooking will start. Cooking time starts to count down on display when cooking starts and all parts of time slice symbol is lit. The set cooking time is divided into 4 equal parts and when the time of each parts ends, the symbol of that parts turns off. So you can understand the ratio of remaining cooking time to total cooking time easily. Setting the the end of cooking time to a later time; After setting the cooking time on the timer, you can set the end of cooking time to a later time. 1. Select the function for cooking. 2. Touch (!) until 191symbol appears on display for cooking time. 3. Set the cooking time with +/ 1"" keys. » >, Once the Cooking Time is set, 1-41symbol will appear on display continuously. 4. Touch until 91symbol appears on display for the end of cooking time. 5. Press +/ 8" , keys to set the end of cooking time. » After the cooking time is set, 1-41symbol plus 41 symbol and the time slice will appear on display continuously. Once the cooking starts, 41symbol disappears. 6. Place the dish into the oven and set the temperature with temperature knob. Cooking will start. » Oven timer calculates the startup time by deducting the cooking time from the end of cooking time you have set. Selected operating mode is activated when the startup time of cooking has come and the oven is heated up to the set temperature. It maintains this temperature until the end of cooking time. Cooking time starts to count down on display when cooking starts and all parts of time slice symbol is lit. The set cooking time is divided into 4 equal parts and when the time of each parts ends, the symbol of that parts turns off. So you can understand the ratio of remaining cooking time to total cooking time easily. 7. After the cooking process is completed, "End" appears on the displayed and the timer gives an audio warning. 8. Audio warning sounds for 2 minutes. To stop the audio warning, just press any key. Audio warning will be silenced and current time will be displayed. If you press any key at the end of the audio warning, the oven will restart operating. Turn the temperature knob and function knob to "0" (off) position to switch off the oven in order to prevent re-operation of the oven at the end of warning. Activating the keylock You can prevent oven from being intervened with by activating the key lock function. 1. Touch L.F.E until 5[ symbol appears on display. » "OFF" will appear on the display. 2. Press + to activate the key lock. » Once the key lock is activated, "On" appears on the display and the Ei symbol remains lit. Oven keys are not functional when the key lock s activated. Key lock will not be cancelled in case of power failure. To deactivate the keylock 1. Touch F® until 8 symbol appears on display. » "On" will appear on the display. 2. Disable the key lock by pressing the "" key. » "OFF" will be displayed once the keylock is deactivated. Setting the alarm clock You can use the timer of the product for any warning or reminder apart from the cooking program. The alarm clock has no influence on the functions of the oven. It is only used as a warning. For example, this is useful when you want to turn food in the oven at a certain point of time. Timer will give an audio warning at the end of the set time. 1. Touch (...9 until 6 symbol appears on display. Maximum alarm time can be 23 hours and 59 minutes. 2. Set the alarm duration by using +/ mom keys. Function keys for alarm tone, time of day, display brightness and temperature keys should be at 0 (OFF) position. Q symbol will remain lit and the alarm time will appear on the display once the alarm time is set. 3. At the end of the alarm time, 6 symbol starts flashing and the audio warning is heard. 17/EN
-
 1
1 -
2
-
3
-
4
-
5
-
6
-
7
-
8
-
9
-
10
-
11
-
 12
12 -
 13
13 -
 14
14 -
 15
15 -
 16
16 -
 17
17 -
 18
18 -
 19
19 -
 20
20 -
 21
21 -
 22
22 -
23
-
24
-
25
-
26
-
27
-
28
 |
 |