Belkin F5D7010 User Manual - Page 6
Select a folder where you would like to install the program files. It is - windows 7
 |
View all Belkin F5D7010 manuals
Add to My Manuals
Save this manual to your list of manuals |
Page 6 highlights
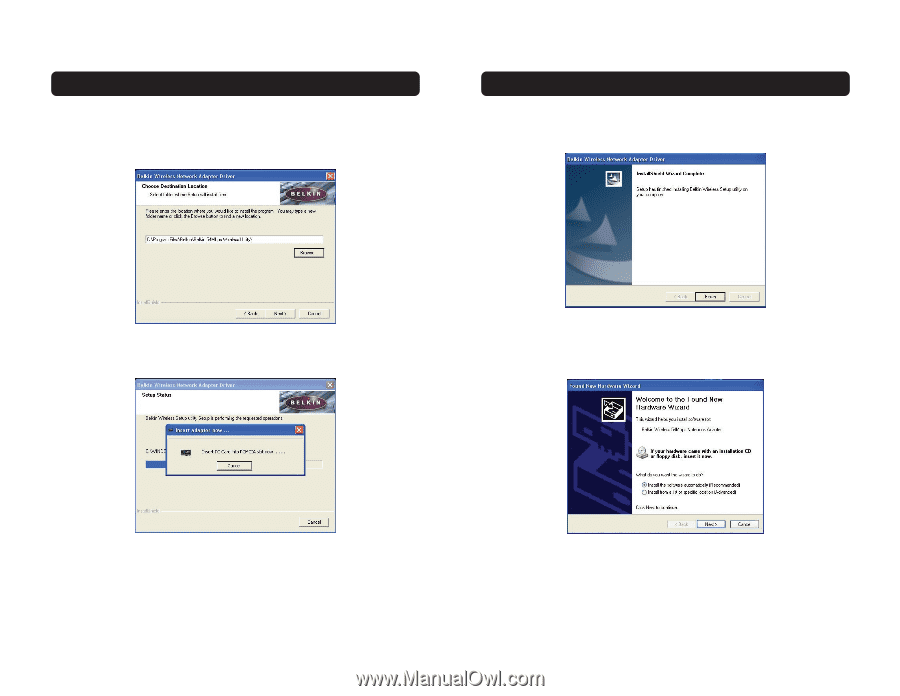
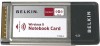
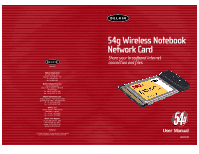
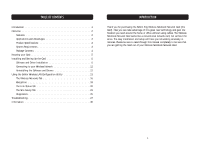
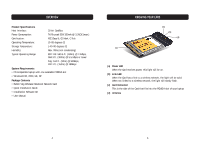
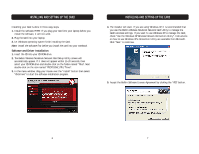
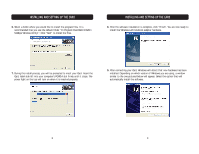
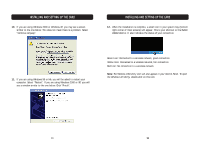
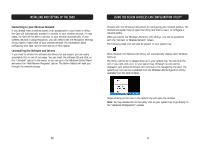
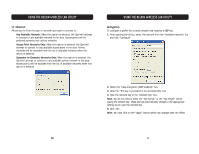
INSTALLING AND SETTING UP THE CARD 6. Select a folder where you would like to install the program files. It is recommended that you use the default folder "C:\Program Files\Belkin\Belkin 54Mbps Wireless Utility\". Click "Next" to install the files. INSTALLING AND SETTING UP THE CARD 8. After the software installation is complete, click "Finish". You are now ready to install the Wireless LAN notebook adapter hardware. 7. During the install process, you will be prompted to insert your Card. Insert the Card, label side UP, into your computer's PCMCIA slot firmly until it stops. The power light on the top will turn on when it is inserted properly. 9. After connecting your Card, Windows will detect that new hardware has been installed. Depending on which version of Windows you are using, a window similar to the one pictured below will appear. Select the option that will automatically install the software. 8 9
-
 1
1 -
 2
2 -
 3
3 -
 4
4 -
 5
5 -
 6
6 -
 7
7 -
 8
8 -
 9
9 -
 10
10 -
 11
11 -
 12
12 -
13
-
14
-
15
-
16
-
17
-
18
 |
 |