Belkin F5D9630uk4A F5D9630-4A Quick Install Guide - United Kingdom - Page 2
Set Up - user manual
 |
View all Belkin F5D9630uk4A manuals
Add to My Manuals
Save this manual to your list of manuals |
Page 2 highlights
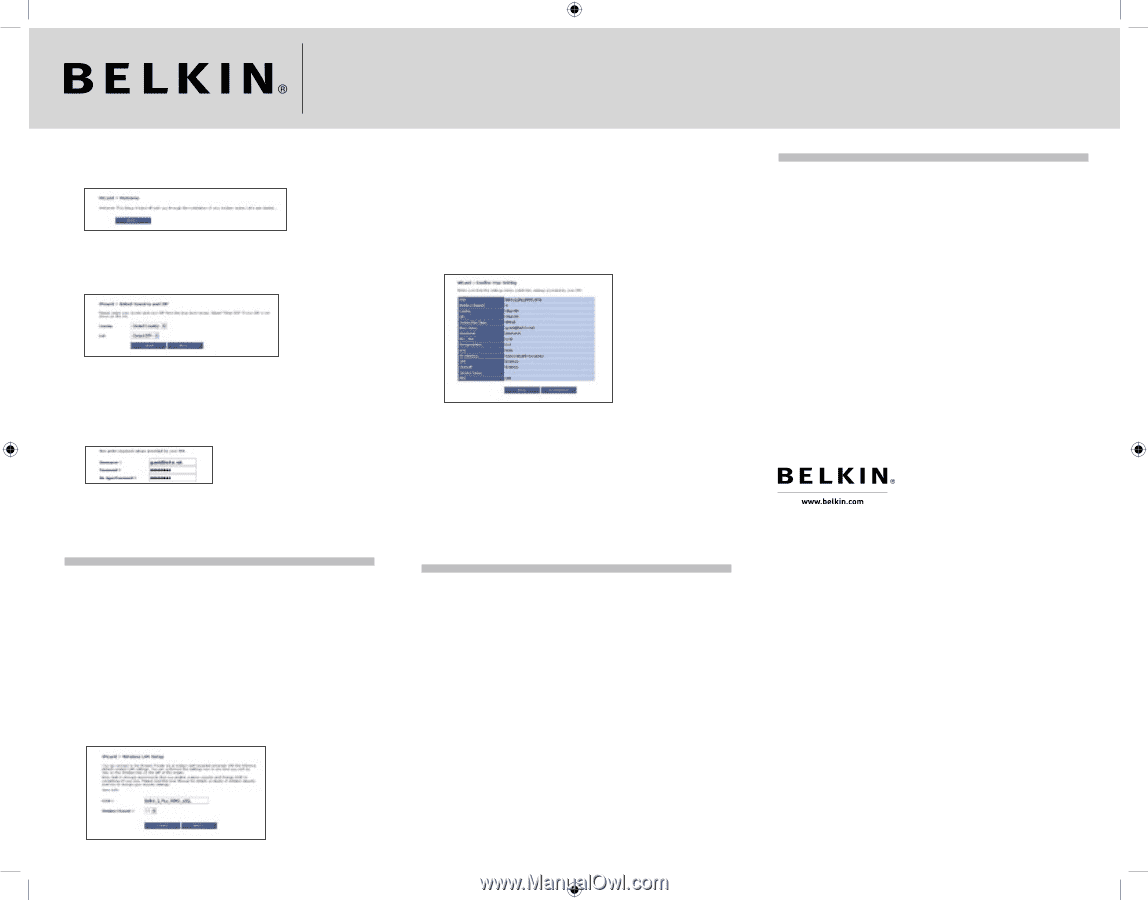
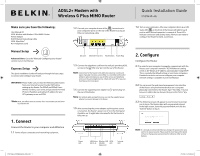
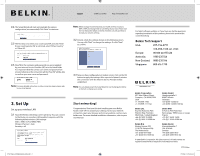
Support 00 800 2 2355460 http://www.belkin.com 2.4 The Setup Wizard will start automatically for express configuration (recommended) Click "Next" to continue. 2.5 The first step is to select your country and ISP, and click "Next". If your country and/or ISP is not listed, select "Other Country" or "Other ISP 2.6 Now fill in the username and password you were supplied by your Internet Service Provider (ISP) in to the blank fields. It is important that the correct user name and password are entered otherwise the connection will fail. Your ISP will be able to confirm your user name and password. Note: For more detailed instruction on other connection types, please refer to your User Manual. 3. Set Up Set up your wireless LAN 3.1 Now the Wireless LAN Setup screen will show. You can connect to the Router via a wireless-LAN-enabled computer with the following default wireless LAN settings: SSID = Belkin G Plus MIMO ADSL Wireless Channel = Auto Security = off P75126ec_F5D9630uk4A_QIG.indd 2 Note: Belkin strongly recommends that you enable wireless security to WEP or WPA and change SSID to something of your own. Please read the User Manual for details on levels of wireless security and how to change your security settings. 3.2 Double-check the settings shown on the following screen. You can click "Back" to change the settings. Or click "Next" to confirm. 3.3 Now you have configured your modem router. Click on the OK button to apply the settings. After a period of about 2 minutes the connection with the Internet Service Provider will be established. Note: You can always restart the Setup Wizard or use the Navigation Menu on the left to change your setting. Start networking! Congratulations! You have finished installing your new Belkin Router. Click "OK" to activate your settings. To test your Internet connection, open your browser and visit any website, such as www. belkin.com. For more detailed installation information, refer to your User Manual. For latest software updates or if you have any further questions regarding installation of this product, please visit www.belkin. com/networking Belkin Tech Support USA: 877-736-5771 310-898-1100 ext. 2263 Europe: 00 800 223 55 460 Australia: 1800 235 546 New Zealand: 0800 235 546 Singapore: 800 616 1790 Belkin Corporation 501 West Walnut Street, Compton, CA 90220-5221 USA +1 310 898 1100 +1 310 898 1111 fax Belkin GmbH Hanebergstraße 2 80637 Munich Germany +49 (0) 89 143405 0 +49 (0) 89 143405 100 fax Belkin Ltd. Express Business Park Shipton Way, Rushden NN10 6GL, United Kingdom +44 (0) 1933 35 2000 +44 (0) 1933 31 2000 fax Belkin SAS 5 Rue du Petit Robinson 3ème étage, 78350 Jouy en Josas France +33 (0) 1 34 58 14 00 +33 (0) 1 39 46 62 89 fax Belkin B.V. Boeing Avenue 333 1119 PH Schiphol-Rijk The Netherlands +31 (0) 20 654 7300 +31 (0) 20 654 7349 fax Belkin Nordic Knarrarnäsgatan 7 164 40 Kista Sweden +46 (0) 8 5229 1870 +46 (0) 8 5229 1874 fax © 2006 Belkin Corporation. All rights reserved. All trade names are registered trademarks of respective manufacturers listed. P75126ec 27/2/06 5:23:42 pm
-
 1
1 -
 2
2
 |
 |