BenQ HT2550 User Manual - Page 10
Remote control effective range, COLOR TEMP
 |
View all BenQ HT2550 manuals
Add to My Manuals
Save this manual to your list of manuals |
Page 10 highlights
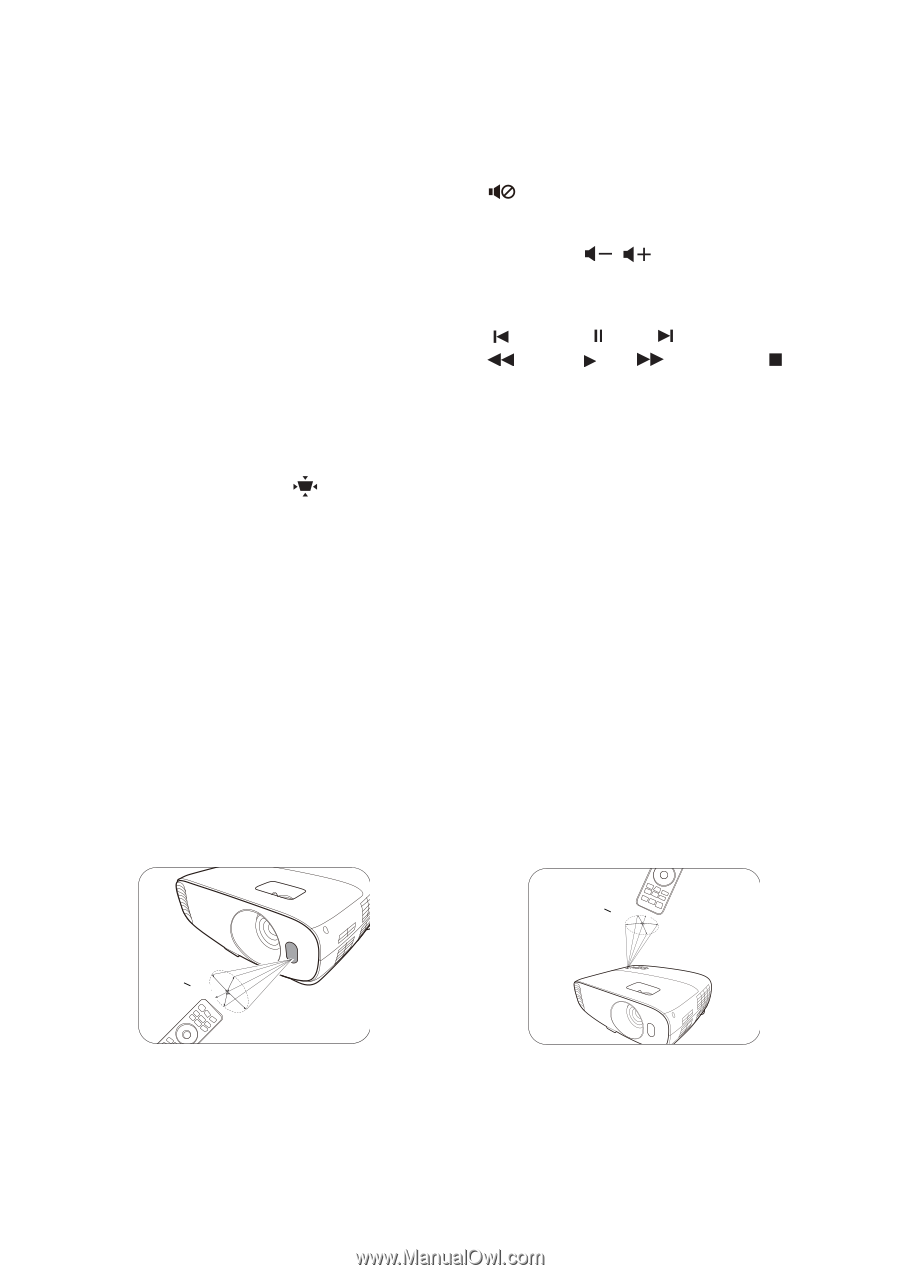
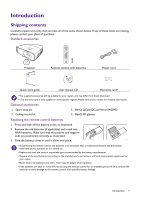
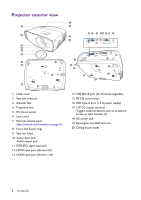
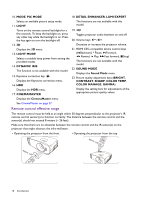
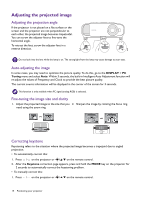
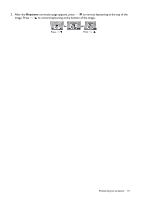
10. MODE, PIC MODE 18. DETAIL ENHANCER, LUMI EXPERT Selects an available picture setup mode. 11. LIGHT The functions are not available with this model. Turns on the remote control backlight for a few seconds. To keep the backlight on, press any other key while the backlight is on. Press the key again to turn the backlight off. 19. Toggles projector audio between on and off. 20. Volume keys / 12. 3D Decrease or increase the projector volume. Displays the 3D menu. 21. HDMI CEC-compatible device control keys 13. LIGHT MODE ( Backward, Pause, Forward, Rewind, Play, Fast forward, Stop) Selects a suitable lamp power from among the provided modes. The functions are not available with this model. 14. DYNAMIC IRIS 22. SOUND MODE The function is not available with this model. Displays the Sound Mode menu. 15. Keystone correction key 23. Picture quality adjustment keys (BRIGHT, Displays the Keystone correction menu. CONTRAST, SHARP, COLOR TEMP, 16. HDR COLOR MANAGE, GAMMA) Displays the HDR menu. 17. CINEMAMASTER Display the setting bars for adjustments of the appropriate picture quality values. Displays the CinemaMaster menu. See CinemaMaster on page 27. Remote control effective range The remote control must be held at an angle within 30 degrees perpendicular to the projector's IR remote control sensor(s) to function correctly. The distance between the remote control and the sensor(s) should not exceed 8 meters (~ 26 feet). Make sure that there are no obstacles between the remote control and the IR sensor(s) on the projector that might obstruct the infra-red beam. • Operating the projector from the front • Operating the projector from the top Approx. +30º Approx. +30º 10 Introduction
-
 1
1 -
2
-
3
-
4
-
 5
5 -
 6
6 -
 7
7 -
 8
8 -
 9
9 -
 10
10 -
 11
11 -
 12
12 -
 13
13 -
 14
14 -
 15
15 -
16
-
17
-
18
-
19
-
20
-
21
-
22
-
23
-
24
-
25
-
26
-
27
-
28
-
29
-
30
-
31
-
32
-
33
-
34
-
35
-
36
-
37
-
38
-
39
-
40
-
41
-
42
-
43
-
44
-
45
-
46
 |
 |