BenQ TK800 User Manual - Page 32
INSTALLATION menu, 3D Mode, Frame Sequential, Top-Bottom, Side-by-Side, Picture Mode, 3D Sync Invert
 |
View all BenQ TK800 manuals
Add to My Manuals
Save this manual to your list of manuals |
Page 32 highlights
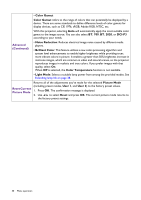
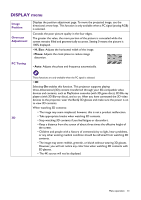
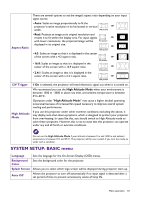
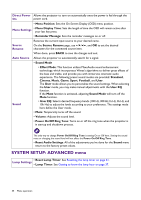
3D (Continued) HDR Silence • 3D Mode The default setting is Auto and the projector automatically chooses an appropriate 3D format when detecting 3D contents. If the projector cannot recognize the 3D format, press OK to choose a 3D mode from among Frame Sequential, Top-Bottom, and Side-by-Side. When this function is enabled: • The brightness level of the projected image decreases. • The Picture Mode cannot be adjusted. • 3D Sync Invert When your 3D image is distorted, enable this function to switch between the image for the left eye and the right eye for more comfortable 3D viewing experience. • 3D Switch Reminder Displays a message during the projector start-up to remind that it is necessary to turn on the 3D function if you want to enjoy 3D contents. The projector supports HDR imaging sources. It can automatically detect the dynamic range of the source, and optimize settings to reproduce contents under wide range of light conditions. Meanwhile, the Picture Mode cannot be adjusted after switching to HDR. If the input source is not defined with dynamic range, you can also manually select SDR, HDR10, or HLG for it. When this function is enabled: • The acoustic noise will be minimized. • The display resolution will be set at 1920 x 1080. • The PICTURE > Picture Mode menu will be automatically changed to Silence and grayed out. INSTALLATION menu Projector Position The projector can be installed on a ceiling or behind a screen, or with one or more mirrors. See Choosing a location on page 11. Adjusts the image size and focus and check that the projected image is free from distortion. Test Pattern 32 Menu operation
-
 1
1 -
2
-
3
-
4
-
5
-
6
-
7
-
8
-
9
-
10
-
11
-
12
-
13
-
14
-
15
-
16
-
17
-
18
-
19
-
20
-
21
-
22
-
23
-
24
-
25
-
26
-
 27
27 -
 28
28 -
 29
29 -
 30
30 -
 31
31 -
 32
32 -
 33
33 -
 34
34 -
 35
35 -
 36
36 -
 37
37 -
38
-
39
-
40
-
41
-
42
-
43
-
44
-
45
-
46
-
47
-
48
 |
 |