Bernina 350PE User Guide - Page 37
Sewing stitches - Buttonholes
 |
View all Bernina 350PE manuals
Add to My Manuals
Save this manual to your list of manuals |
Page 37 highlights
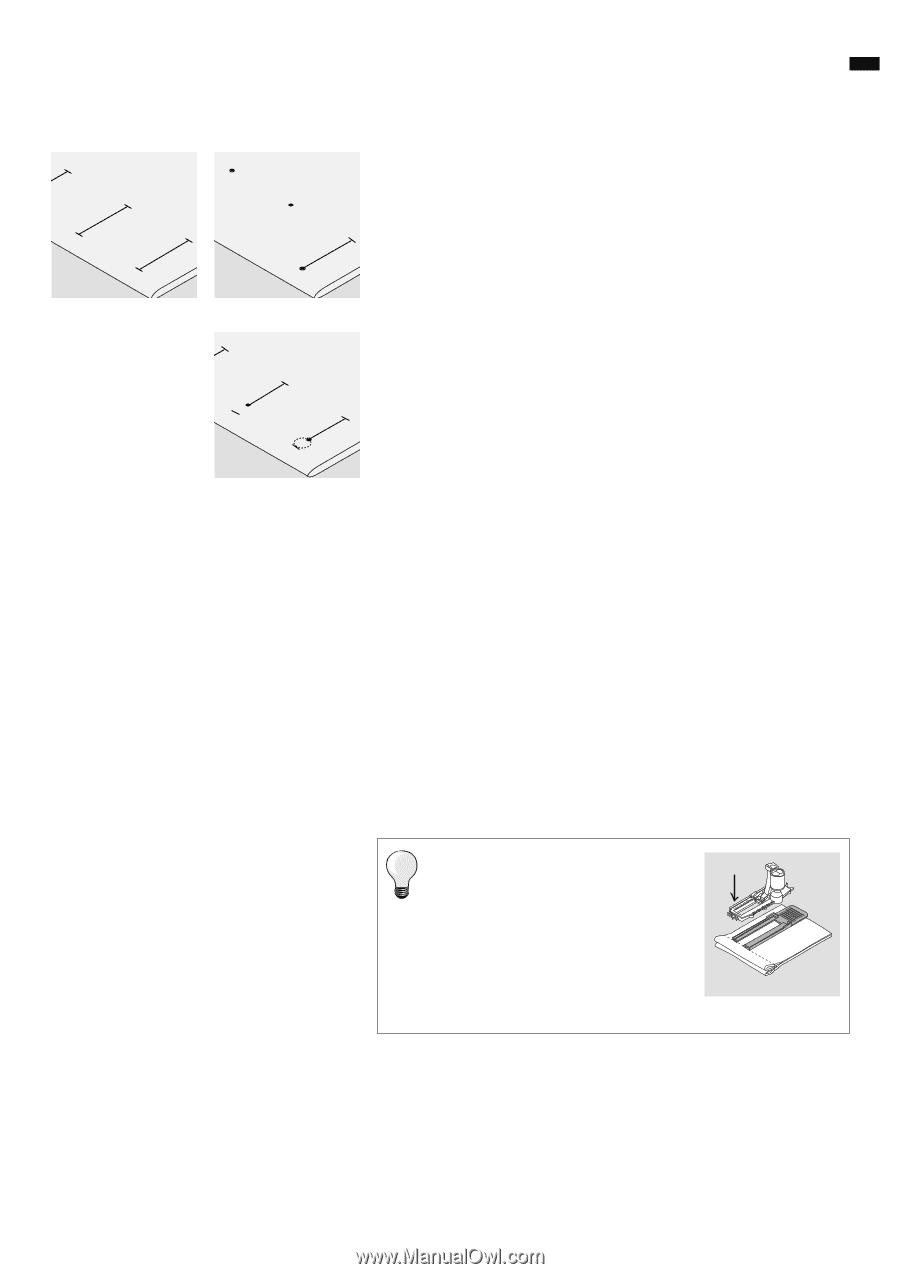
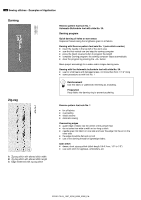
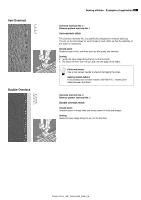
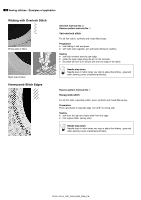
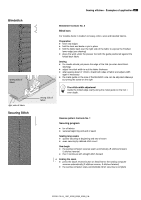
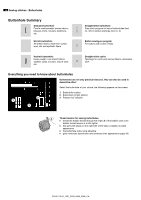
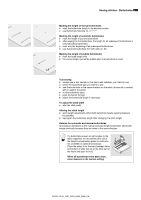
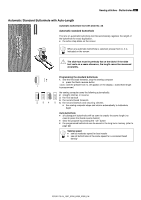
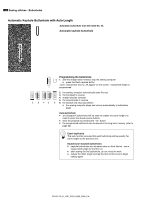
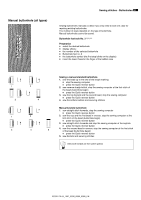
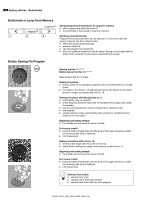
Sewing stitches - Buttonholes 37 Marking the length of manual buttonholes █ mark the buttonhole length in the desired position █ use Buttonhole foot/sole no. 3 */**/*** Marking the length of automatic buttonholes █ mark the length of just one buttonhole █ after sewing the first buttonhole, the length for all subsequent buttonholes is automatically programmed █ mark only the beginning of all subsequent buttonholes █ use Automatic buttonhole foot with slide no. 3A Marking the length of keyhole buttonholes █ mark the bead length only █ the correct length eye will be added when the buttonhole is sewn Test sewing █ always sew a test sample on the fabric with stabilizer you intend to use █ select the buttonhole type you intend to use █ sew the buttonhole in the same direction on the fabric (horizontal or vertical, with or against the grain) █ cut the buttonhole open █ push the button through █ adjust the buttonhole length if necessary To adjust the bead width █ alter the stitch width Altering the stitch length █ stitch length adjustments affect both buttonhole beads (spacing between the stitches) █ reprogram the buttonhole length after changing the stitch length Balance for automatic and manual buttonholes Any balance alterations to the manual and auto-length buttonholes affect both beads identically because they are sewn in the same direction. If a buttonhole is sewn at right angles to the fabric edge/fold, we recommend the use of the height compensating plates for buttonholes (available as optional accessory). Place the plates from the back between fabric and bottom of slide foot up to the thick part of the fabric and push to front. When all buttonholes have been sewn, return balance to the normal setting! 033301.70.04_1007_B330_B350_B380_EN
-
 1
1 -
2
-
3
-
4
-
5
-
6
-
7
-
8
-
9
-
10
-
11
-
12
-
13
-
14
-
15
-
16
-
17
-
18
-
19
-
20
-
21
-
22
-
23
-
24
-
25
-
26
-
27
-
28
-
29
-
30
-
31
-
 32
32 -
 33
33 -
 34
34 -
 35
35 -
 36
36 -
 37
37 -
 38
38 -
 39
39 -
 40
40 -
 41
41 -
 42
42 -
43
-
44
-
45
-
46
-
47
-
48
-
49
-
50
 |
 |