Bose 251 Owner's guide - Page 9
Making the connections, Attaching the speakers to the brackets cont. - amplifier
 |
UPC - 017817263566
View all Bose 251 manuals
Add to My Manuals
Save this manual to your list of manuals |
Page 9 highlights
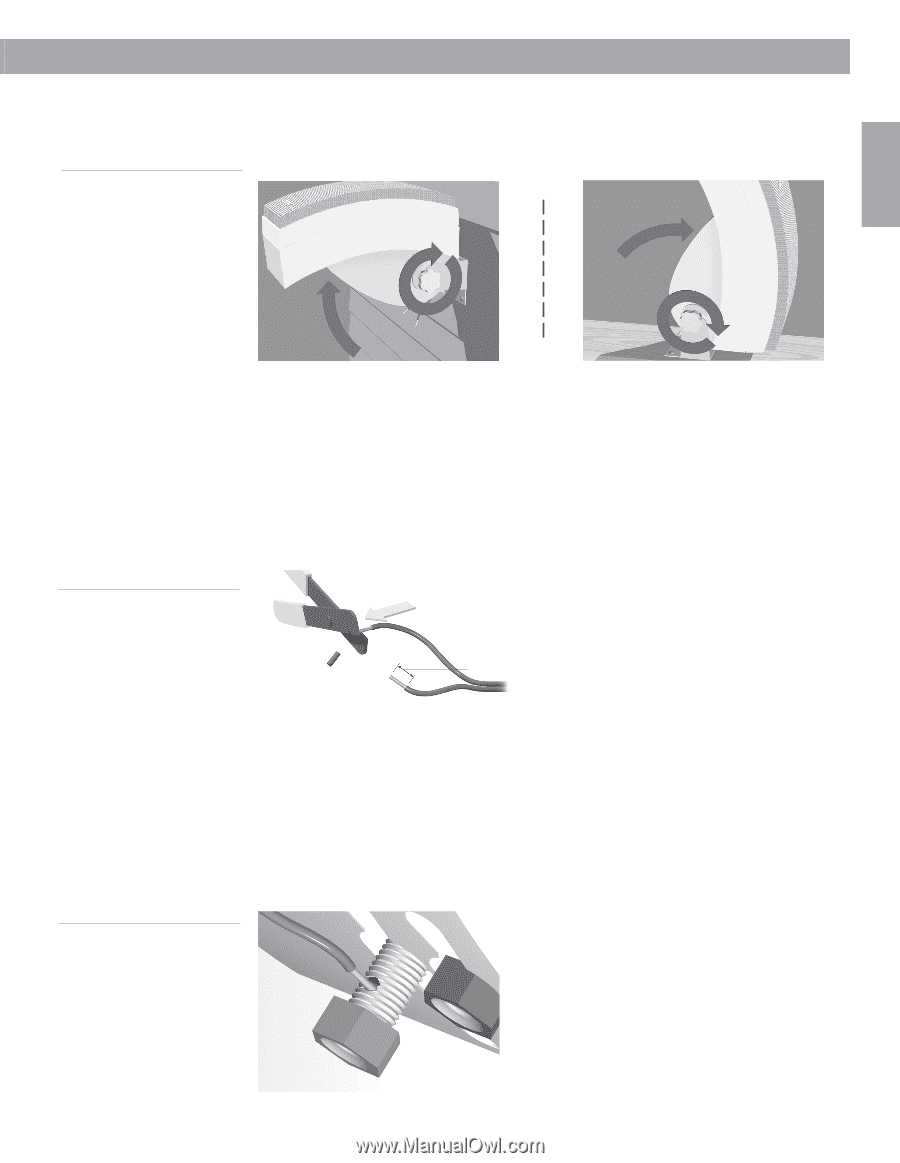
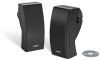
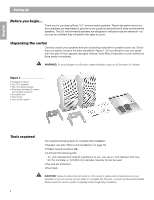
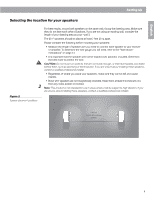
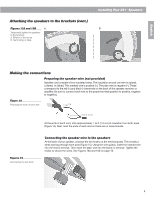
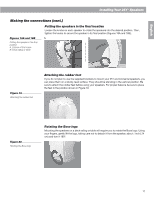
English Attaching the speakers to the brackets (cont.) Figures 13A and 13B A. Temporarily tighten the speakers to the brackets A. Exterior of the house B. Deck railing or table Installing Your 251TM Speakers B. Making the connections Preparing the speaker wire (not provided) Speaker cord consists of two insulated wires. The insulation around one wire is striped, collared, or ribbed. This marked wire is positive (+). The plain wire is negative (-). These correspond to the red (+) and black (-) terminals on the back of the speaker, receiver, or amplifier. Be sure to connect each wire to the proper terminal (positive to positive, negative to negative). Figure 14 Preparing the ends of each wire ⁄1 inch (1.3 cm) 2 At the ends of each cord, strip approximately ⁄1 inch (1.3 cm) of insulation from both wires 2 (Figure 14). Next, twist the ends of each wire so there are no loose strands. Figures 15 Unscrewing the hex knob Connecting the speaker wire to the speakers At the back of your speaker, unscrew the hex knobs on the terminal posts. This reveals a small opening through each post (Figure 15). Using the wire guides, insert the marked wire into the red (+) terminal. Then insert the plain wire into the black (-) terminal. Tighten the knobs to secure the wires. See Figures 16A and 16B on page 10. 9
-
 1
1 -
2
-
3
-
 4
4 -
 5
5 -
 6
6 -
 7
7 -
 8
8 -
 9
9 -
 10
10 -
 11
11 -
 12
12 -
 13
13 -
 14
14
 |
 |