Brother International 1435 Quick Setup Guide - English - Page 6
Getting Started, Carton Components - manual
 |
UPC - 012502606529
View all Brother International 1435 manuals
Add to My Manuals
Save this manual to your list of manuals |
Page 6 highlights
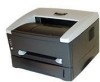
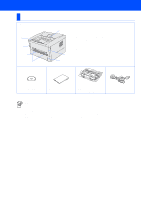
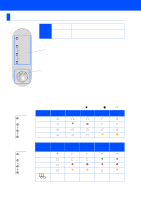
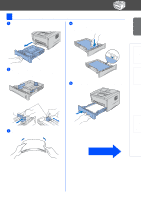
■ Getting Started Carton Components Printer 2 1 7 6 5 3 4 1 Face-down Output Tray Support Flap (Support Flap) 2 Face-down Output Tray (Top Output Tray) 3 Front Cover 4 Paper Tray 5 Manual Feed Paper Guides 6 Manual Feed Slot 7 Control Panel CD-ROM (including User's Guide) Quick Setup Guide Drum Unit Assembly (with Toner Cartridge included) AC Power Cord Carton components may differ from one country to another. Save all packing materials and the printer carton. ■ The interface cable is not a standard accessory. Please purchase the appropriate interface cable for the interface you intend to use (USB or Parallel). ■ It's recommended to use a Parallel interface cable or USB interface cable that is not longer than 6 feet (2.0 meters). ■ For Parallel interface cable use a shielded interface cable that is IEEE 1284-compliant. ■ Do not connect the USB cable to the front of your PC or to the iMac's keyboard. 4
-
 1
1 -
 2
2 -
 3
3 -
 4
4 -
 5
5 -
 6
6 -
 7
7 -
 8
8 -
 9
9 -
 10
10 -
 11
11 -
 12
12 -
13
-
14
-
15
-
16
-
17
-
18
-
19
-
20
-
21
-
22
-
23
 |
 |
