Brother International WL-660 Quick Setup Guide - English - Page 8
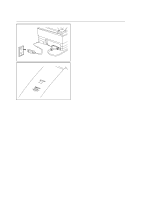
Action 6: Set up the Printer Driver and Fonts for Windows 3.1
 |
View all Brother International WL-660 manuals
Add to My Manuals
Save this manual to your list of manuals |
Page 8 highlights
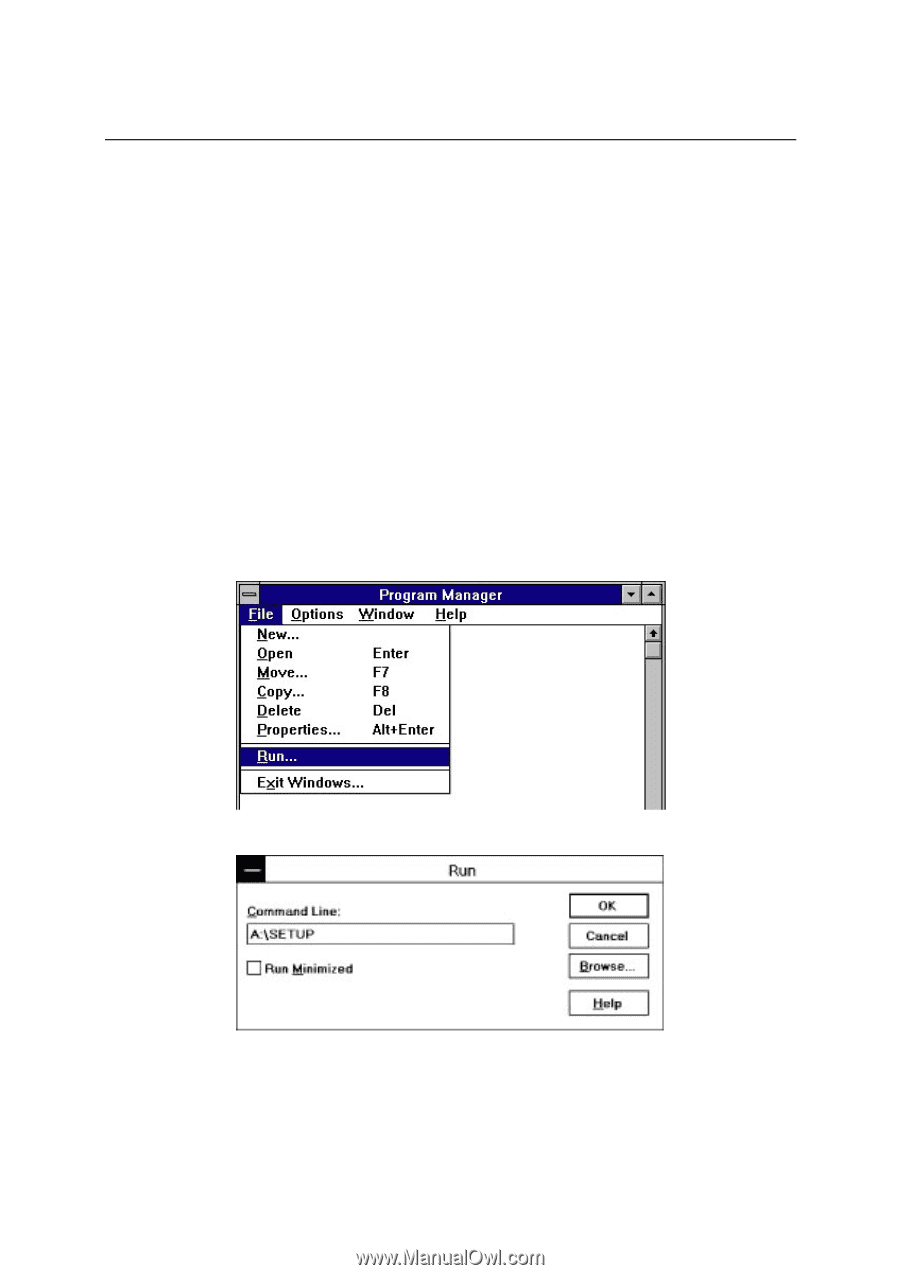
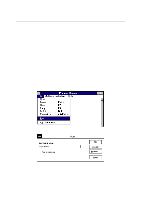
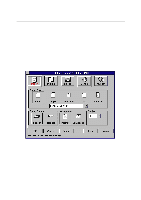
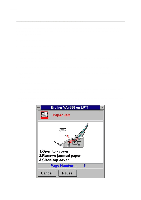
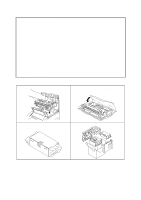
English Action 6: Set up the Printer Driver and Fonts for Windows 3.1 Check the following system requirements to run the Setup program and operate the printer correctly: • IBM PC or compatible with 80486 SX or higher microprocessor • Parallel interface (or printer port) • 4 MB or more of memory • 10 MB of space available on your hard disk for the printer driver and all fonts • Microsoft Windows 3.1/3.11 CAUTION This printer has been designed specially for Windows 3.1. It cannot work in a DOS environment such as MS-DOS. You need to set up this printer by installing the printer driver and TrueType-compatible fonts into Windows 3.1. Because the supplied printer driver and fonts are compressed on the disk, be sure to use the supplied Setup program to install them as follows: 1. Start Windows 3.1. 2. Insert the supplied disk into your floppy disk drive A (or drive B). 3. Choose Run from the File menu in the Program Manager. 4. Type A:\SETUP (or B:\SETUP for drive B) in the Command Line box. 5. Choose the OK button or press the Enter key. 6. Follow the instructions that appear on the display monitor. 7. When the installation is complete, remove the disk from the drive. 8
-
 1
1 -
2
-
 3
3 -
 4
4 -
 5
5 -
 6
6 -
 7
7 -
 8
8 -
 9
9 -
 10
10 -
 11
11 -
 12
12
 |
 |