Canon EOS C700 PL EOS C700 EOS C700 PL EOS C700 GS PL EOS C700 FF EOS C700 FF - Page 91
Setup screen: From the [Focus Assistance Functions] screen in step 1, [OPTIONS]
 |
View all Canon EOS C700 PL manuals
Add to My Manuals
Save this manual to your list of manuals |
Page 91 highlights
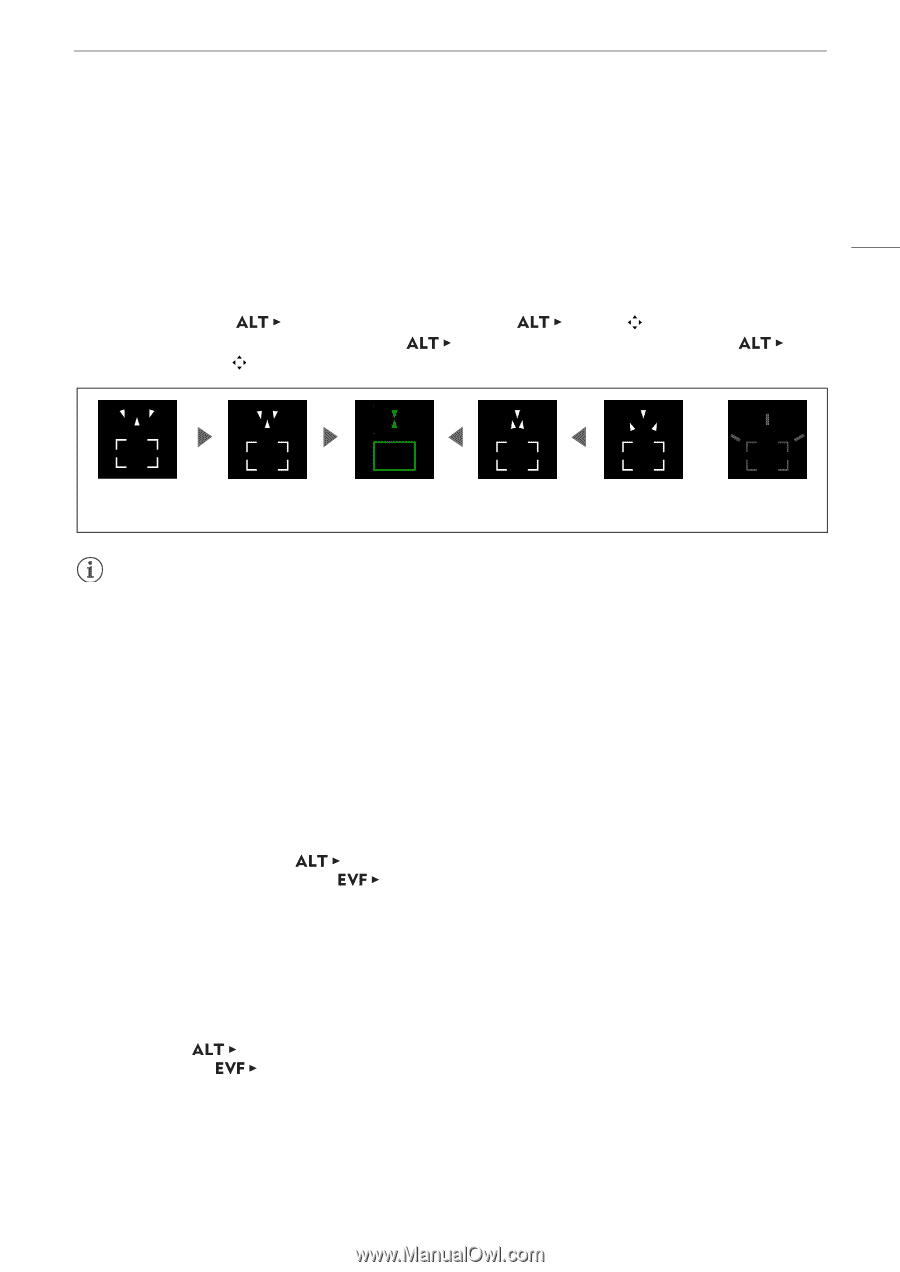
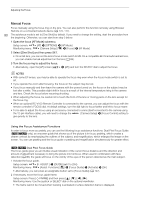
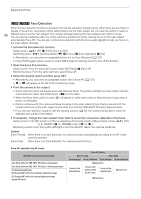
Adjusting the Focus • Press [CENTER] (setup screen) or press the BACK button on the optional viewfinder to return the frame to the center position. 3 You can also display a second frame around a different subject. Setup screen: From the [Focus Assistance Functions] screen in step 1, [OPTIONS] > [Focus Guide] > [Display 2nd Frame] > [On] 91 Monitoring menu: From the same submenu, [Display 2nd Frame] > [On] • When the following screens are displayed on the control display, you can press SET to switch the focus guide display from one frame to the other. - The [AF] screen ( [AF]) and its [Move frame] screen ( [AF] > [ FRAME]) - The [Focus Assistance Functions] screen ( [F. ASSIST.] > [ FRAME]) [F. ASSIST.]) and its [Move frame] screen ( Focus farther (large adjustment) Focus farther (small adjustment) In focus Focus closer (small adjustment) Focus closer (large adjustment) Cannot determine adjustment NOTES • With subjects or in situations where autofocus may not work well (A 94), the focus guide may not work correctly. • The focus guide cannot be used in the following cases: - While the focus is being adjusted automatically using one-shot AF or continuous AF. - When the aperture value used is F11 or larger. - When a manual focus lens is attached to the camera, except for compatible EF Cinema lenses (A 240). • When the focus guide and face detection functions are used together, the focus guide may not focus the main subject's eyes correctly, depending on the direction in which the face is turned. Peaking The camera offers two peaking levels. 1 Press the PEAKING button. • Alternatively, you can press [F. ASSIST.] > [PEAKING] to turn peaking on and off. From the monitoring menu you can use the [Assist. Functions] (A) > [Peaking] > [VIDEO Output] and [MON.+HDMI Output] settings to turn the peaking on and off separately on the optional viewfinder or on external monitors. • On monitors connected to one of the MON. terminals or the HDMI OUT terminal, the peaking icon (J or K) appears at the right of the monitoring screen and the outlines in the image will be emphasized, depending on the focus. • Press the button again to turn off peaking. 2 Open the peaking's [Select] submenu to select the peaking level. Setup screen: Monitoring menu: [F. ASSIST.] > [OPTIONS] > [Peaking] > [Select] [Assist. Functions] (A) > [Peaking] > [Select] 3 Select the desired level and then press SET.
-
 1
1 -
2
-
3
-
4
-
5
-
6
-
7
-
8
-
9
-
10
-
11
-
12
-
13
-
14
-
15
-
16
-
17
-
18
-
19
-
20
-
21
-
22
-
23
-
24
-
25
-
26
-
27
-
28
-
29
-
30
-
31
-
32
-
33
-
34
-
35
-
36
-
37
-
38
-
39
-
40
-
41
-
42
-
43
-
44
-
45
-
46
-
47
-
48
-
49
-
50
-
51
-
52
-
53
-
54
-
55
-
56
-
57
-
58
-
59
-
60
-
61
-
62
-
63
-
64
-
65
-
66
-
67
-
68
-
69
-
70
-
71
-
72
-
73
-
74
-
75
-
76
-
77
-
78
-
79
-
80
-
81
-
82
-
83
-
84
-
85
-
 86
86 -
 87
87 -
 88
88 -
 89
89 -
 90
90 -
 91
91 -
 92
92 -
 93
93 -
 94
94 -
 95
95 -
 96
96 -
97
-
98
-
99
-
100
-
101
-
102
-
103
-
104
-
105
-
106
-
107
-
108
-
109
-
110
-
111
-
112
-
113
-
114
-
115
-
116
-
117
-
118
-
119
-
120
-
121
-
122
-
123
-
124
-
125
-
126
-
127
-
128
-
129
-
130
-
131
-
132
-
133
-
134
-
135
-
136
-
137
-
138
-
139
-
140
-
141
-
142
-
143
-
144
-
145
-
146
-
147
-
148
-
149
-
150
-
151
-
152
-
153
-
154
-
155
-
156
-
157
-
158
-
159
-
160
-
161
-
162
-
163
-
164
-
165
-
166
-
167
-
168
-
169
-
170
-
171
-
172
-
173
-
174
-
175
-
176
-
177
-
178
-
179
-
180
-
181
-
182
-
183
-
184
-
185
-
186
-
187
-
188
-
189
-
190
-
191
-
192
-
193
-
194
-
195
-
196
-
197
-
198
-
199
-
200
-
201
-
202
-
203
-
204
-
205
-
206
-
207
-
208
-
209
-
210
-
211
-
212
-
213
-
214
-
215
-
216
-
217
-
218
-
219
-
220
-
221
-
222
-
223
-
224
-
225
-
226
-
227
-
228
-
229
-
230
-
231
-
232
-
233
-
234
-
235
-
236
-
237
-
238
-
239
-
240
-
241
-
242
-
243
-
244
-
245
-
246
-
247
-
248
-
249
-
250
-
251
-
252
-
253
-
254
-
255
 |
 |