Canon FS300 FS30/FS31/FS300 Pixela Image Mixer Installation Guide - Page 7
Installing the Software on Disc 2
 |
View all Canon FS300 manuals
Add to My Manuals
Save this manual to your list of manuals |
Page 7 highlights
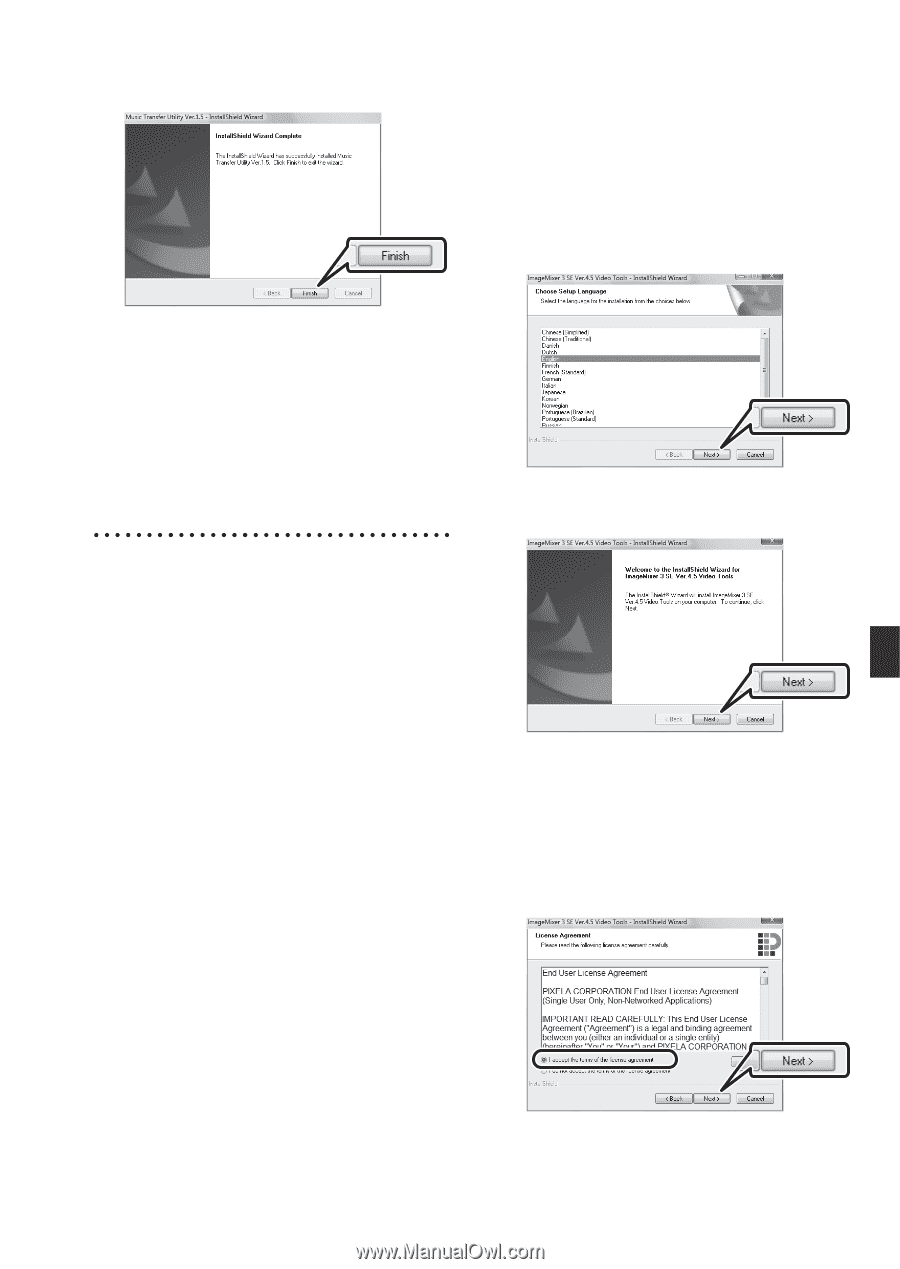
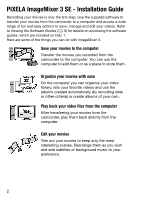
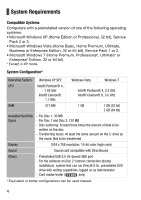
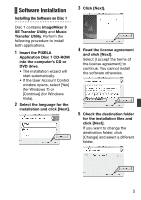
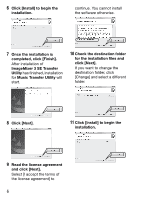
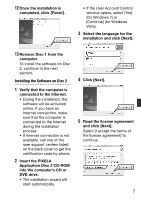
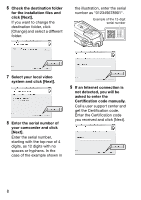
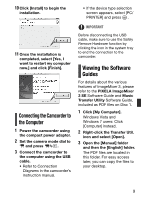
12 Once the installation is completed, click [Finish]. • If the User Account Control window opens, select [Yes] (for Windows 7) or [Continue] (for Windows Vista). 3 Select the language for the installation and click [Next]. 13 Remove Disc 1 from the computer. To install the software on Disc 2, continue to the next section. Installing the Software on Disc 2 1 Verify that the computer is connected to the Internet. • During the installation, the software will be activated online. If you have an Internet connection, make sure that the computer is connected to the Internet during the installation process. • If Internet connection is not available, call one of the user support centers listed on the back cover to get the certification code by phone. 2 Insert the PIXELA Application Disc 2 CD-ROM into the computer's CD or DVD drive. • The installation wizard will start automatically. 4 Click [Next]. 5 Read the license agreement and click [Next]. Select [I accept the terms of the license agreement] to continue. 7
-
 1
1 -
 2
2 -
 3
3 -
 4
4 -
 5
5 -
 6
6 -
 7
7 -
 8
8 -
 9
9 -
 10
10
 |
 |