Canon PowerShot SX700 HS User Guide - Page 121
When Connecting the Camera - usb cable
 |
View all Canon PowerShot SX700 HS manuals
Add to My Manuals
Save this manual to your list of manuals |
Page 121 highlights
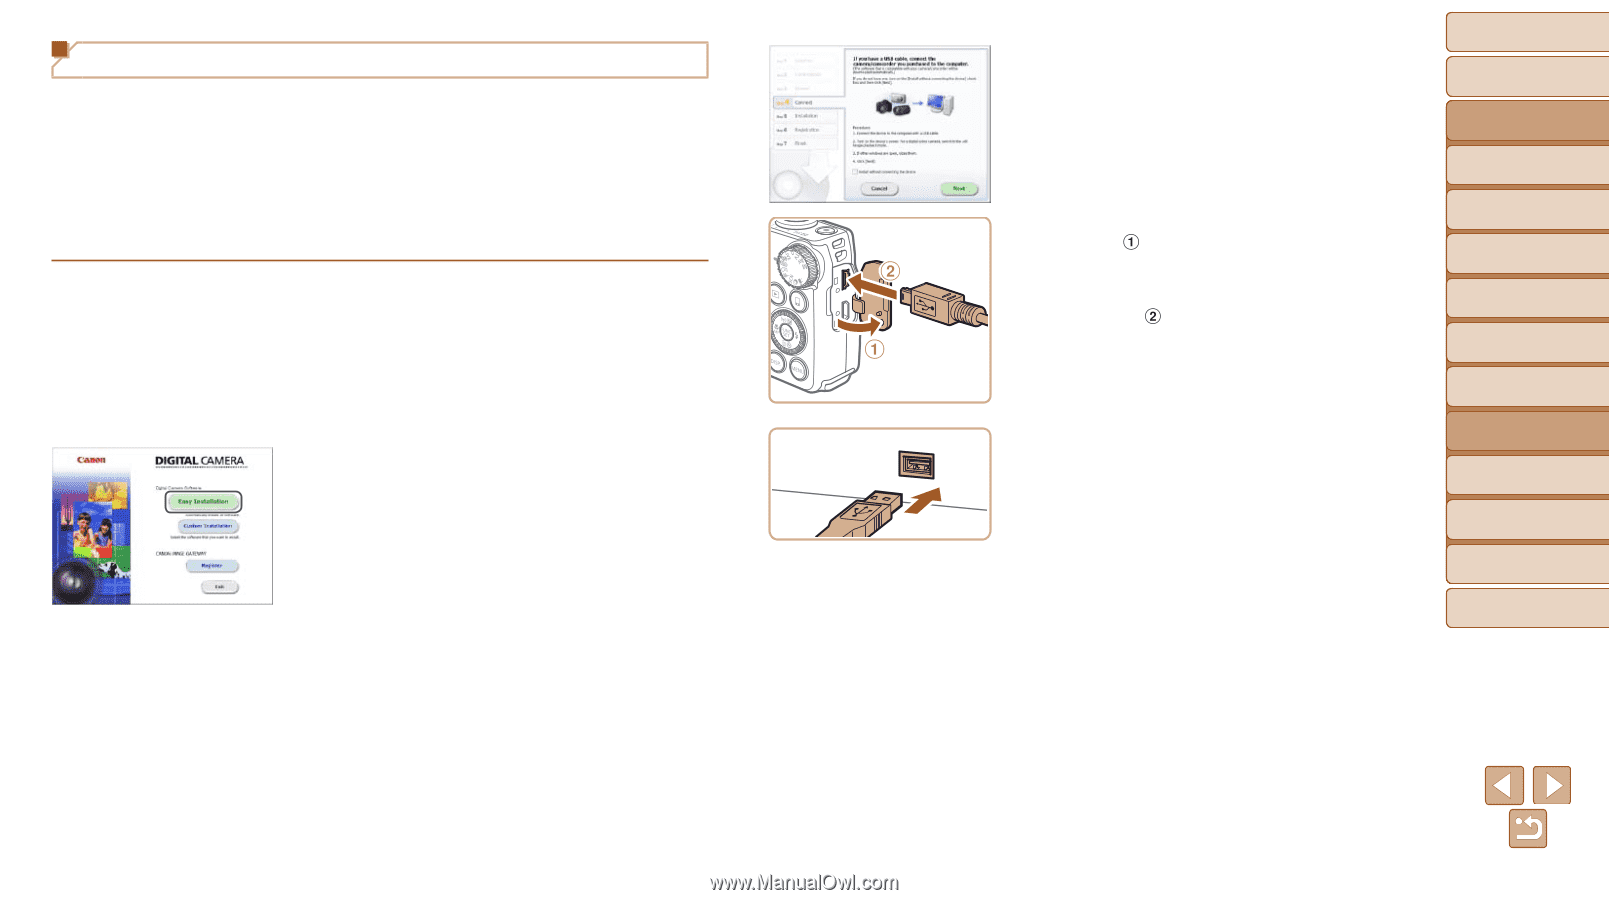
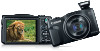
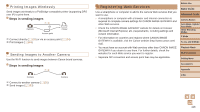
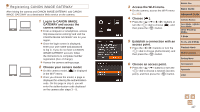
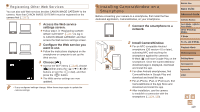
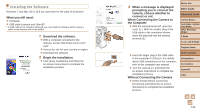
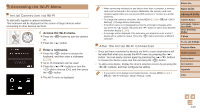
Installing the Software Windows 7 and Mac OS X 10.8 are used here for the sake of illustration. What you will need: zzComputer zzUSB cable (camera end: Mini-B)* * A USB cable is not included. Although you can install the software without using a cable, some features will not be added. 1 Download the software. zzWith a computer connected to the Internet, access http://www.canon.com/ icpd/. zzAccess the site for your country or region. zzDownload the software. 2 Begin the installation. zzClick [Easy Installation] and follow the on-screen instructions to complete the installation process. 3 When a message is displayed prompting you to connect the camera, choose whether to connect or not. When Connecting the Camera to the Computer zzWith the camera turned off, open the cover ( ). With the smaller plug of the USB cable in the orientation shown, insert the plug fully into the camera terminal ( ). zzInsert the larger plug of the USB cable in the computer's USB port. For details about USB connections on the computer, refer to the computer user manual. zzTurn the camera on, and follow the on-screen instructions to complete the installation process. Without Connecting the Camera zzSelect [Install without connecting the device] and follow the on-screen instructions to complete the installation process. Before Use Basic Guide Advanced Guide Camera Basics Auto Mode / Hybrid Auto Mode Other Shooting Modes P Mode Tv, Av, and M Mode Playback Mode Wi-Fi Functions Setting Menu Accessories Appendix Index 121
-
 1
1 -
2
-
3
-
4
-
5
-
6
-
7
-
8
-
9
-
10
-
11
-
12
-
13
-
14
-
15
-
16
-
17
-
18
-
19
-
20
-
21
-
22
-
23
-
24
-
25
-
26
-
27
-
28
-
29
-
30
-
31
-
32
-
33
-
34
-
35
-
36
-
37
-
38
-
39
-
40
-
41
-
42
-
43
-
44
-
45
-
46
-
47
-
48
-
49
-
50
-
51
-
52
-
53
-
54
-
55
-
56
-
57
-
58
-
59
-
60
-
61
-
62
-
63
-
64
-
65
-
66
-
67
-
68
-
69
-
70
-
71
-
72
-
73
-
74
-
75
-
76
-
77
-
78
-
79
-
80
-
81
-
82
-
83
-
84
-
85
-
86
-
87
-
88
-
89
-
90
-
91
-
92
-
93
-
94
-
95
-
96
-
97
-
98
-
99
-
100
-
101
-
102
-
103
-
104
-
105
-
106
-
107
-
108
-
109
-
110
-
111
-
112
-
113
-
114
-
115
-
 116
116 -
 117
117 -
 118
118 -
 119
119 -
 120
120 -
 121
121 -
 122
122 -
 123
123 -
 124
124 -
 125
125 -
 126
126 -
127
-
128
-
129
-
130
-
131
-
132
-
133
-
134
-
135
-
136
-
137
-
138
-
139
-
140
-
141
-
142
-
143
-
144
-
145
-
146
-
147
-
148
-
149
-
150
-
151
-
152
-
153
-
154
-
155
-
156
-
157
-
158
-
159
-
160
-
161
-
162
-
163
-
164
-
165
-
166
-
167
-
168
-
169
-
170
-
171
-
172
-
173
-
174
-
175
-
176
-
177
-
178
-
179
-
180
-
181
-
182
-
183
-
184
-
185
-
186
-
187
-
188
-
189
-
190
-
191
-
192
-
193
-
194
-
195
-
196
-
197
-
198
 |
 |