Canon SELPHY CP730 SELPHY CP730/CP720 Basic to Advanced Printing Guide - Page 10
EFFECT Button CP730 only, TRIM. Button CP730 only
 |
View all Canon SELPHY CP730 manuals
Add to My Manuals
Save this manual to your list of manuals |
Page 10 highlights
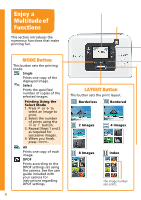
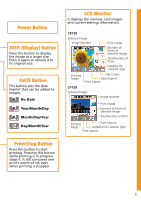
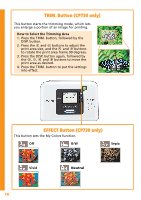
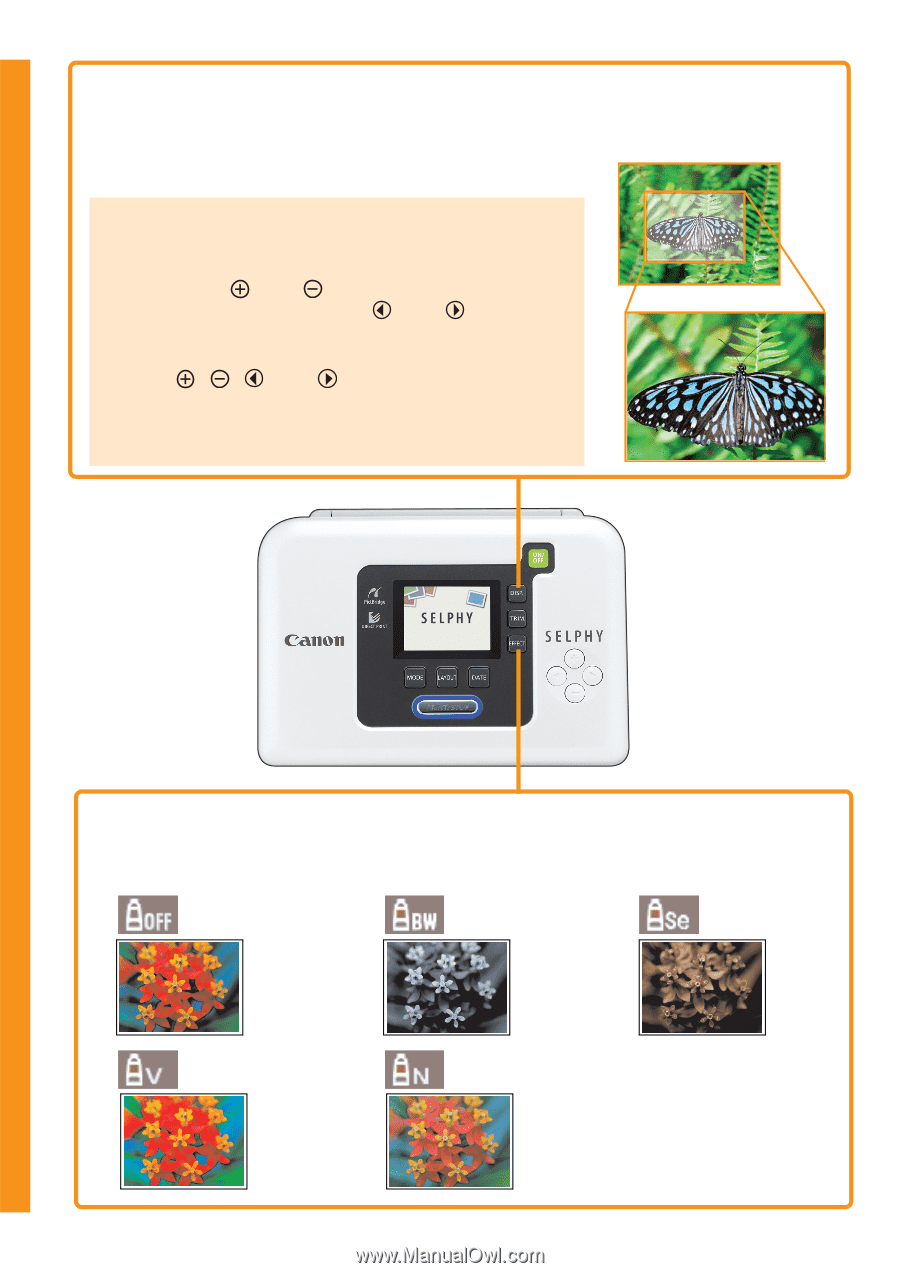
TRIM. Button (CP730 only) This button starts the trimming mode, which lets you enlarge a portion of an image for printing. How to Select the Trimming Area 1. Press the TRIM. button, followed by the DISP. button. 2. Press the and buttons to adjust the print area size, and the and buttons to rotate the print area frame 90 degrees. 3. Press the DISP. button again, followed by the , , and buttons to move the print area as desired. 4. Press the TRIM. button to put the settings into effect. EFFECT Button (CP730 only) This button sets the My Colors function. Off B/W Sepia Vivid Neutral 10
-
 1
1 -
2
-
3
-
4
-
 5
5 -
 6
6 -
 7
7 -
 8
8 -
 9
9 -
 10
10 -
 11
11 -
 12
12 -
 13
13 -
 14
14 -
 15
15 -
16
-
17
-
18
-
19
-
20
 |
 |
10
10
EFFECT Button (CP730 only)
This button sets the My Colors function.
Off
B/W
Sepia
Vivid
Neutral
This button starts the trimming mode, which lets
you enlarge a portion of an image for printing.
How to Select the Trimming Area
1. Press the TRIM. button, followed by the
DISP. button.
2.
Press the
and
buttons to adjust the
print area size, and the
and
buttons
to rotate the print area frame 90 degrees.
3. Press the DISP. button again, followed by
the
,
,
and
buttons to move the
print area as desired.
4. Press the TRIM. button to put the settings
into effect.
TRIM. Button (CP730 only)