Canon XH G1 XH G1 XH A1 Instruction Manual - Page 26
Setting the Time Zone, Date and Time
 |
View all Canon XH G1 manuals
Add to My Manuals
Save this manual to your list of manuals |
Page 26 highlights
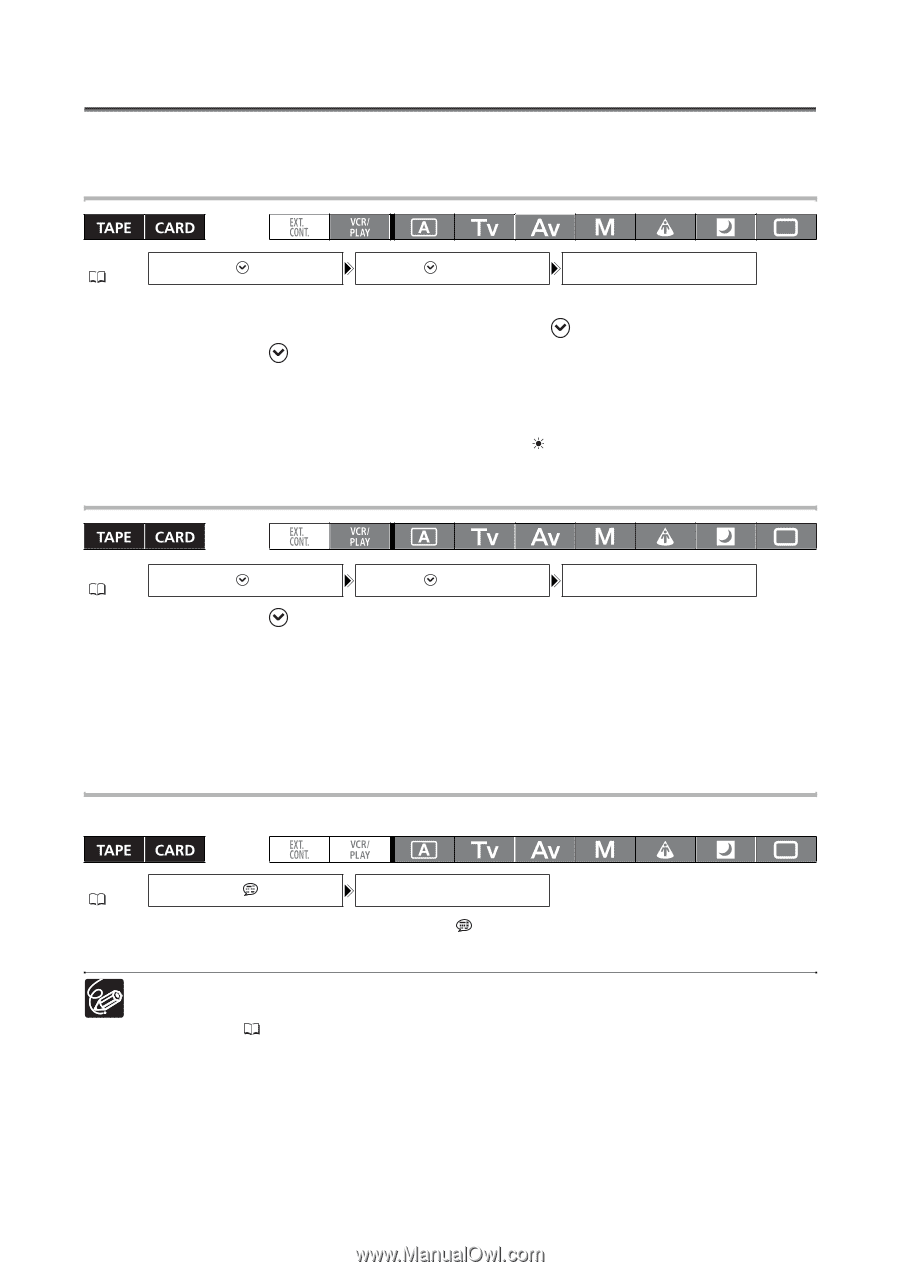
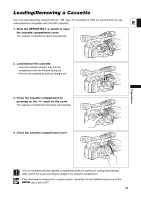
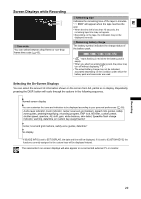
Setting the Time Zone, Date and Time Set the time zone, date and time when you first start using your camcorder, or if the built-in rechargeable battery has completely discharged. Setting the Time Zone/Daylight Saving Time MENU ( 25) SYSTEM SETUP/ D/TIME SET T.ZONE/DST•••NEW YORK 1. Press the MENU button. 2. Turn the SELECT/SET dial to select [SYSTEM SETUP/ ] and press the dial. 3. Select [D/TIME SET ] and then select [T.ZONE/DST] and press the dial. The time zone setting appears. The default setting is New York. 4. Turn the SELECT/SET dial to select the setting option that represents your time zone and press the dial. To adjust for daylight saving time, select the time zone with the next to the area. Setting the Date and Time MENU ( 25) SYSTEM SETUP/ D/TIME SET DATE/TIME••• JAN.1,2006 12:00 AM 5. Select [D/TIME SET ] and press the dial. The year display starts flashing. 6. Turn the SELECT/SET dial to select the first field of the date, and press the dial. • The next part of the display starts flashing. • Set the rest of the date and time in the same way. 7. Press the MENU button to close the menu and start the clock. Displaying the Date and Time while Recording You can display the date and time in the lower left corner of the screen. MENU ( 25) DISPLAY SETUP/ GUIDE INFO•••OFF Open the menu and select [DISPLAY SETUP/ ]. Select [GUIDE INFO], set it to [D/T DISPLAY] and close the menu. If you do not use the camcorder for a period of approximately 3 months, the built-in rechargeable battery will discharge completely and the date and time settings will be lost. In that case, recharge the built-in battery ( 16) and set the time zone, date and time again. 26
-
 1
1 -
2
-
3
-
4
-
5
-
6
-
7
-
8
-
9
-
10
-
11
-
12
-
13
-
14
-
15
-
16
-
17
-
18
-
19
-
20
-
 21
21 -
 22
22 -
 23
23 -
 24
24 -
 25
25 -
 26
26 -
 27
27 -
 28
28 -
 29
29 -
 30
30 -
 31
31 -
32
-
33
-
34
-
35
-
36
-
37
-
38
-
39
-
40
-
41
-
42
-
43
-
44
-
45
-
46
-
47
-
48
-
49
-
50
-
51
-
52
-
53
-
54
-
55
-
56
-
57
-
58
-
59
-
60
-
61
-
62
-
63
-
64
-
65
-
66
-
67
-
68
-
69
-
70
-
71
-
72
-
73
-
74
-
75
-
76
-
77
-
78
-
79
-
80
-
81
-
82
-
83
-
84
-
85
-
86
-
87
-
88
-
89
-
90
-
91
-
92
-
93
-
94
-
95
-
96
-
97
-
98
-
99
-
100
-
101
-
102
-
103
-
104
-
105
-
106
-
107
-
108
-
109
-
110
-
111
-
112
-
113
-
114
-
115
-
116
-
117
-
118
-
119
-
120
-
121
-
122
-
123
-
124
-
125
-
126
-
127
-
128
-
129
-
130
-
131
-
132
-
133
-
134
-
135
-
136
-
137
-
138
-
139
-
140
-
141
-
142
-
143
-
144
-
145
-
146
-
147
-
148
-
149
-
150
-
151
-
152
-
153
-
154
-
155
-
156
-
157
-
158
-
159
-
160
-
161
-
162
-
163
-
164
 |
 |