Canon imageCLASS MF4890dw Starter Guide - Page 11
Connect to the computer via a, wireless LAN immediately., Proceed to the next step. - toner cartridge
 |
View all Canon imageCLASS MF4890dw manuals
Add to My Manuals
Save this manual to your list of manuals |
Page 11 highlights
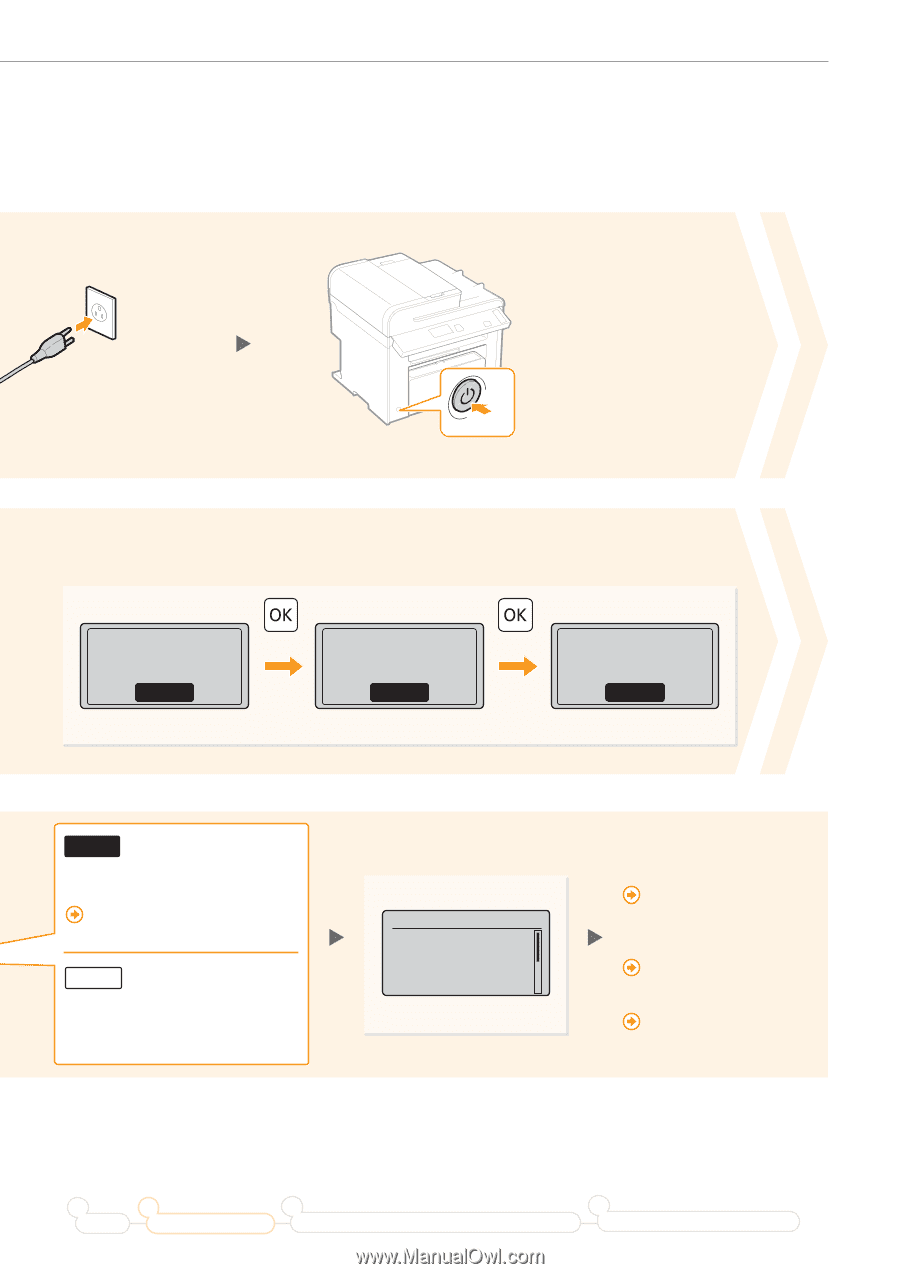
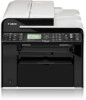
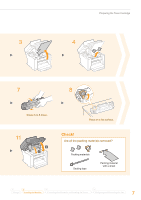
Connecting the Power Cord 3 ON Open toner cover;see if orange packing material is removed. Next 6 Press [OK]. Check that tape/tabs are removed from toner cartridge. Next Check that paper is loaded in Drawer 1. Next Yes Connect to the computer via a wireless LAN immediately. Start from step 3 on P.4 in the Wireless LAN Setting Guide. NO Proceed to the next step. Select also when you connect to the computer via a wireless LAN later. 9 Confirm the screen, and then press [OK]. Current Time Set. Must rechg. battery for 24 hrs. to save time settings. After turning main Connect to the computer via a wired LAN Proceed to the next page. Connect to the computer via a USB cable Proceed to the next page. Do not connect to PC Proceed to "Configuring the Fax" (P.24). 1 2 Preface Installing the Machine 3 Connecting to a Computer and Installing the Drivers 4 Configuring and Connecting the Fax 11
-
 1
1 -
2
-
3
-
4
-
5
-
 6
6 -
 7
7 -
 8
8 -
 9
9 -
 10
10 -
 11
11 -
 12
12 -
 13
13 -
 14
14 -
 15
15 -
 16
16 -
17
-
18
-
19
-
20
-
21
-
22
-
23
-
24
-
25
-
26
-
27
-
28
-
29
-
30
-
31
-
32
-
33
-
34
-
35
-
36
 |
 |