Canon imagePROGRAF W2200S Setup Guide - Page 129
Remove the paper cassettes and remove the paper from
 |
View all Canon imagePROGRAF W2200S manuals
Add to My Manuals
Save this manual to your list of manuals |
Page 129 highlights
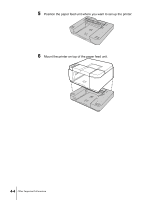
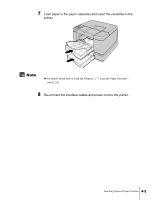
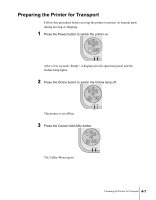
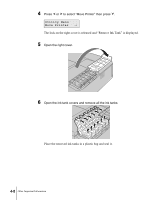
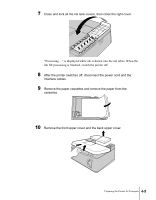
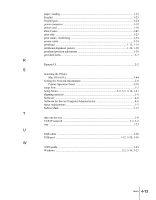
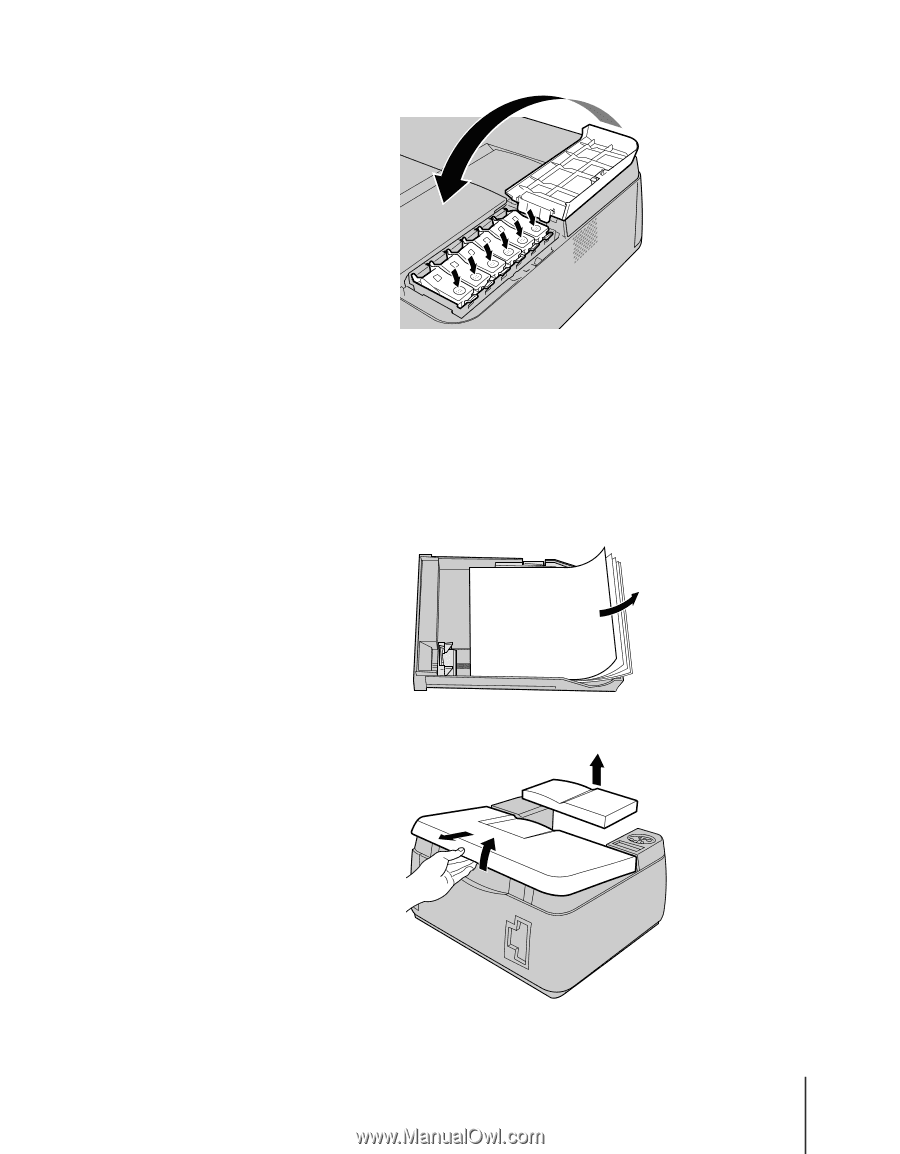
7 Close and lock all the ink tank covers, then close the right cover. "Processing..." is displayed while ink is drawn into the ink tubes. When the ink fill processing is finished, switch the printer off. 8 After the printer switches off, disconnect the power cord and the interface cables. 9 Remove the paper cassettes and remove the paper from the cassettes. 10 Remove the front upper cover and the back upper cover. Preparing the Printer for Transport 4-9
-
 1
1 -
2
-
3
-
4
-
5
-
6
-
7
-
8
-
9
-
10
-
11
-
12
-
13
-
14
-
15
-
16
-
17
-
18
-
19
-
20
-
21
-
22
-
23
-
24
-
25
-
26
-
27
-
28
-
29
-
30
-
31
-
32
-
33
-
34
-
35
-
36
-
37
-
38
-
39
-
40
-
41
-
42
-
43
-
44
-
45
-
46
-
47
-
48
-
49
-
50
-
51
-
52
-
53
-
54
-
55
-
56
-
57
-
58
-
59
-
60
-
61
-
62
-
63
-
64
-
65
-
66
-
67
-
68
-
69
-
70
-
71
-
72
-
73
-
74
-
75
-
76
-
77
-
78
-
79
-
80
-
81
-
82
-
83
-
84
-
85
-
86
-
87
-
88
-
89
-
90
-
91
-
92
-
93
-
94
-
95
-
96
-
97
-
98
-
99
-
100
-
101
-
102
-
103
-
104
-
105
-
106
-
107
-
108
-
109
-
110
-
111
-
112
-
113
-
114
-
115
-
116
-
117
-
118
-
119
-
120
-
121
-
122
-
123
-
 124
124 -
 125
125 -
 126
126 -
 127
127 -
 128
128 -
 129
129 -
 130
130 -
 131
131 -
 132
132 -
 133
133
 |
 |
Preparing the Printer for Transport
4-9
7
Close and lock all the ink tank covers, then close the right cover.
“Processing…” is displayed while ink is drawn into the ink tubes. When the
ink fill processing is finished, switch the printer off.
8
After the printer switches off, disconnect the power cord and the
interface cables.
9
Remove the paper cassettes and remove the paper from the
cassettes.
10
Remove the front upper cover and the back upper cover.