Cobra XRS 9960G XRS9960G_MANL - Page 5
Installation, Overview - manual
 |
View all Cobra XRS 9960G manuals
Add to My Manuals
Save this manual to your list of manuals |
Page 5 highlights
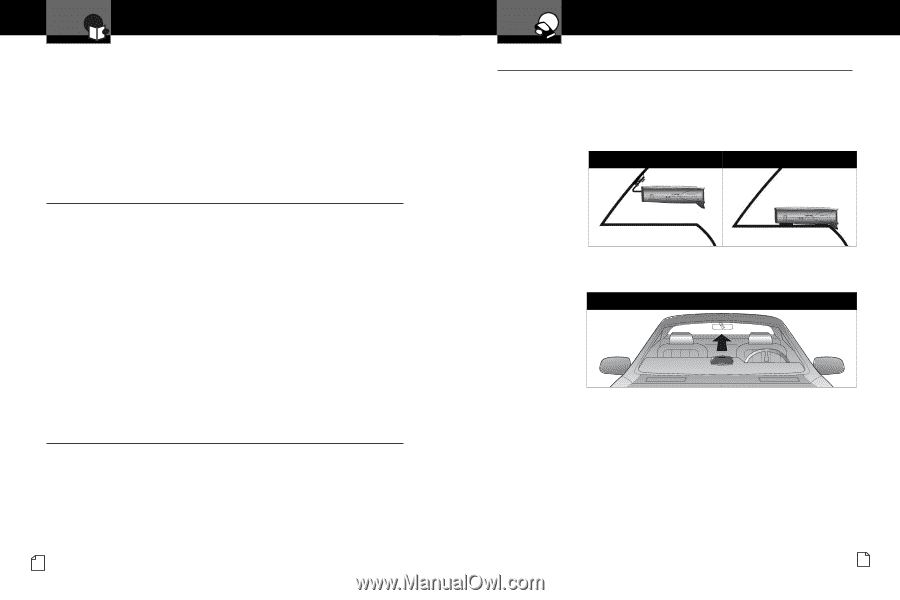
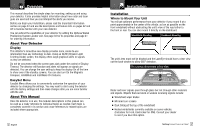
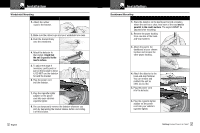
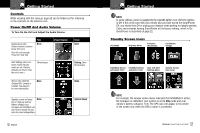
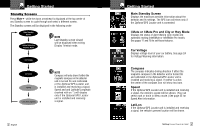
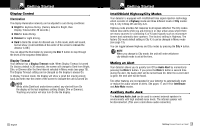
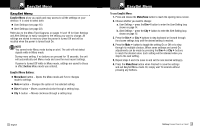
Introduction Overview This manual describes the simple steps for mounting, setting up and using your detector. It also provides helpful information about how radar and laser guns are used and how you can interpret the alerts you receive. Before you begin your installation, please read the Important Information section on page A1 and use the descriptions and feature lists on pages A2 and A3 to become familiar with your new detector. You can extend the capabilities of your detector by adding the Optional Global Positioning System Locator unit. See page 33 for its properties and page 41 for ordering information. About Your Detector • Display This detector's innovative new display provides more, easier-to-use information than any technology to date. Using an OLED (Organic Light Emitting Diode) screen, the display offers large graphical alerts to signals as they are detected. Do not be concerned when the screen goes dark under the control of Display Timeout. The detector will function and alerts will appear as signals are detected. You can change the user setting to keep the display On all the time to show one of the standby screens. You can also turn On the Magnetic Compass, IntelliMute and IntelliMute Pro features. EasySet Menu EasySet Menu allows you to conveniently customize the operation of your detector by changing the settings. You may want to start using the detector with the factory settings and then make changes after you are more familiar with the unit. About This Manual • Once the detector is in use, the modular descriptions in this manual can be used as a ready reference to individual topics as needed. Each topic is completely covered in its section and cross-references to related topics are included where appropriate. 2 English Your Detector Installation Installation • Where to Mount Your Unit You will get optimum performance from your detector if you mount it at a point approximately in the center of the vehicle, as low as possible on the front windshield without obstructing the unit's view of the road either to the front or rear. You can also mount it directly on the dashboard. Windshield Mounting Dashboard Mounting The unit's lens must not be blocked and the LaserEye should have a clear view out the back window to allow 360° detection. The LaserEye Should Have a Clear View Radar and laser signals pass through glass but not through other materials and objects. Objects that can block or weaken incoming signals include: I Windshield wiper blades I Mirrored sun screens I Dark tinting at the top of the windshield I Heated windshields currently available on some vehicles (Instaclear for Ford, Electriclear for GM). Consult your dealer to see if you have this option. Nothing Comes Close to a Cobra® 3
-
 1
1 -
 2
2 -
 3
3 -
 4
4 -
 5
5 -
 6
6 -
 7
7 -
 8
8 -
 9
9 -
 10
10 -
 11
11 -
12
-
13
-
14
-
15
-
16
-
17
-
18
-
19
-
20
-
21
-
22
-
23
-
24
 |
 |