Craftsman 21514 Operation Manual - Page 7
NOTE: The horizontal
 |
View all Craftsman 21514 manuals
Add to My Manuals
Save this manual to your list of manuals |
Page 7 highlights
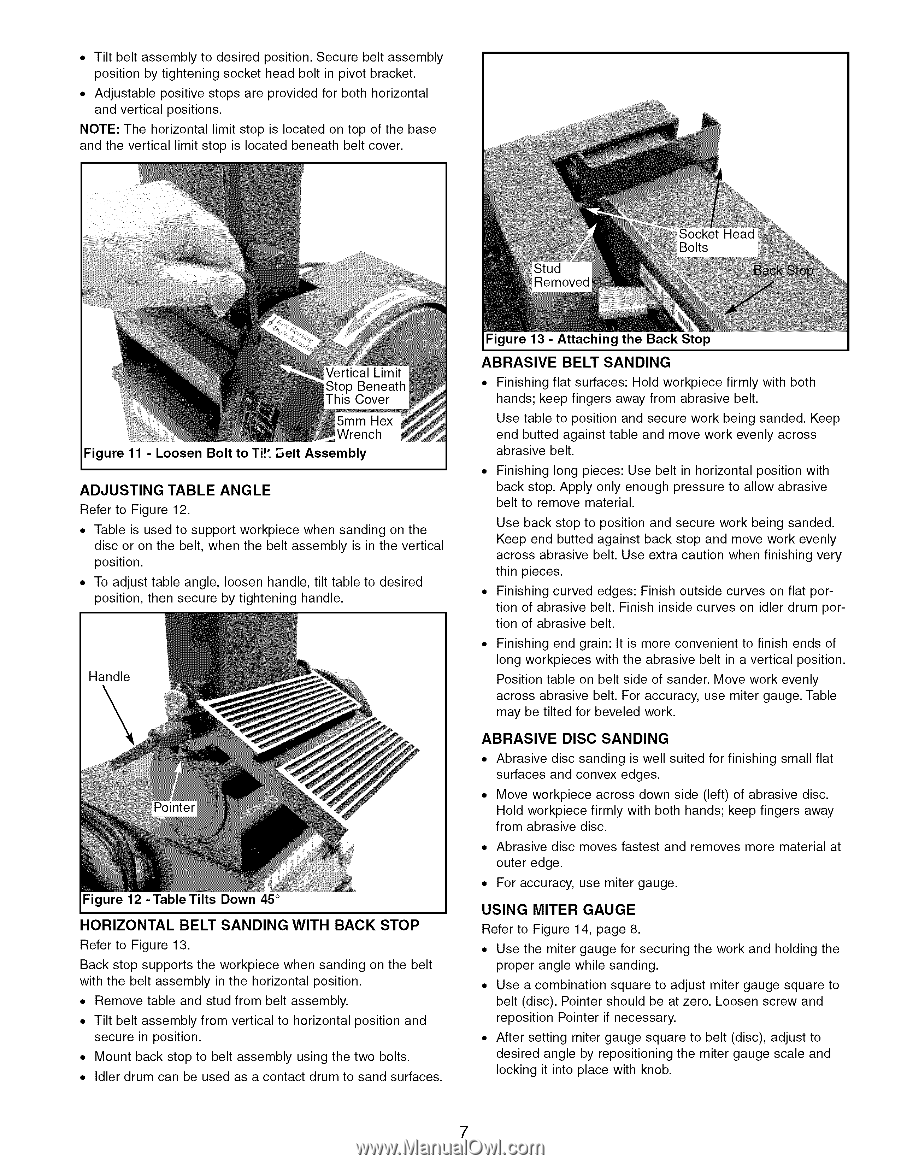
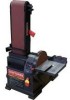
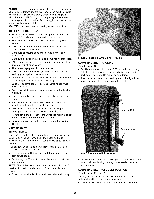
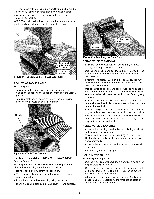
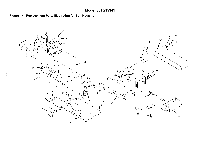
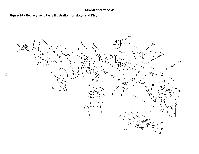
• Tilt belt assembly to desired position. Secure belt assembly position by tightening socket head bolt in pivot bracket. • Adjustable positive stops are provided for both horizontal and vertical positions. NOTE: The horizontal limit stop is located on top of the base and the vertical limit stop is located beneath belt cover. Figure 11 - Loosen Bolt to Ti!t E,elt Assembly ADJUSTING TABLE ANGLE Refer to Figure 12. • Table is used to support workpiece when sanding on the disc or on the belt, when the belt assembly is in the vertical position. • To adjust table angle, loosen handle, tilt table to desired position, then secure by tightening handle. Handle Figure 12 - Table Tilts Down 45 ° HORIZONTAL BELT SANDING WITH BACK STOP Refer to Figure 13. Back stop supports the workpiece when sanding on the belt with the belt assembly in the horizontal position. • Remove table and stud from belt assembly. • Tilt belt assembly from vertical to horizontal position and secure in position. • Mount back stop to belt assembly using the two bolts. • Idler drum can be used as a contact drum to sand surfaces. Figure 13 - Attaching the Back Stop ABRASIVE BELT SANDING • Finishing flat surfaces: Hold workpiece firmly with both hands; keep fingers away from abrasive belt. Use table to position and secure work being sanded. Keep end butted against table and move work evenly across abrasive belt. • Finishing long pieces: Use belt in horizontal position with back stop. Apply only enough pressure to allow abrasive belt to remove material. Use back stop to position and secure work being sanded. Keep end butted against back stop and move work evenly across abrasive belt. Use extra caution when finishing very thin pieces. • Finishing curved edges: Finish outside curves on flat portion of abrasive belt. Finish inside curves on idler drum portion of abrasive belt. • Finishing end grain: It is more convenient to finish ends of long workpieces with the abrasive belt in a vertical position. Position table on belt side of sander. Move work evenly across abrasive belt. For accuracy, use miter gauge. Table may be tilted for beveled work. ABRASIVE DISC SANDING • Abrasive disc sanding is well suited for finishing small flat surfaces and convex edges. • Move workpiece across down side (left) of abrasive disc. Hold workpiece firmly with both hands; keep fingers away from abrasive disc. • Abrasive disc moves fastest and removes more material at outer edge. • For accuracy, use miter gauge. USING MITER GAUGE Refer to Figure 14, page 8. • Use the miter gauge for securing the work and holding the proper angle while sanding. • Use a combination square to adjust miter gauge square to belt (disc). Pointer should be at zero. Loosen screw and reposition Pointer if necessary. • After setting miter gauge square to belt (disc), adjust to desired angle by repositioning the miter gauge scale and locking it into place with knob. 7
-
 1
1 -
 2
2 -
 3
3 -
 4
4 -
 5
5 -
 6
6 -
 7
7 -
 8
8 -
 9
9 -
 10
10 -
 11
11 -
 12
12 -
13
-
14
-
15
-
16
-
17
-
18
-
19
-
20
-
21
-
22
-
23
-
24
 |
 |