Cuisinart SS-GB1 User Manual - Page 11
Descaling, Setting Up Your Single, Serve Coffeemaker
 |
View all Cuisinart SS-GB1 manuals
Add to My Manuals
Save this manual to your list of manuals |
Page 11 highlights
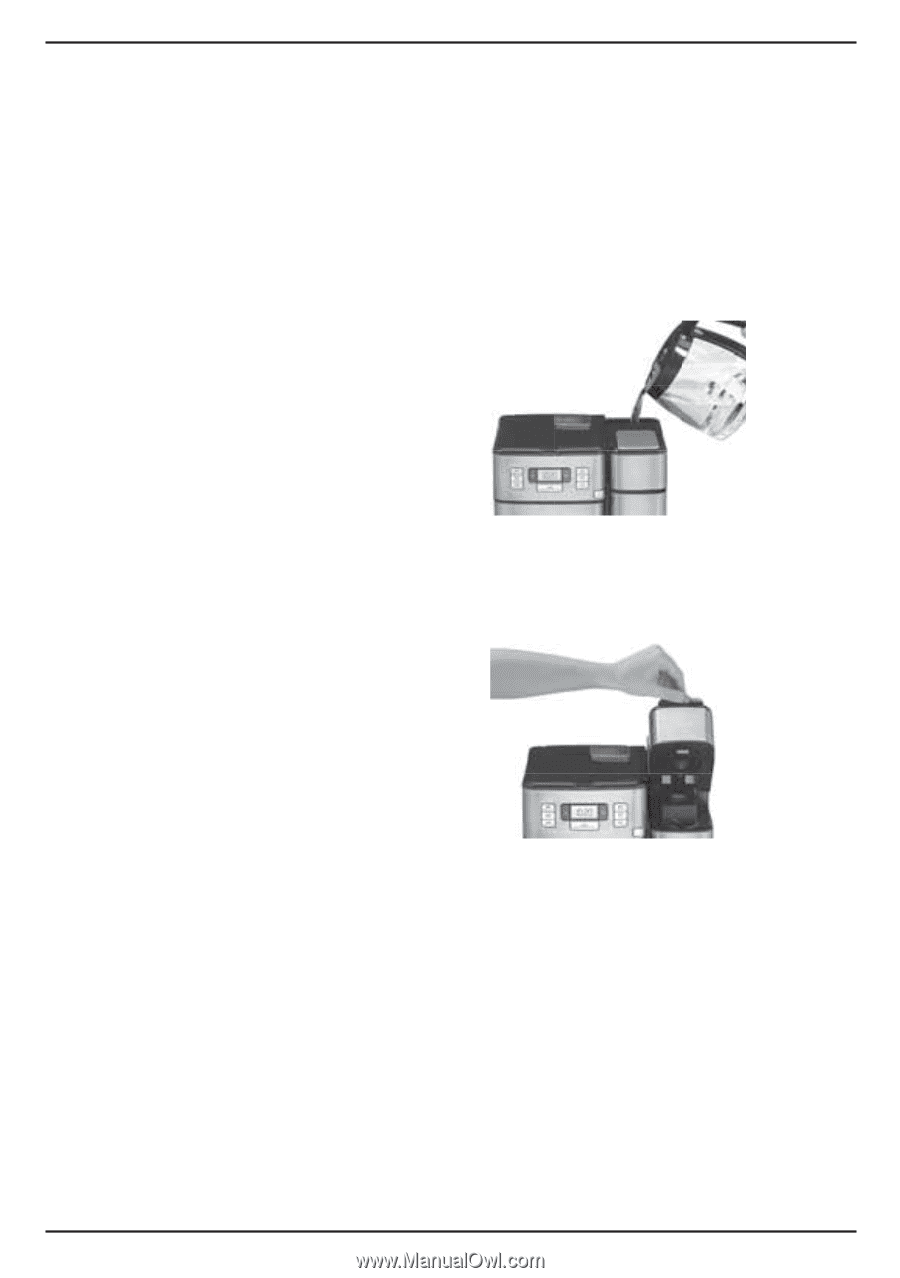
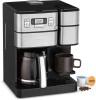
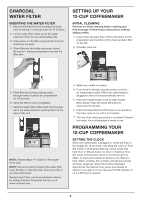
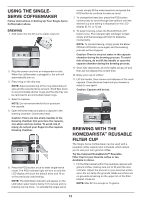
DESCALING Descaling refers to the removal of calcium deposits that form over time on the metal parts of the coffeemaker. To Descale Your Coffeemaker: Depending on the mineral content of water in your area, calcium deposits (scale) may build up in your coffeemaker. Though scale is not toxic, it can affect performance. Descaling the coffeemaker when the CLEAN indicator signals it is time to do so will help protect the heating element and other parts that come into contact with water. For optimal performance, descale coffeemaker every 3 to 6 months. If calcium deposits build up faster, the CLEAN light will illuminate, indicating 12-cup coffeemaker should be descaled. NOTE: Before decalcifying your unit, remove the charcoal water filter from the water reservoir. To clean: 1. Fill the water reservoir to capacity with a mixture of one-third white vinegar and two-thirds water. 2. Press the Carafe button once to activate the carafe side. Press and hold the CLEAN button. When the CLEAN LED indicator flashes, the coffeemaker is in Clean mode. NOTE: The grinder assembly must be in the correct position to activate the carafe side. If the assembly is not in place, the carafe LED will flash, indicating the carafe side cannot be activated. 3. When the cycle is completed, 5 beeps will sound and the coffeemaker will shut off. 4. If the CLEAN indicator illuminates once more, repeat the cleaning procedure with a fresh solution of vinegar and water. NOTE: One cleaning cycle is usually sufficient. 5. When the CLEAN indicator remains off, run one cycle with a full reservoir of fresh, cold water to rinse the unit. 6. Return the charcoal water filter to the holder inside the water reservoir and your coffeemaker is ready to brew! NOTE: If the CLEAN indicator light turns on and you do not wish to descale now, simply press the CLEAN button once and the LED indicator will turn off. However, the CLEAN indicator will turn on again during subsequent brewing cycles until the descaling procedure is complete. SETTING UP YOUR SINGLESERVE COFFEEMAKER INITIAL CLEANING Perform an initial cleaning before making your first beverage. Follow these instructions, without inserting a capsule. 1. Insert charcoal water filter if you haven't already. Instructions on page 8. 2. Fill the water reservoir dedicated to the single-serve side of the unit 3. If you haven't already, plug the power cord into an independent outlet. When the coffeemaker is plugged in, the unit will automatically turn on. 4. Open and close the brew head. Do not add a capsule. 5. Place mug on the drip tray. 6. Press the POD button once to enter single-serve mode. The POD indicator light will turn on and the LCD display will show the default brew size 10 oz. 7. Press the BREW/OFF/AUTO OFF button once. The indicator light will flash and the hot water will start to dispense momentarily. 8. The one-time cleaning process is complete. Discard hot water. Your brewer is ready to use. 11
-
 1
1 -
2
-
3
-
4
-
5
-
 6
6 -
 7
7 -
 8
8 -
 9
9 -
 10
10 -
 11
11 -
 12
12 -
 13
13 -
 14
14 -
 15
15 -
 16
16 -
17
-
18
-
19
-
20
-
21
-
22
-
23
-
24
-
25
-
26
-
27
-
28
-
29
-
30
-
31
-
32
 |
 |