D-Link DGS-1510-20 User Manual - Page 21
Installing Tranceivers into the Transceiver Ports, Power On (AC Power)
 |
View all D-Link DGS-1510-20 manuals
Add to My Manuals
Save this manual to your list of manuals |
Page 21 highlights
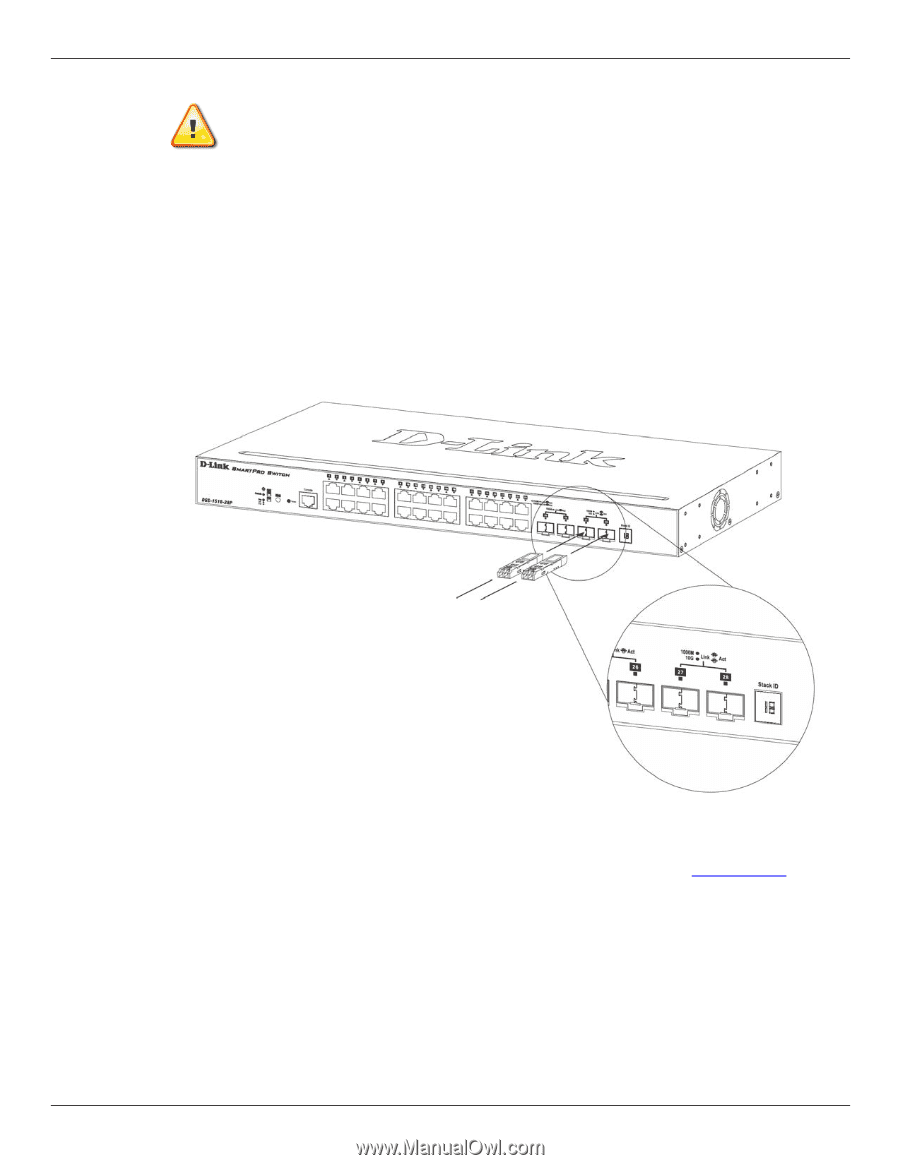
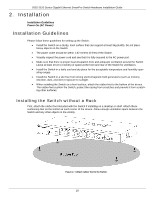
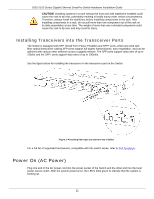
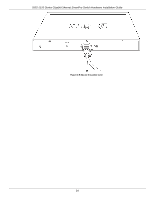
DGS-1510 Series Gigabit Ethernet SmartPro Switch Hardware Installation Guide CAUTION: Installing systems in a rack without the front and side stabilizers installed could cause the rack to tip over, potentially resulting in bodily injury under certain circumstances. Therefore, always install the stabilizers before installing components in the rack. After installing components in a rack, do not pull more than one component out of the rack on its slide assemblies at one time. The weight of more than one extended component could cause the rack to tip over and may result in injury. Installing Tranceivers into the Transceiver Ports The Switch is equipped with SFP (Small Form Factor Portable) and SFP+ ports, which are used with fiber-optical transceiver cabling.SFP ports support full-duplex transmissions, auto-negotiation, and can be uplinked with various other switches across a gigabit network. The SFP ports support data rates of up to 1Gbit/s and the SFP+ ports support data rates of up to 10Gbit/s. See the figure below for installing the transceiver in the transceiver port on the Switch. Figure 2-4 Inserting fiber-optic transceivers into a Switch For a full list of supported transceivers, compatible with this switch series, refer to Port Functions. Power On (AC Power) Plug one end of the AC power cord into the power socket of the Switch and the other end into the local power source outlet. After the system powered on, the LED's blink green to indicate that the system is booting up. 21
-
 1
1 -
2
-
3
-
4
-
5
-
6
-
7
-
8
-
9
-
10
-
11
-
12
-
13
-
14
-
15
-
 16
16 -
 17
17 -
 18
18 -
 19
19 -
 20
20 -
 21
21 -
 22
22 -
 23
23 -
 24
24 -
 25
25 -
 26
26 -
27
-
28
-
29
-
30
-
31
-
32
-
33
-
34
-
35
-
36
-
37
-
38
-
39
-
40
-
41
-
42
-
43
-
44
-
45
-
46
-
47
-
48
-
49
-
50
-
51
-
52
-
53
-
54
-
55
-
56
-
57
-
58
-
59
-
60
-
61
-
62
-
63
-
64
 |
 |