DeLonghi DC76T Owner Manual - Page 9
Putting, Coffee
 |
View all DeLonghi DC76T manuals
Add to My Manuals
Save this manual to your list of manuals |
Page 9 highlights
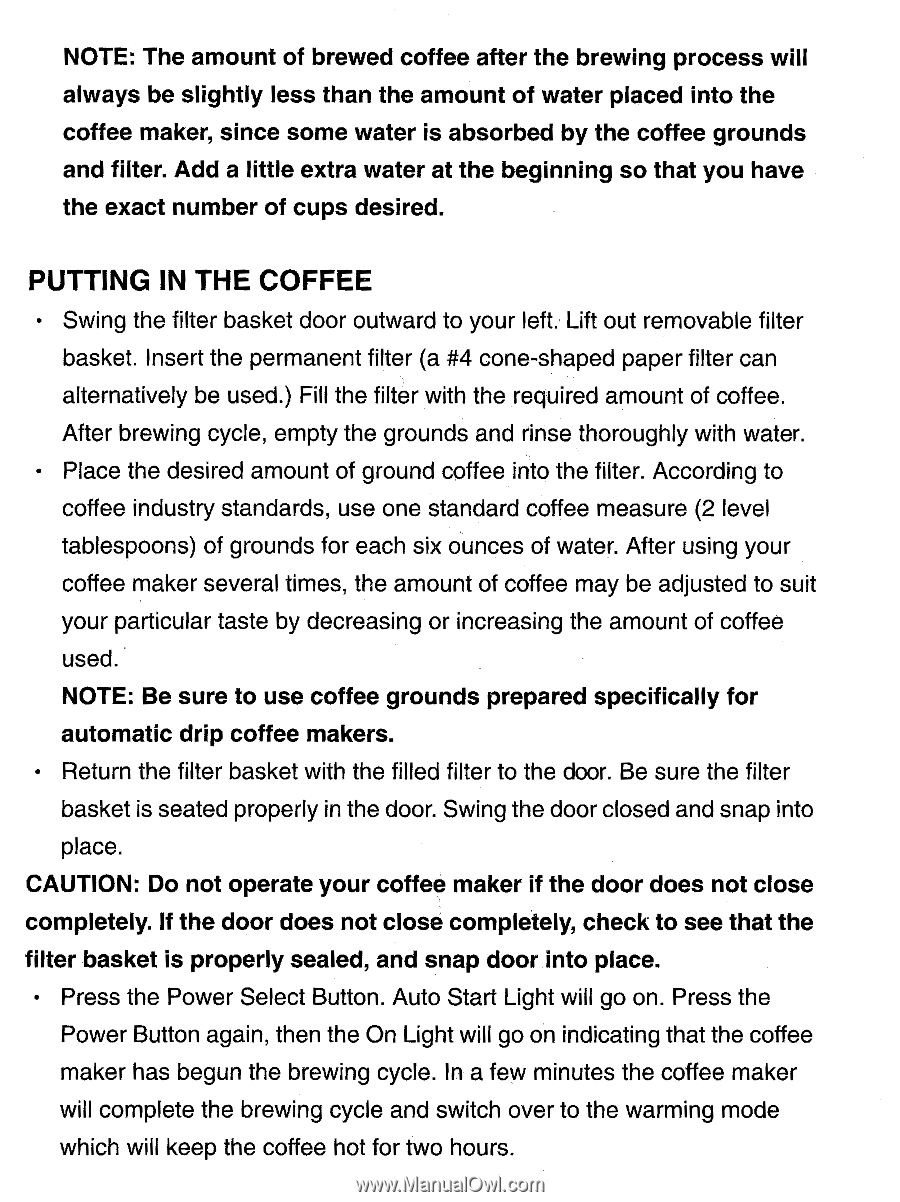
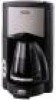
NOTE: The amount of brewed coffee after the brewing process will always be slightly less than the amount of water placed into the coffee maker, since some water is absorbed by the coffee grounds and filter. Add a little extra water at the beginning so that you have the exact number of cups desired. PUTTING IN THE COFFEE • Swing the filter basket door outward to your left. Lift out removable filter basket. Insert the permanent filter (a #4 cone-shaped paper filter can alternatively be used.) Fill the filter with the required amount of coffee. After brewing cycle, empty the grounds and rinse thoroughly with water. • Place the desired amount of ground coffee into the filter. According to coffee industry standards, use one standard coffee measure (2 level tablespoons) of grounds for each six ounces of water. After using your coffee maker several times, the amount of coffee may be adjusted to suit your particular taste by decreasing or increasing the amount of coffee used. NOTE: Be sure to use coffee grounds prepared specifically for automatic drip coffee makers. • Return the filter basket with the filled filter to the door. Be sure the filter basket is seated properly in the door. Swing the door closed and snap into place CAUTION: Do not operate your coffee maker if the door does not close completely. If the door does not close completely, check to see that the filter basket is properly sealed, and snap door into place. • Press the Power Select Button. Auto Start Light will go on. Press the Power Button again, then the On Light will go on indicating that the coffee maker has begun the brewing cycle. in a few minutes the coffee maker will complete the brewing cycle and switch over to the warming mode which will keep the coffee hot for two hours.
-
 1
1 -
2
-
3
-
 4
4 -
 5
5 -
 6
6 -
 7
7 -
 8
8 -
 9
9 -
 10
10 -
 11
11 -
 12
12
 |
 |