DeLonghi EO2058 Owner Manual - Page 9
Toast, Instructions for toasting bread - dimensions
 |
View all DeLonghi EO2058 manuals
Add to My Manuals
Save this manual to your list of manuals |
Page 9 highlights
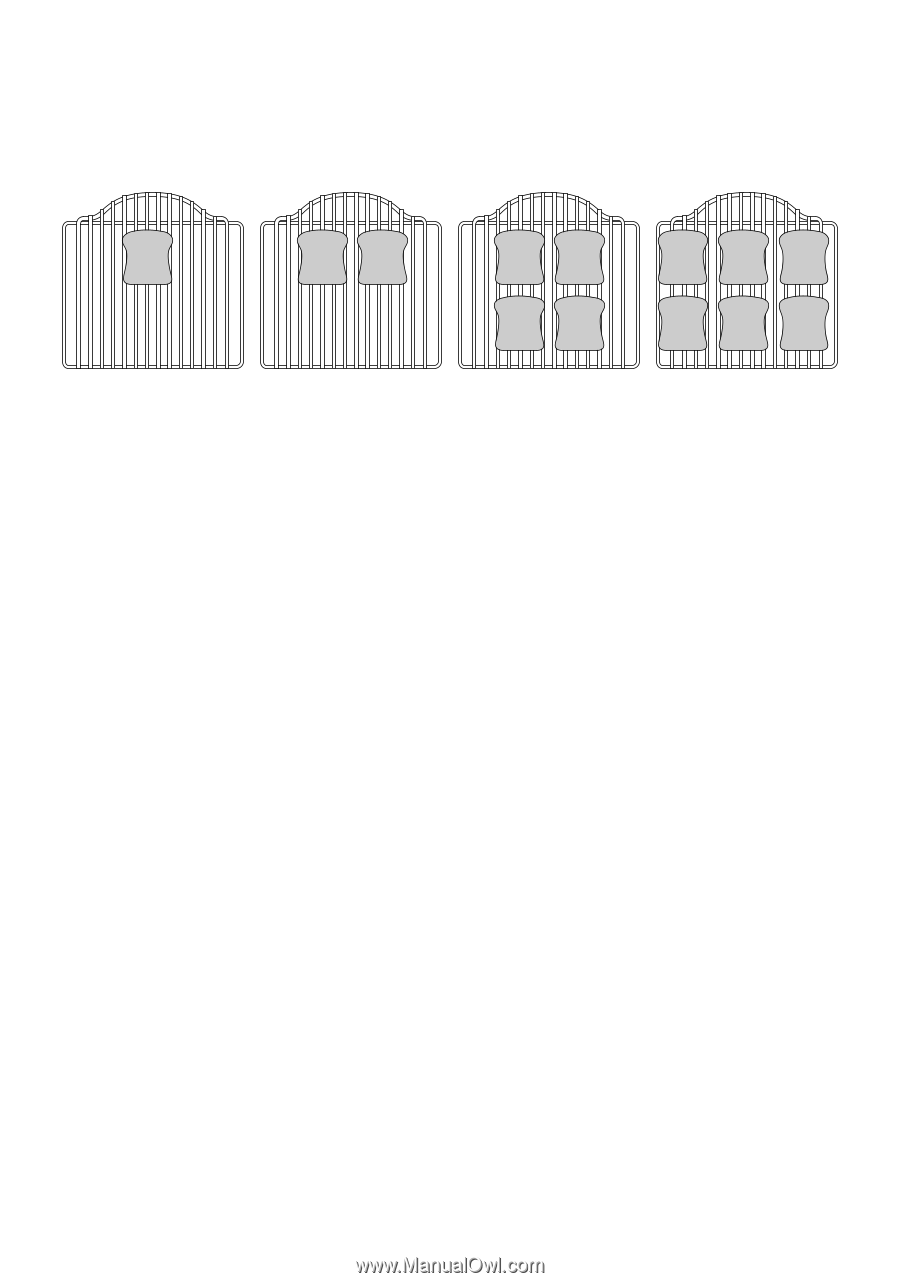
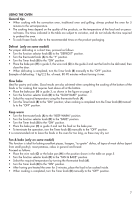
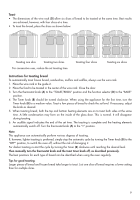
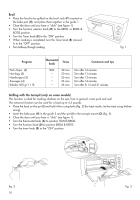
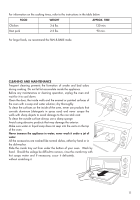
Toast • The dimensions of the wire rack (G) allow six slices of bread to be toasted at the same time. Best results are achieved, however, with four slices at a time. • To toast the bread, place the slices as shown below: Toasting one slice Toasting two slices For consecutive uses, reduce the set toasting time. Toasting four slices Toasting six slices Instructions for toasting bread To automatically toast frozen bread, sandwiches, muffins and waffles, always use the wire rack. 1. Place the wire rack in the guide 2. 2. Place the food to be toasted in the center of the wire rack. Close the door. 3. Turn the thermostat knob (A) to the "TOAST/BROIL" position and the function selector (D) to the "BAKE" position. 4. The Timer knob (B) should be turned clockwise. When using the appliance for the first time, turn the Timer knob (B) to a medium value. Toast a few pieces of bread to check the set level. If necessary, adjust the knob as desired. 5. When toasting bread, both the top and bottom heating elements are on to toast both sides at the same time. A little condensation may form on the inside of the glass door. This is normal. It will disappear during toasting. 6. An audible signal indicates the end of the set time. The toasting is complete and the heating elements automatically switch off. Turn the thermostat knob (A) to the "•" position. Note: This appliance can automatically perform various degrees of toasting. If, however, lighter toasting is preferred, simply stop the automatic cycle by turning the Timer knob (B) to the "OFF" position, to switch the oven off, without the risk of damaging it. For darker toasting re-start the cycle by turning the Timer (B) clockwise until reaching the desired level. Then manually turn the thermostat knob and the toast timer knob off, as described previously. The best positions for each type of bread can be identified when using the oven regularly. Tips for good toasting: Larger pieces of bread and frozen bread take longer to toast. Just one slice of bread requires a lower setting than for multiple slices. 9
-
 1
1 -
2
-
3
-
 4
4 -
 5
5 -
 6
6 -
 7
7 -
 8
8 -
 9
9 -
 10
10 -
 11
11 -
 12
12 -
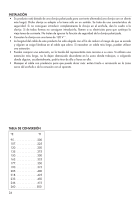 13
13 -
 14
14 -
15
-
16
-
17
-
18
-
19
-
20
-
21
-
22
-
23
-
24
-
25
-
26
-
27
-
28
-
29
-
30
-
31
-
32
-
33
-
34
-
35
 |
 |