DeLonghi ESAM3300 Owner Manual - Page 10
Fig.9, Fig.10, Fig.11, Fig.12 - problems
 |
View all DeLonghi ESAM3300 manuals
Add to My Manuals
Save this manual to your list of manuals |
Page 10 highlights
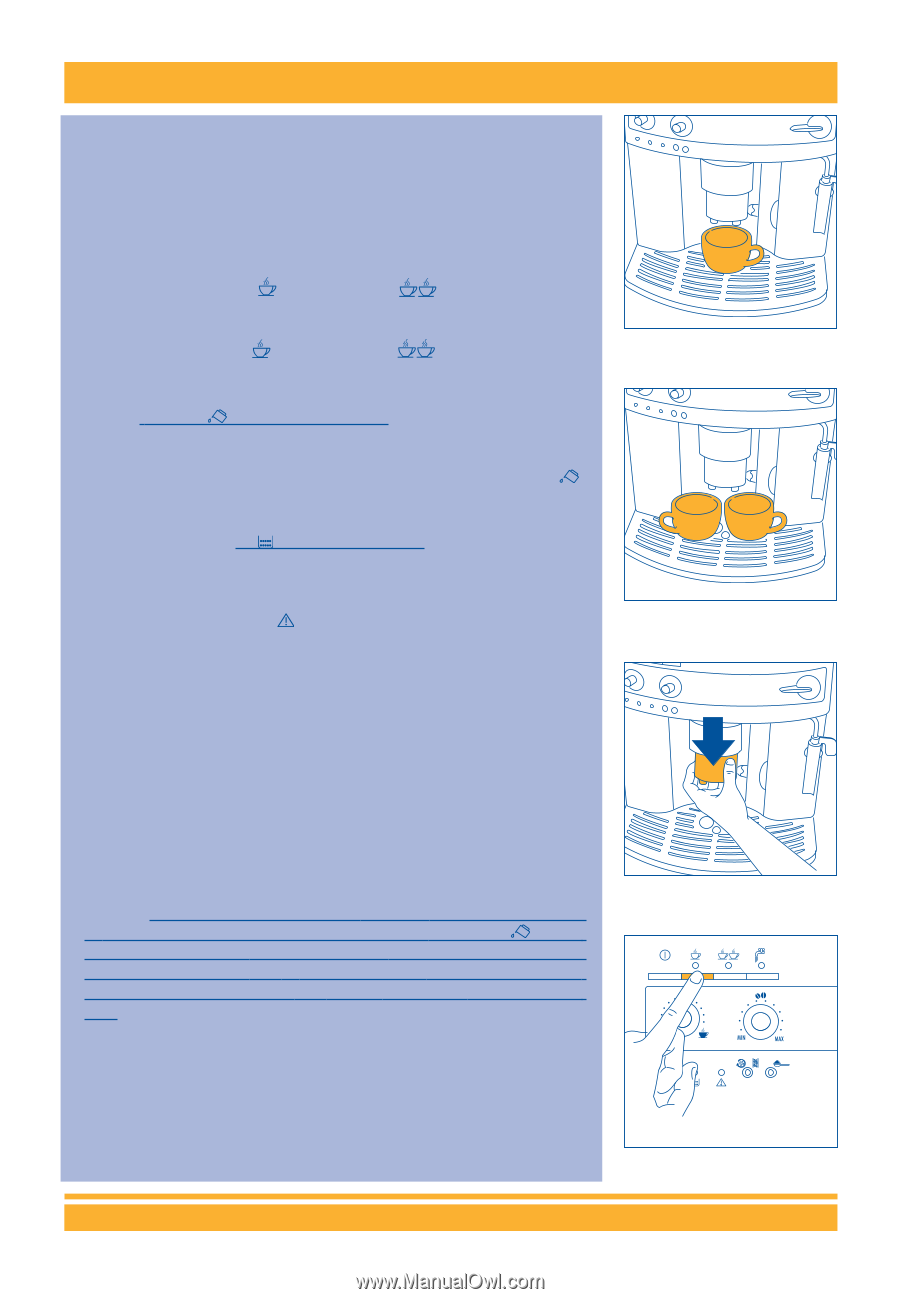
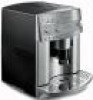
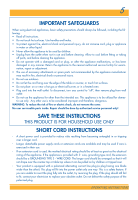
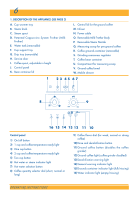
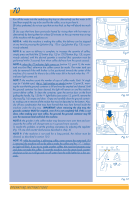
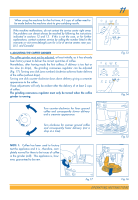
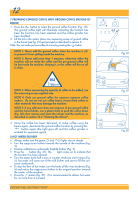
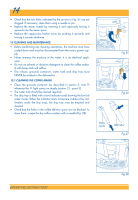
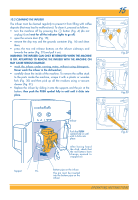
10 Run off the water into the underlying drip tray or alternatively use this water to fill (and then empty) the cup to be used for the coffee, so as to pre-heat it. 2) Unless preheated, do not use cups that are too thick, as they will absorb too much heat. 3) Use cups that have been previously heated by rinsing them with hot water or alternatively by leaving them for at least 20 minutes on the cup warmer tray on top of the machine with the appliance on. NOTE 4: while the machine is making the coffee, the delivery can be stopped at any time by pressing the button (Fig. 12) or button (Fig. 13), as pre- viously selected. NOTE 5: as soon as delivery is complete, to increase the quantity of coffee, simply press and hold the button (Fig. 12) or button (Fig. 13), as pre- viously selected, until the desired quantity is reached (this operation must be performed within 3 seconds from when coffee delivery from the spouts ceases). NOTE 6: when the indicator light comes on (section 12, point 1), the water tank must be filled, otherwise the coffee cannot be made. The water tank can only be removed if the milk frother is first positioned towards the center of the machine. (It is normal for there to be a little water left in the tank when the indicator light comes on). NOTE 7: the machine counts the number of cups of coffee made. Each 14 single cups (or 7 double cups), the light switches on steady (section 12 point 3), warning the user that the grounds container is full and must be emptied and cleaned. Until the grounds container has been cleaned, the light will remain on and the machine cannot deliver coffee. To clean the container, open the service door on the front (pulling the handle, Fig. 15), the light flashes (see section 12, point 9); remove the drip tray (Fig. 16), empty and clean. Empty and carefully clean the grounds container, making sure to remove all the residue that may be deposited on the bottom. Also, dry off any condensation that may have formed that may have formed inside the machine under the drip tray. IMPORTANT: when removing the drip tray, the grounds container MUST be emptied, even if it is not completely full. If this is not done, when making your next coffee, the grounds the grounds container may fill over the maximum level and block the machine. NOTE 8: the grinder in the coffee maker may become worn over time and consequently the coffee will change taste as it is ground more coarsely. To resolve this problem, re-set the grinding coarseness by adjusting the regulator (Fig. 17) one click counter-clockwise (as described in chap. 6). NOTE 9: if the machine is not used for a long period, the infuser must be cleaned, as described in section 10.2. NOTE 10: while the machine is delivering coffee, never remove the water tank. If it is removed, the machine will not be able to make the coffee and the " " indicator light will flash. If you try to make another coffee, the machine becomes noisy and does not make the coffee. To reset the machine, turn the steam knob counterclockwise as far as it will go and run off water from the milk frother for a few seconds. OPERATING INSTRUCTIONS Fig.9 Fig.10 Fig.11 Fig.12
-
 1
1 -
2
-
3
-
4
-
 5
5 -
 6
6 -
 7
7 -
 8
8 -
 9
9 -
 10
10 -
 11
11 -
 12
12 -
 13
13 -
 14
14 -
 15
15 -
16
-
17
-
18
-
19
-
20
-
21
-
22
 |
 |