Dell Dimension 2350 User Guide - Page 31
Replacing the Computer Cover
 |
View all Dell Dimension 2350 manuals
Add to My Manuals
Save this manual to your list of manuals |
Page 31 highlights
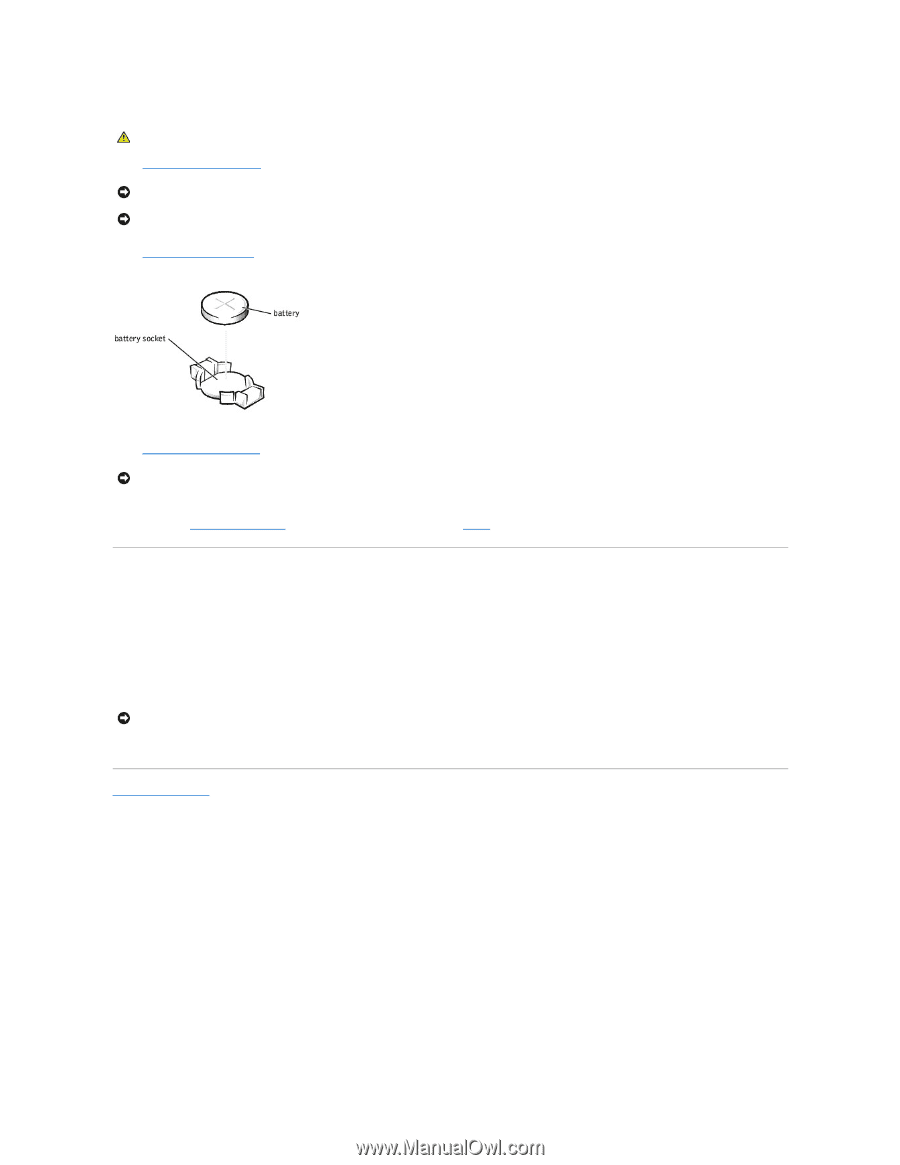
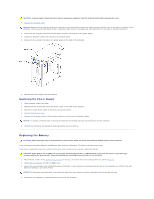
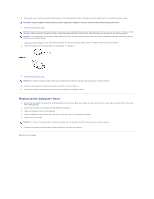
5. Disconnect your computer and all attached devices from their electrical outlets, and then press the power button to ground the system board. CAUTION: To guard against electrical shock, always unplug your computer from the electrical outlet before opening the cover. 6. Remove the computer cover. NOTICE: Before touching anything inside your computer, ground yourself by touching an unpainted metal surface, such as the metal at the back of the computer. While you work, periodically touch an unpainted metal surface to dissipate any static electricity that could harm internal components. NOTICE: To avoid damage to the system board while you pry the battery loose, be sure to insert the plastic screwdriver between the battery and the socket (not the system board). 7. Locate the battery socket on the system board and pry the battery out of its socket with your fingers or with a plastic screwdriver. 8. Insert the battery into the socket with the side labeled "+" facing up. 9. Replace the computer cover. NOTICE: To connect a network cable, first plug the cable into the network wall jack and then plug it into the computer. 10. Connect your computer and devices to electrical outlets, and turn them on. 11. Access the system setup program and restore the settings you recorded in step 1. Replacing the Computer Cover 1. Ensure that all cables are connected, and fold cables out of the way. Make sure cables are not routed over the drive cage-they will prevent the cover from closing properly. 2. Ensure that no tools or extra parts are left inside the computer. 3. Place the computer cover on the computer. 4. Slide the computer cover towards the front of the computer until it fits completely into place. 5. Tighten the thumbscrew. NOTICE: To connect a network cable, first plug the cable into the network wall jack and then plug it into the computer. 6. Connect your computer and devices to electrical outlets, and then turn them on. Back to Contents Page
-
 1
1 -
2
-
3
-
4
-
5
-
6
-
7
-
8
-
9
-
10
-
11
-
12
-
13
-
14
-
15
-
16
-
17
-
18
-
19
-
20
-
21
-
22
-
23
-
24
-
25
-
 26
26 -
 27
27 -
 28
28 -
 29
29 -
 30
30 -
 31
31 -
 32
32 -
 33
33 -
 34
34 -
 35
35 -
 36
36 -
37
-
38
-
39
-
40
-
41
-
42
-
43
-
44
-
45
-
46
-
47
-
48
-
49
-
50
-
51
-
52
-
53
-
54
-
55
 |
 |