Dell PowerConnect 2748 Getting Started Guide - Page 8
Mounting the Device
 |
View all Dell PowerConnect 2748 manuals
Add to My Manuals
Save this manual to your list of manuals |
Page 8 highlights
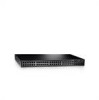
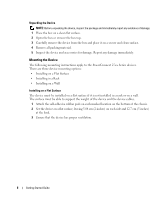
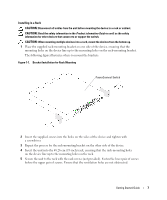
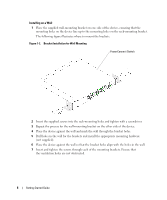
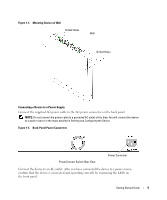
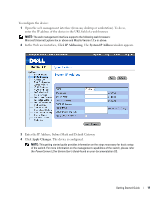
Unpacking the Device NOTE: Before unpacking the device, inspect the package and immediately report any evidence of damage. 1 Place the box on a clean flat surface. 2 Open the box or remove the box top. 3 Carefully remove the device from the box and place it on a secure and clean surface. 4 Remove all packing material. 5 Inspect the device and accessories for damage. Report any damage immediately. Mounting the Device The following mounting instructions apply to the PowerConnect 27xx Series devices. There are three device mounting options: • Installing on a Flat Surface • Installing in a Rack • Installing on a Wall Installing on a Flat Surface The device must be installed on a flat surface if it is not installed in a rack or on a wall. The surface must be able to support the weight of the device and the device cables. 1 Attach the self-adhesive rubber pads on each marked location on the bottom of the chassis. 2 Set the device on a flat surface, leaving 5.08 cm (2 inches) on each side and 12.7 cm (5 inches) at the back. 3 Ensure that the device has proper ventilation. 6 Getting Started Guide
-
 1
1 -
2
-
 3
3 -
 4
4 -
 5
5 -
 6
6 -
 7
7 -
 8
8 -
 9
9 -
 10
10 -
 11
11 -
 12
12 -
 13
13 -
14
-
15
-
16
-
17
-
18
-
19
-
20
-
21
-
22
-
23
-
24
-
25
-
26
-
27
-
28
-
29
-
30
-
31
-
32
-
33
-
34
-
35
-
36
-
37
-
38
-
39
-
40
-
41
-
42
-
43
-
44
-
45
-
46
-
47
-
48
-
49
-
50
-
51
 |
 |
