Dell PowerEdge 2450 Microprocessor Upgrade Installation Guide (.pdf) - Page 5
Configuring the Terminal Settings, Terminal Setup - servers
 |
View all Dell PowerEdge 2450 manuals
Add to My Manuals
Save this manual to your list of manuals |
Page 5 highlights
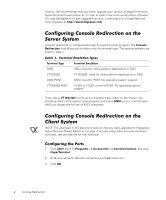
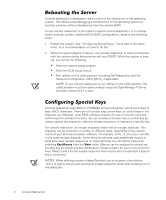
4. From the Connect to pull-down menu, select a COM port available on your Dell™ client system and click OK. If no COM port is available and you do not have a Dell system, you will need to contact technical support for your client system. After you have selected an available COM port, the COM port properties window is displayed. 5. Select Bits per second. Console redirection supports 9600, 19.2K, 57.6K, or 115.2K bps. 6. Set Data bits to 8. 7. Set Parity to None. 8. Set Stop bits to 1. 9. Set Flow control to Hardware. 10. Click OK. Configuring the Terminal Settings After you configure the ports, configure the terminal settings by performing the following steps: 1. In HyperTerminal, click File, click Properties, and select the Settings tab. 2. Make sure that the Function, arrow, and ctrl keys act as field is set to Terminal Keys. 3. Make sure that the Backspace key sends field is set to Ctrl+H. 4. Change the Emulation setting from Auto detect to ANSI or VT100/220. This setting should be the same as the setting you selected for the Console Redirection field on the server. When you click Terminal Setup, you should see a setting for the number of rows and columns. 5. Change the number of rows from 24 to 25 and leave the number of columns at 80. If you do not have these settings, this is an indication that you must upgrade your terminal emulation software. support.dell.com Console Redirection 3
-
 1
1 -
 2
2 -
 3
3 -
 4
4 -
 5
5 -
 6
6 -
 7
7 -
 8
8 -
 9
9 -
 10
10
 |
 |