Dell PowerEdge SC1435 Getting Started Guide - Page 8
Installing the System in a Rack, Connecting the Keyboard, Mouse, and Monitor
 |
View all Dell PowerEdge SC1435 manuals
Add to My Manuals
Save this manual to your list of manuals |
Page 8 highlights
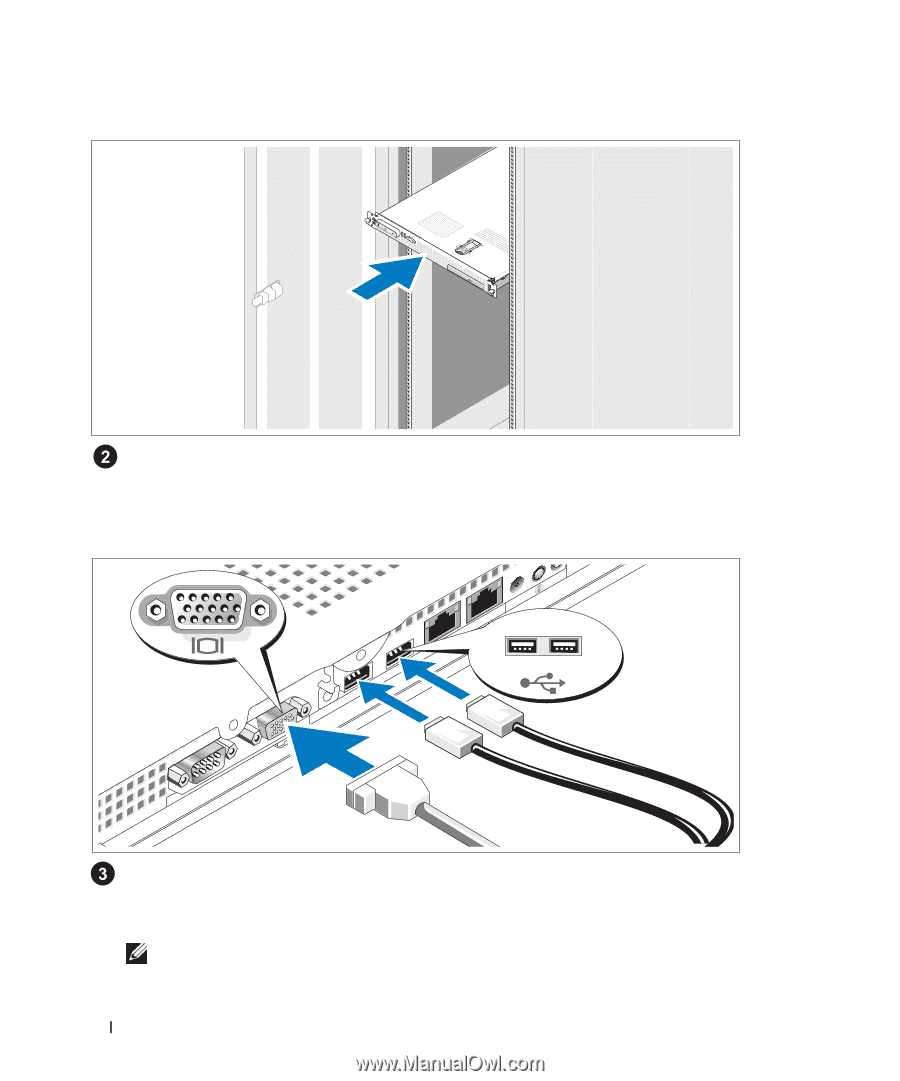
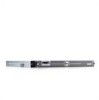
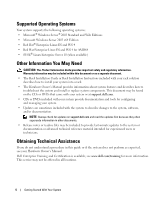
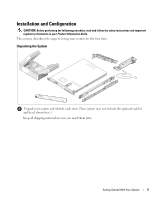
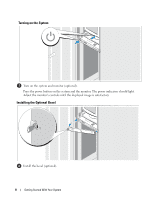
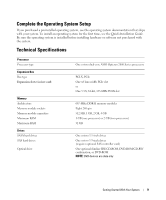
Installing the System in a Rack Install the system in the rack once you have read the "Safety Instructions" located in the rack installation documentation for your system. See your rack installation documentation for instructions on installing your system in a rack. Connecting the Keyboard, Mouse, and Monitor Connect the keyboard, mouse, and monitor (optional). The back of your system has icons indicating the USB and video connectors. Be sure to tighten the screws (if any) on the monitor's cable connector. NOTE: If you simultaneously connect two monitors to the system, using the front and rear video connections, the video output will default to the front connector because only one display can operate at a time. 6 Getting Started With Your System
-
 1
1 -
2
-
 3
3 -
 4
4 -
 5
5 -
 6
6 -
 7
7 -
 8
8 -
 9
9 -
 10
10 -
 11
11 -
 12
12 -
 13
13 -
14
-
15
-
16
-
17
-
18
-
19
-
20
-
21
-
22
-
23
-
24
-
25
-
26
-
27
-
28
-
29
-
30
-
31
-
32
-
33
-
34
-
35
-
36
-
37
-
38
-
39
-
40
-
41
-
42
-
43
-
44
-
45
-
46
-
47
-
48
-
49
-
50
 |
 |