Dell Precision M40 Dell Precision Mobile Workstation M40 Service Manual - Page 8
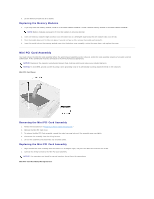
Mini PCI Card Assembly
 |
View all Dell Precision M40 manuals
Add to My Manuals
Save this manual to your list of manuals |
Page 8 highlights
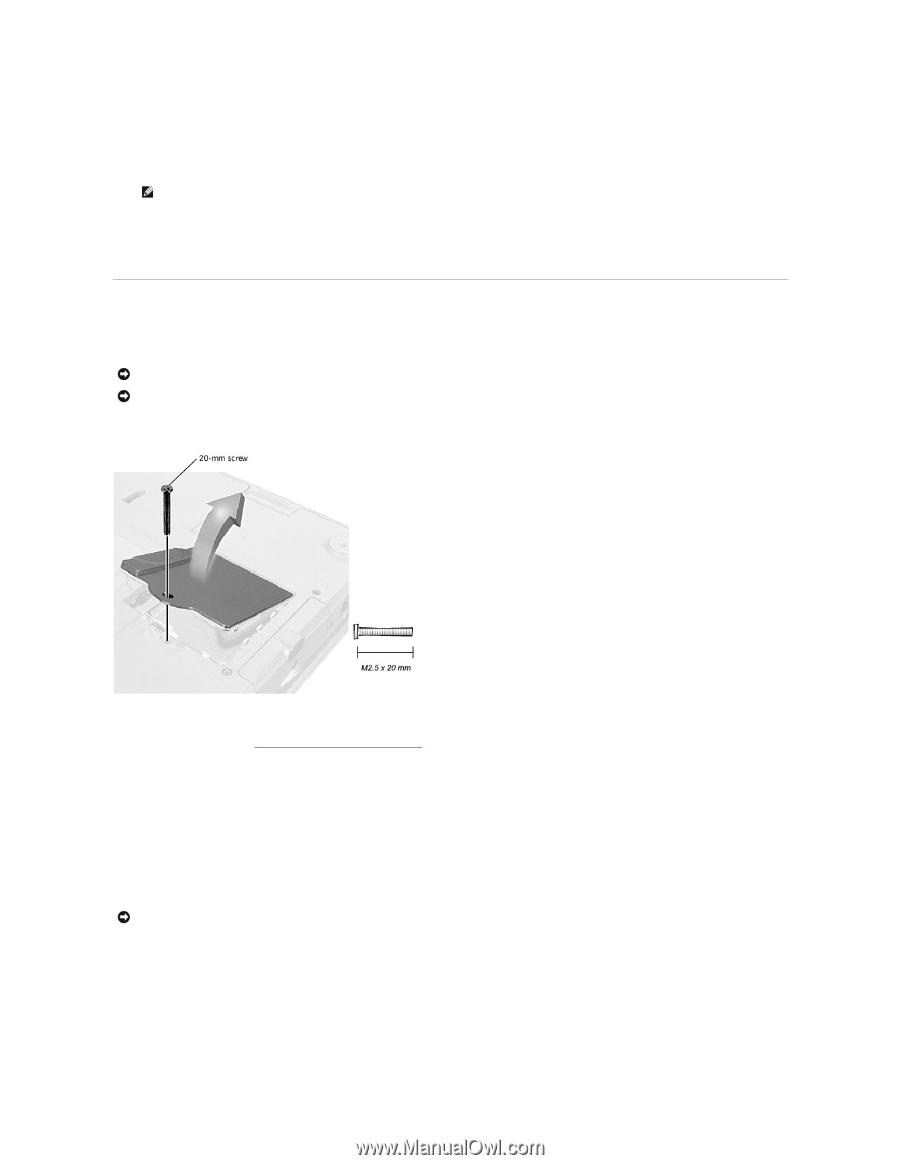
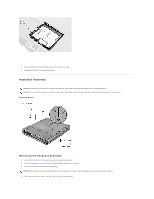
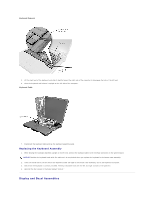
3. Lift the memory module out of its socket. Replacing the Memory Modules 1. If you only have one memory module, install it in the socket labeled "DIMM A." Install a second memory module in the socket labeled "DIMM B." NOTE: Memory modules are keyed to fit into their sockets in only one direction. 2. Insert the memory module's edge connector into the socket slot at a 45-degree angle and press the module firmly into the slot. 3. Pivot the module down until it clicks into place. If you do not hear a click, remove the module and reinstall it. 4. Insert the metal tabs on the memory module cover into the bottom case assembly, rotate the cover down, and replace the screw. Mini PCI Card Assembly You must remove the Mini PCI Card assembly before the system board assembly can be removed. A Mini PCI Card assembly consists of a modem and NIC combination. A NIC combination must be connected to the wiring harness as appropriate. NOTICE: Disconnect the computer and attached devices from electrical outlets and remove any installed batteries. NOTICE: To avoid ESD, ground yourself by using a wrist grounding strap or by periodically touching unpainted metal on the computer. Mini PCI Card Cover Removing the Mini PCI Card Assembly 1. Follow the instructions in "Preparing to Work Inside the Computer." 2. Remove the Mini PCI Card cover. 3. To release the Mini PCI Card assembly, spread the metal securing tabs until the assembly pops up slightly. 4. Disconnect the assembly from the wiring harness. 5. Lift out the assembly and disconnect any attached cables. Replacing the Mini PCI Card Assembly 1. Align the Mini PCI Card assembly with the socket at a 45-degree angle, and press the Mini PCI Card into the socket. 2. Connect the wiring harness to the Mini PCI Card assembly. NOTICE: The connectors are keyed for correct insertion; do not force the connections. Mini PCI Card Assembly Wiring Harness
-
 1
1 -
2
-
 3
3 -
 4
4 -
 5
5 -
 6
6 -
 7
7 -
 8
8 -
 9
9 -
 10
10 -
 11
11 -
 12
12 -
 13
13 -
14
-
15
-
16
-
17
-
18
-
19
-
20
-
21
-
22
-
23
-
24
-
25
-
26
 |
 |