Dell XPS 13 9305 Setup and Specifications - Page 4
Set up your XPS 13 9305, Support and Protection, Resources, Description, My Dell, SupportAssist
 |
View all Dell XPS 13 9305 manuals
Add to My Manuals
Save this manual to your list of manuals |
Page 4 highlights
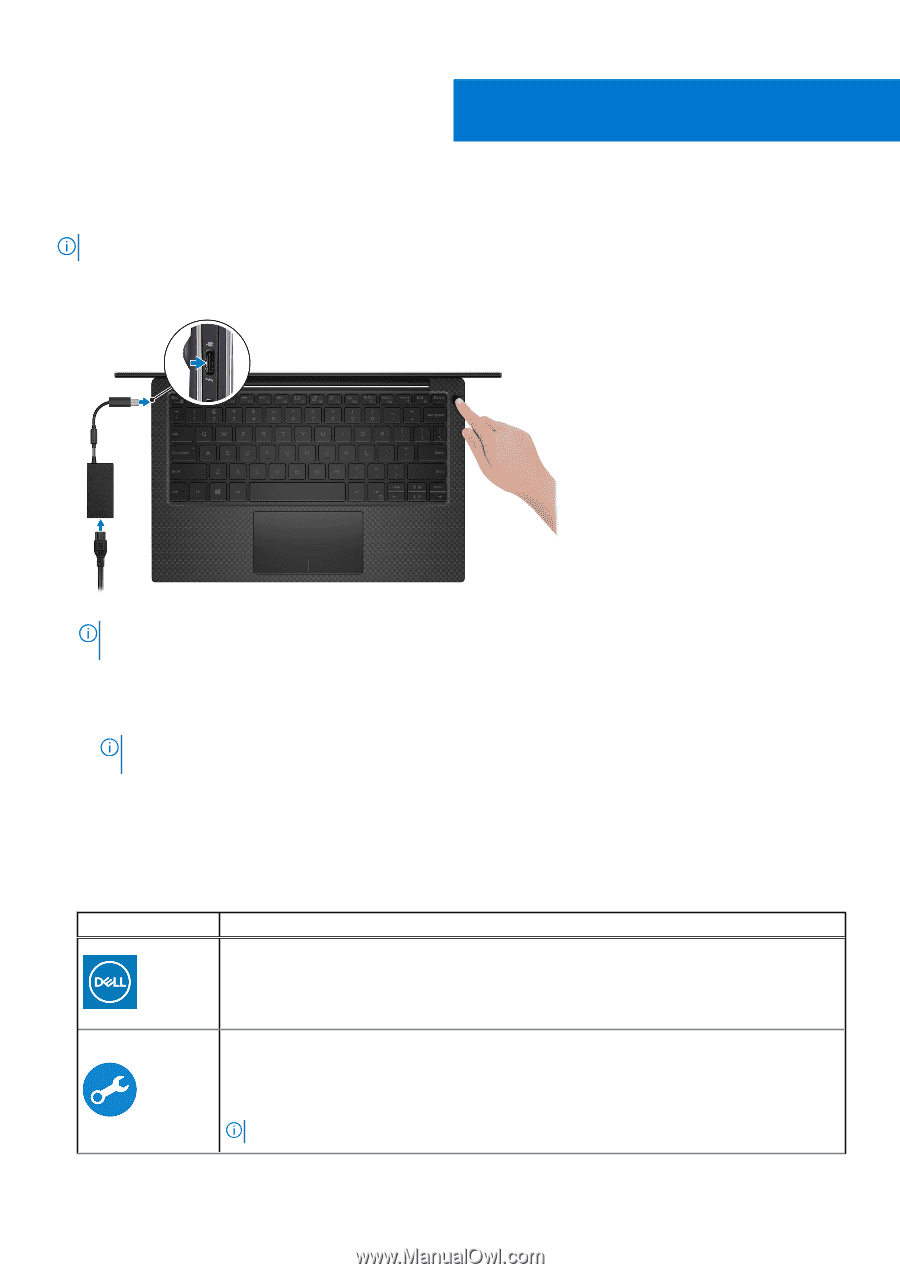
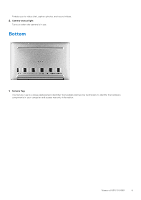
1 Set up your XPS 13 9305 NOTE: The images in this document may differ from your computer, depending on the computer configuration you ordered. 1. Connect the power adapter to the Thunderbolt 4 (USB Type-C) port with Power Delivery (Primary power source) on the left side of the computer. Then, press the power button on your computer to turn it on. NOTE: The battery may go into power-saving mode during shipment to conserve charge on the battery. Ensure that the power adapter is connected to your computer when it is turned on for the first time. 2. Finish Windows setup. Follow the on-screen instructions to complete the setup. When setting up, Dell recommends that you: ● Connect to a network for Windows updates. NOTE: If connecting to a secured wireless network, enter the password for the wireless network access when prompted. ● If connected to the Internet, sign in with or create a Microsoft account. If not connected to the Internet, create an offline account. ● On the Support and Protection screen, enter your contact details. 3. Locate and use Dell apps from the Windows Start menu-Recommended. Table 1. Locate Dell apps Resources Description My Dell Centralized location for key Dell applications, help articles, and other important information about your computer. It also notifies you about the warranty status, recommended accessories, and software updates if available. SupportAssist Proactively checks the health of your computer's hardware and software. The SupportAssist OS Recovery tool troubleshoots issues with the operating system. For more information, see the SupportAssist documentation at www.dell.com/support. NOTE: In SupportAssist, click the warranty expiry date to renew or upgrade your warranty. 4 Set up your XPS 13 9305
-
 1
1 -
 2
2 -
 3
3 -
 4
4 -
 5
5 -
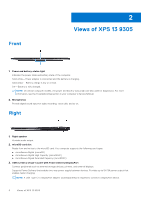 6
6 -
 7
7 -
 8
8 -
 9
9 -
 10
10 -
11
-
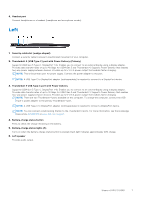
12
-
13
-
14
-
15
-
16
-
17
-
18
-
19
-
20
-
21
 |
 |