Edimax AR-7267WnB Quick Install Guide - Page 5
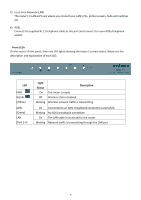
Front LEDs, Light, Status, Description
 |
View all Edimax AR-7267WnB manuals
Add to My Manuals
Save this manual to your list of manuals |
Page 5 highlights
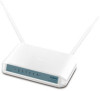
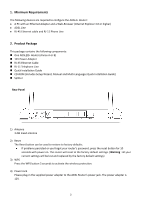
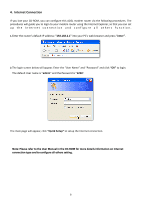
5) Local Area Network (LAN) The router's 4 LAN ports are where you connect your LAN's PCs, printer servers, hubs and switches etc. 6) ADSL Connect the supplied RJ-11 telephone cable to this port and connect it to your ADSL/telephone socket. Front LEDs On the router's front panel, there are LED lights showing the router's current status. Below are the description and explanation of each LED. LED PWR WLAN (Yellow) ADSL (Green) LAN (Port 1-4) Light Status Description On The router is ready Off Wireless LAN is disabled Blinking Wireless network traffic is transmitting On Connected to an ADSL broadband connection successfully Blinking No ADSL broadband connection On The LAN cable is connected to the router Blinking Network traffic is transmitting through the LAN port 4
-
 1
1 -
 2
2 -
 3
3 -
 4
4 -
 5
5 -
 6
6 -
 7
7 -
 8
8 -
 9
9 -
 10
10 -
 11
11 -
12
-
13
-
14
-
15
-
16
 |
 |
