Electrolux EIED55HIW Installation Instructions (All Languages) - Page 18
Performing Installation Cycle - reviews
 |
UPC - 012505378614
View all Electrolux EIED55HIW manuals
Add to My Manuals
Save this manual to your list of manuals |
Page 18 highlights
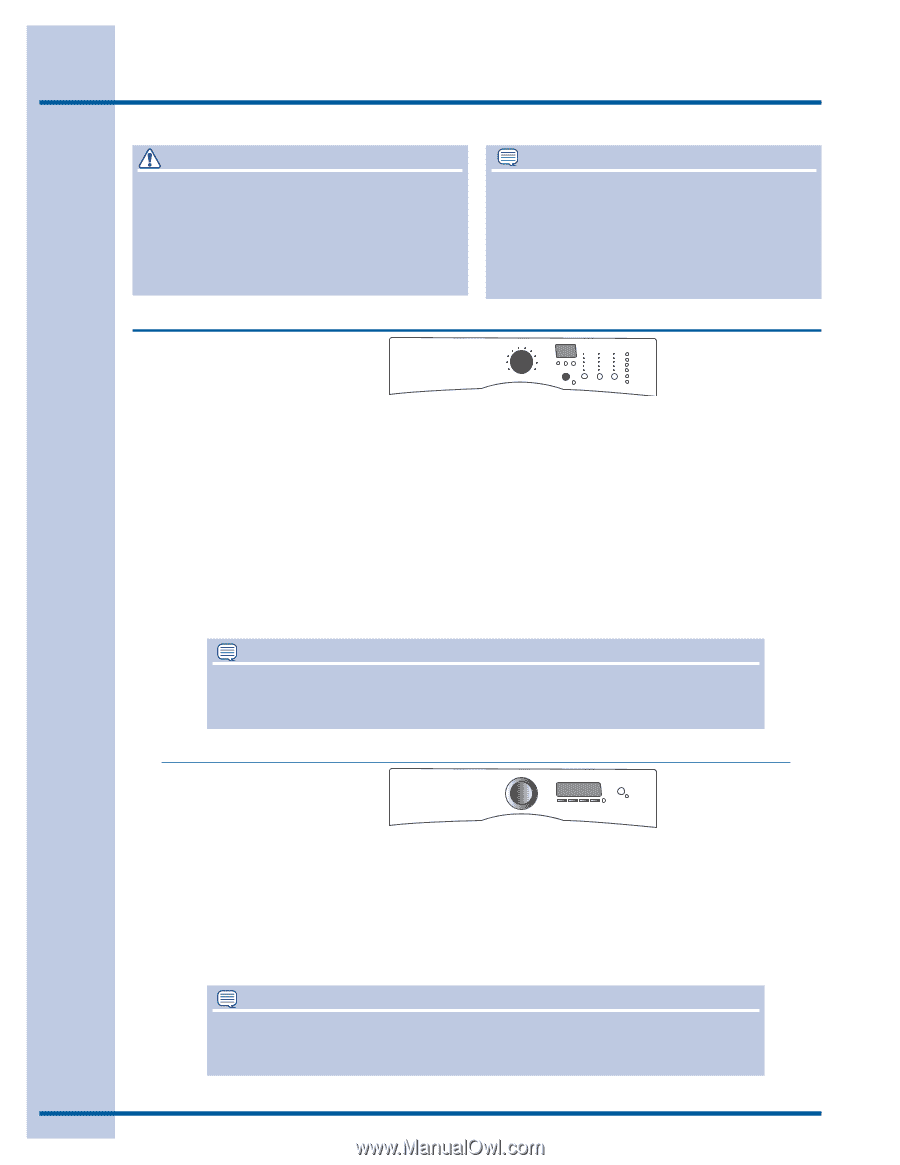
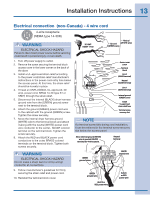
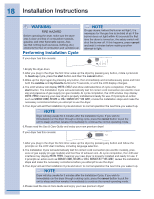
18 Installation Instructions WARNING FIRE HAZARD Before operating the dryer, make sure the dryer area is clear and free of combustible materials, gasoline, and other flammable vapors. Also see that nothing (such as boxes, clothing, etc.) obstructs the flow of combustion and ventilation air. Performing Installation Cycle If your dryer has this console: NOTE On gas dryers, before the burner will light, it is necessary for the gas line to be bled of air. If the burner does not light within 45 seconds the first time the dryer is turned on, the safety switch will shut the burner off. If this happens, press cancel and wait 5 minutes before making another attempt to light. 1.Empty the dryer drum. 2.After you plug in the dryer the first time: wake up the dryer by pressing any button, rotate cycle knob to touch up cycle, press the start button and then the cancel button. 3.Wake up the dryer again by pressing any button, then immediately and simultaneously press and hold both the sanitize and my favorite buttons for 5 seconds, or until the LCD display changes. 4.The LCD window will display INSTAL CYCLE and show estimated time of cycle completion. Press the start button. The Installation Cycle will automatically test for correct cord connection (on electric models) and presence of gas supply (on gas models). At cycle completion, the LCD window may display INSTAL PASS!, meaning your new dryer is properly installed and ready for use. If it prompts an action such as SERVICE CORD, NO GAS or call service 877 435 3287, review the installation steps and make the necessary corrections before you attempt to use the dryer. 5.Your dryer will exit the Installation Cycle and return to normal operation the next time you wake it up. NOTE Dryer will stay awake for 3 minutes after the Installation Cycle. If you wish to immediately run the dryer through a drying cycle, press the cancel button to put the unit to sleep and then rewake it immediately to continue the normal operating mode. 6.Please read the Use & Care Guide and enjoy your new premium dryer! If your dryer has this console: 1.After you plug in the dryer the first time: wake up the dryer by pressing any button and follow the prompts on the LCD User Interface, including language selection. 2.The Installation Cycle will automatically test for correct cord connection (on electric models), presence of gas supply (on gas models) and free flow of exhaust vent. At cycle completion, the LCD user interface may display INSTAL PASS!, meaning your new dryer is properly installed and ready for use. If it prompts an action such as SERVICE CORD, NO GAS or call service 877 435 3287, review the installation steps and make the necessary corrections before you attempt to use the dryer. 3.Your dryer will exit the Installation Cycle and return to normal operation the next time you wake it up. NOTE Dryer will stay awake for 3 minutes after the Installation Cycle. If you wish to immediately run the dryer through a drying cycle, press the cancel button to put the unit to sleep and then rewake it immediately to continue the normal operating mode. 4.Please read the Use & Care Guide and enjoy your new premium dryer!
-
 1
1 -
2
-
3
-
4
-
5
-
6
-
7
-
8
-
9
-
10
-
11
-
12
-
 13
13 -
 14
14 -
 15
15 -
 16
16 -
 17
17 -
 18
18 -
 19
19 -
 20
20 -
 21
21 -
 22
22 -
 23
23 -
24
-
25
-
26
-
27
-
28
-
29
-
30
-
31
-
32
-
33
-
34
-
35
-
36
-
37
-
38
-
39
-
40
-
41
-
42
-
43
-
44
-
45
-
46
-
47
-
48
-
49
-
50
-
51
-
52
-
53
-
54
-
55
-
56
-
57
-
58
-
59
-
60
-
61
-
62
-
63
-
64
-
65
-
66
-
67
-
68
-
69
-
70
-
71
-
72
-
73
-
74
-
75
-
76
 |
 |