Emerson FR23SL Owners Manual - Page 3
Control Panel Overview, Unpacking the unit, Finding a good spot for your wine cellar, Installation - wine cooler
 |
View all Emerson FR23SL manuals
Add to My Manuals
Save this manual to your list of manuals |
Page 3 highlights
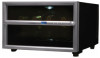
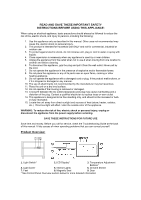
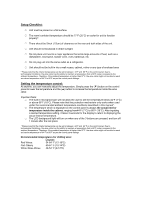
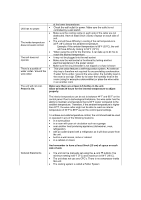
Control Panel Overview: ▲ - Increase temperature in increments of 1°F (Fahrenheit) ▼ - Decrease temperature in increments of 1°F (Fahrenheit) ☼ - Turn interior lamp on/off. Unpacking the unit: 1. Remove the exterior and interior packing. 2. Check to be sure you have all the following parts: a. One (1) wine cellar b. One (1) owner's manual c. Two (2) chrome bottle racks Finding a good spot for your wine cellar: • Place your wine cellar on a flat surface that is strong enough to support it when fully loaded. • Allow 15 cm (5") of space on the rear and both sides of the wine cellar to allow proper ventilation. • This wine cellar is designed to be free standing only, and should not be recessed or builtin (fully recessed). • Do not place heavy objects on top of the unit. • Do not locate the unit in a moist place. • Do not locate the wine cellar in direct sunlight. • The unit's cooling system operates efficiently with an ambient temperature of 77°F (25°C) or less.* * Please note that the interior temperature can be set to between 44°F and 66°F on the control panel. Due to technological limitations, the wine cellar has the ability to maintain a temperature that is 66°F cooler compared to the ambient temperature. Therefore, if the ambient temperature is higher than 97°F, the wine cellar might not be able to reach an interior temperature of 44°F to 66°F as per the control panel settings. ALWAYS REMOVE ALL BOTTLES BEFORE MOVING THE WINE CELLAR Installation instructions: 1. Gently place/slide the racks in the wine cellar. 2. Slide the Air Inlet Filter into the guides on the back of the wine cellar 3. Unpack the power cord from the back of the wine cellar 4. Plug the power plug into an exclusive standard 110/120V outlet.
-
 1
1 -
 2
2 -
 3
3 -
 4
4 -
 5
5 -
 6
6 -
 7
7 -
 8
8
 |
 |
