Epson 1640XL Start Here Card - Page 5
Scanner Basics, Your First Scan - mac
 |
UPC - 010343833548
View all Epson 1640XL manuals
Add to My Manuals
Save this manual to your list of manuals |
Page 5 highlights
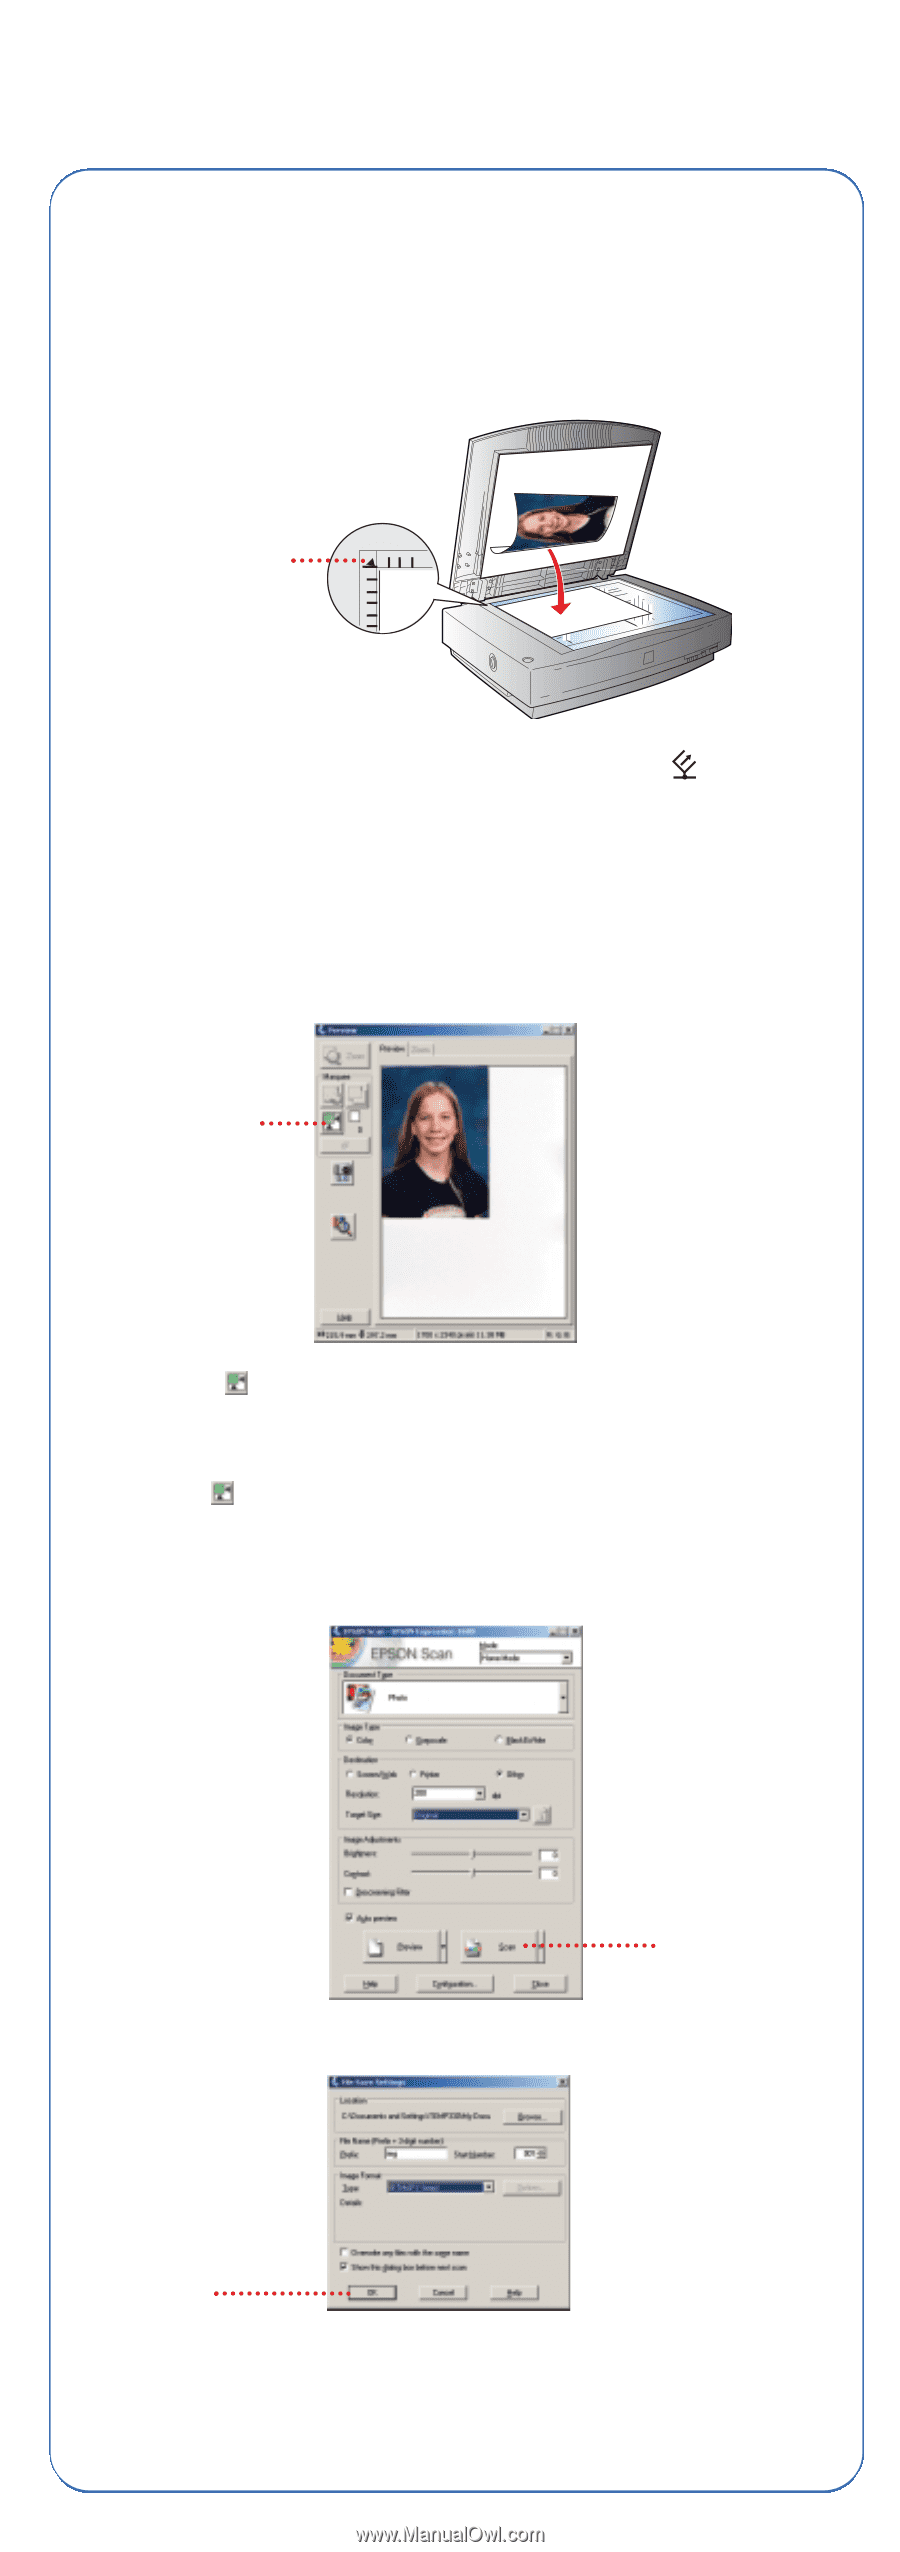
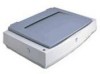
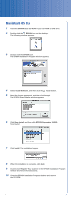
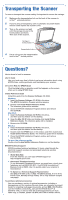
Scanner Basics Your First Scan When you follow these steps, your scanner software recognizes the type of image you're scanning and adjusts settings for optimum scan quality. 1 Raise the scanner lid and place the item face down on the glass. Place the item in this corner 2 Start EPSON Scan. You can press the scanner's green Start button (Windows), or do one of the following: Windows: Click Start > Programs or All Programs > EPSON Scan > EPSON Scan. Mac OS 9.x: Select EPSON Scan from the Apple® menu. Mac OS X: Double-click the EPSON Scan icon in the Applications folder. EPSON Scan starts, prescans, and recognizes the type of image you placed on the scanner. Click to select your image 3 Click the tool to the left of your preview to automatically select your image. Note: If the scanned image in the Preview window has a blue box around it, you're previewing in thumbnail mode and won't be able to use the tool. Click the arrow beside the Preview button and select Normal from the pull-down menu. Then click the Preview button to preview in normal mode. 4 Click the Scan button. The File Save Settings window appears. Click here Click OK 5 Click OK to save your scanned image to the default location on your hard drive, or browse to a new location. EPSON Scan assigns sequential numbers to each scanned image, and saves it to the location specified.
-
 1
1 -
 2
2 -
 3
3 -
 4
4 -
 5
5 -
 6
6 -
 7
7 -
 8
8
 |
 |