Epson 2180 Product Information Guide - Page 11
Paper Thickness Lever Positions, Paper Handling - parts
 |
UPC - 010343815766
View all Epson 2180 manuals
Add to My Manuals
Save this manual to your list of manuals |
Page 11 highlights
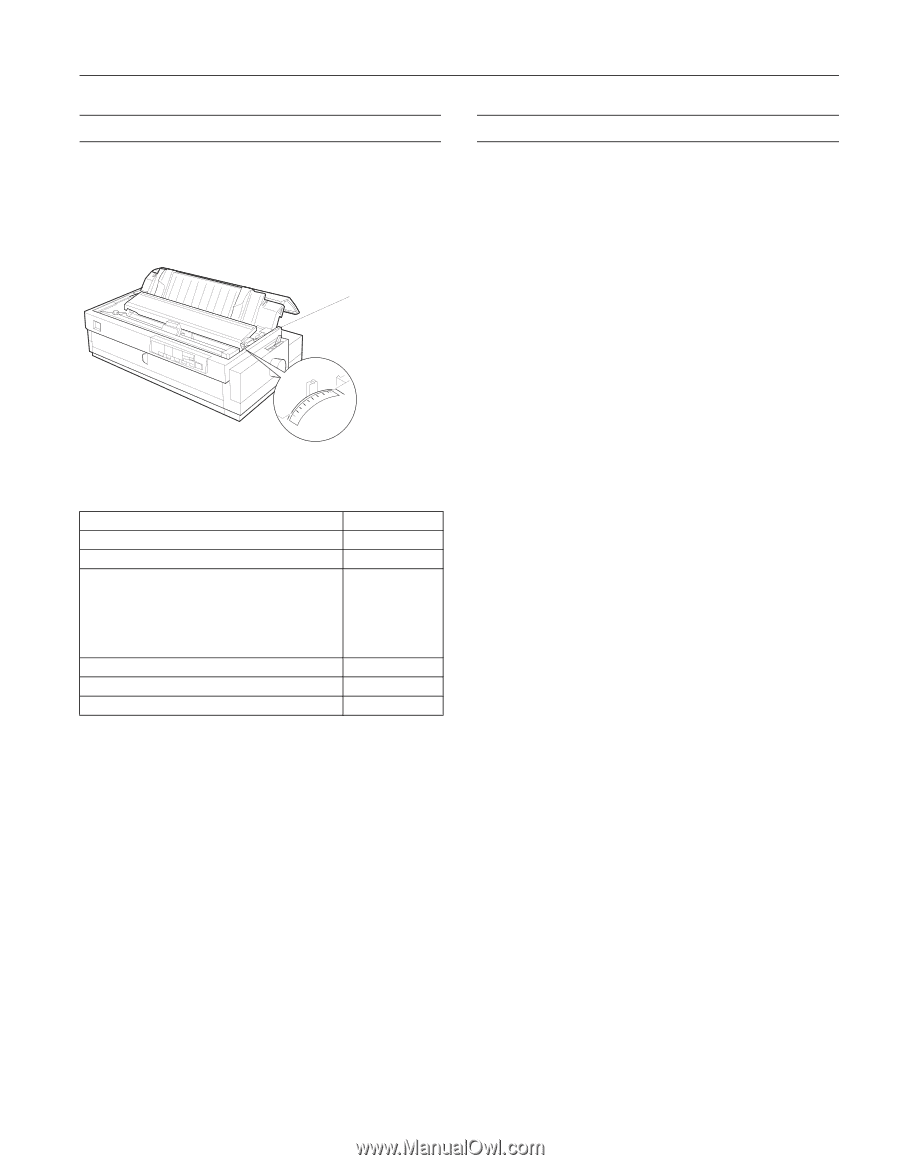
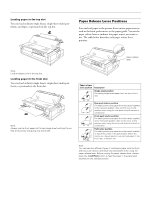
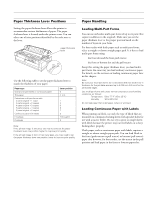
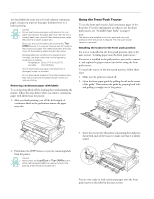
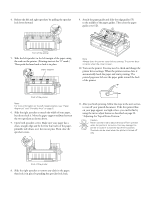
EPSON LQ-2180 Paper Thickness Lever Positions Setting the paper thickness lever allows the printer to accommodate various thicknesses of paper. The paper thickness lever is located under the printer cover. You can select one of nine positions identified by the scale next to the lever. paper thickness lever 5 4 3 2 1 0 -1 6 7 Use the following table to set the paper thickness lever to match the thickness of your paper. Paper type Ordinary (single sheets or continuous paper) Thin paper Carbonless multi-part forms with: 2 parts (original + 1 copy) 3 parts (original + 2 copies) 4 parts (original + 3 copies) 5 parts (original + 4 copies) 6 parts (original + 5 copies) Continuous paper with labels Envelopes Postcards Lever position 0 -1 or 0 1 2 3 5 7 2 2 through 6 2 Note: If the printed image is smeared, you may need to set the paper thickness lever one position higher to improve print quality. If the printed image is faint or has many gaps, you may need to set the paper thickness lever one position lower to improve print quality. Paper Handling Loading Multi-Part Forms You can use carbonless multi-part forms of up to six parts (five copies in addition to the original). Make sure you set the paper thickness lever to the proper position based on the number of layers in your form. For best results with thick paper such as multi-part forms, select a straight or almost straight paper path. It is best to load multi-part forms using: t the front slot and the front push tractor t the front or bottom slot and the pull tractor Except for setting the paper thickness lever, you load multipart forms the same way you load ordinary continuous paper. For details, see the sections on loading continuous paper later in this chapter. Note: Be sure your multi-part forms do not exceed 0.018 inch (0.46 mm) in thickness for the printable area and up to 0.035 inch (0.9 mm) for the perforated edges. Use multi-part forms only under normal temperature and humidity conditions, as follows: Temperature 59 to 77 °F (15 to 25 °C) Humidity 30 to 60% RH Do not load paper that is damaged, curled, or wrinkled. Loading Continuous Paper with Labels When printing on labels, use only the type of labels that are mounted on continuous backing sheets with sprocket holes for use with a tractor feeder. Do not try to print on single sheets with labels because the printer may not feed labels on a shiny backing sheet properly. Thick paper, such as continuous paper with labels, requires a straight or almost straight paper path. You can load labels in the front (push tractor or pull tractor) or bottom (pull tractor) paper slot; however, for best results, use the tractor in the pull position and load paper in the front or bottom paper slot. 2/99 EPSON LQ-2180 - 11
-
 1
1 -
2
-
3
-
4
-
5
-
 6
6 -
 7
7 -
 8
8 -
 9
9 -
 10
10 -
 11
11 -
 12
12 -
 13
13 -
 14
14 -
 15
15 -
 16
16 -
17
-
18
-
19
-
20
-
21
-
22
-
23
-
24
-
25
-
26
-
27
-
28
-
29
 |
 |