Epson AcuLaser CX11N Start Here Card - Page 7
Install and Con the Client Software (Windows Only), Install Software, Add Port - driver
 |
View all Epson AcuLaser CX11N manuals
Add to My Manuals
Save this manual to your list of manuals |
Page 7 highlights
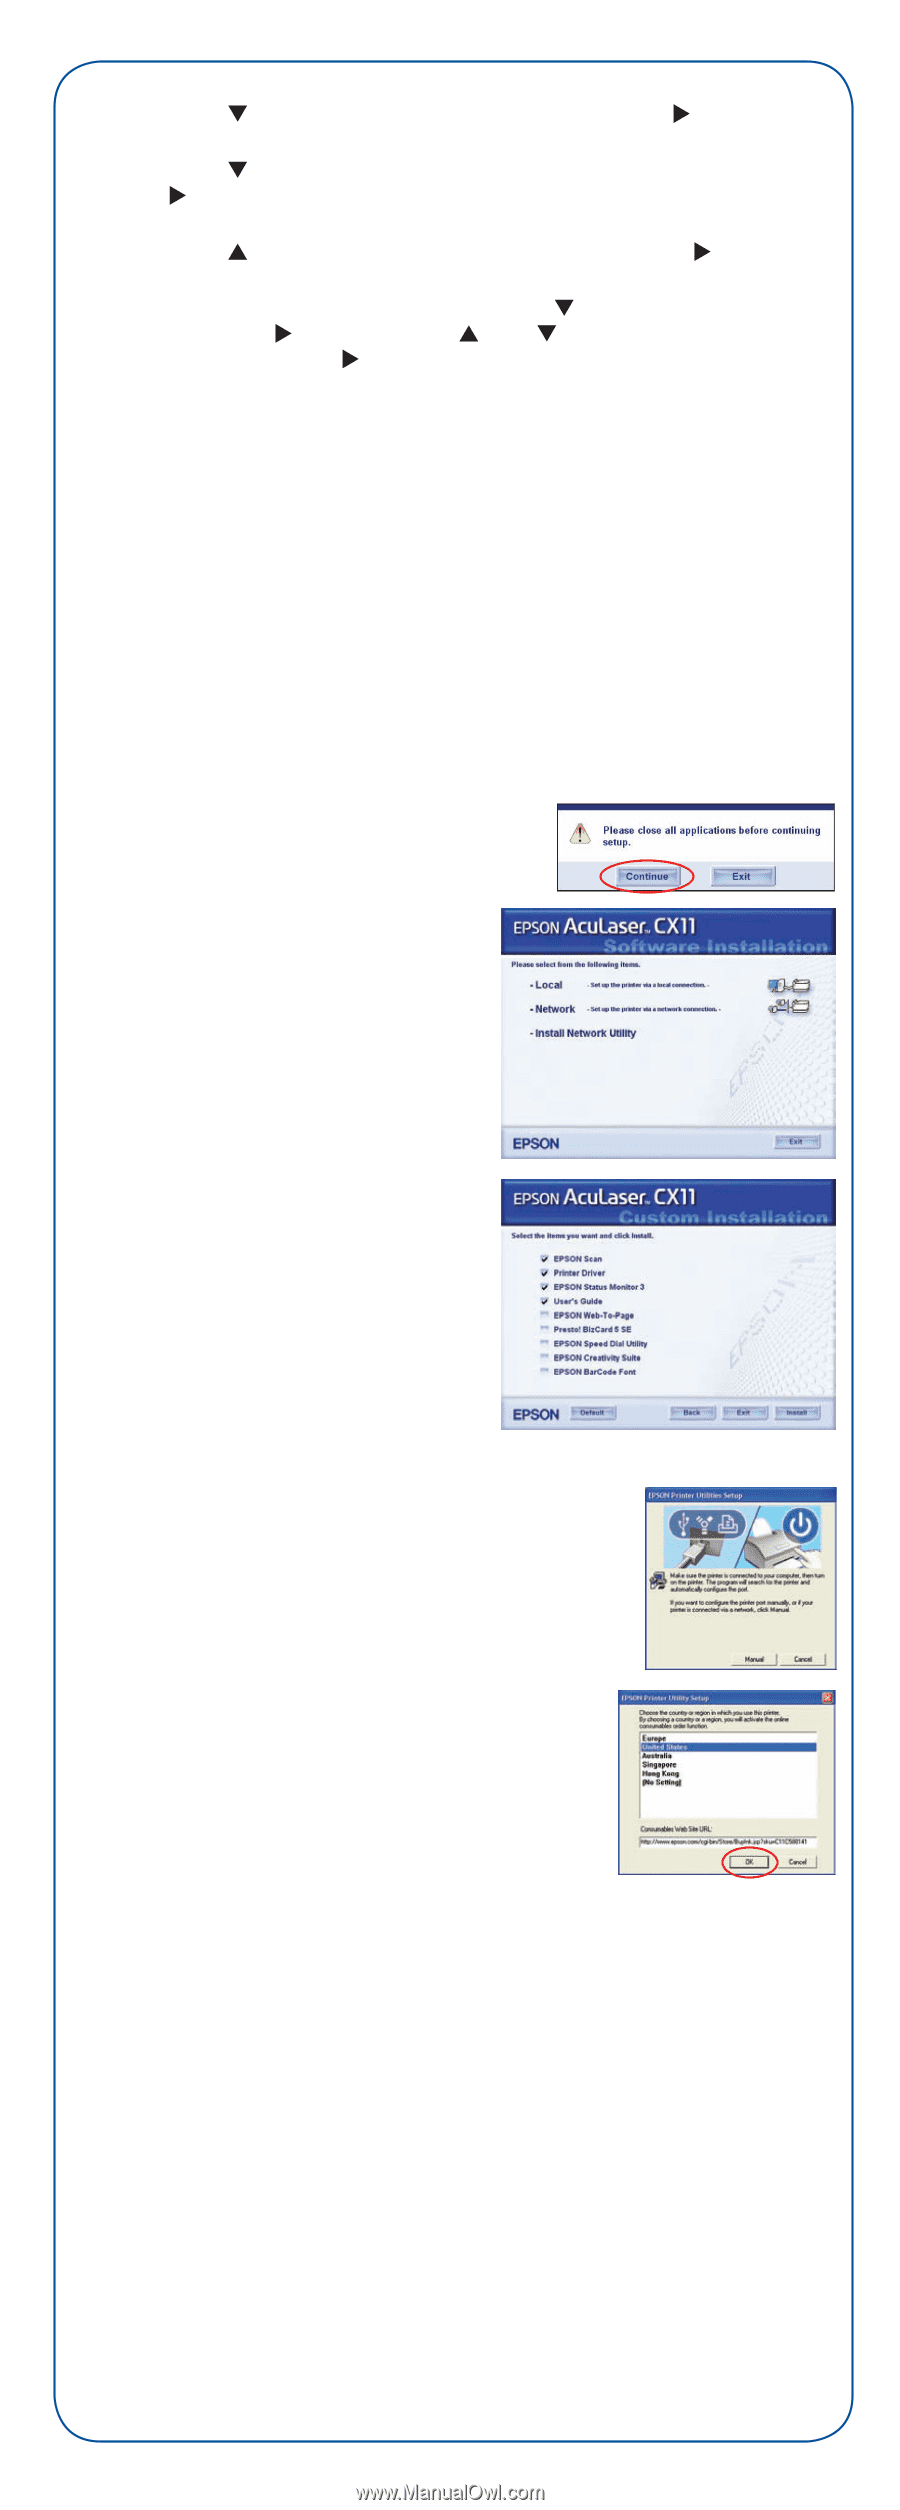
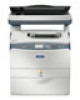
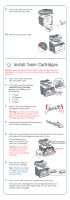
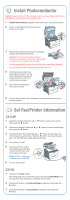
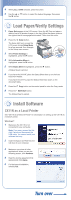
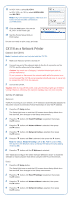
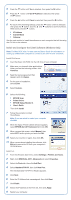
5 Press the button until Yes is selected, then press the button. 6 Press the button until Get IP Address is selected, then press the button. 7 Press the button until Panel is selected, then press the button. 8 For each of the following settings, press the button until it is selected, then press the button. Use the and buttons to set the numbers. When done press the button. • IP Address • Subnet Mask • Gateway See the next section to install the software on each computer that will be using the CX11N on the network. Install and Configure the Client Software (Windows Only) Note: For Mac OS X 10.2.4 or later, see the Basics Guide for information on setting up a Macintosh computer to connect to the CX11N over a network. Install Software 1 Insert the Epson CD-ROM into the CD drive of your computer. 2 Make sure you close all other applications. When you see the following screen, click Continue. 3 Read the license agreement that appears and click Agree. 4 For the type of installation, select Local. 5 Select Custom. 6 Select the following: • EPSON Scan • Printer Driver • EPSON Status Monitor 3 • User's Guide Then click Install. 7 Follow the prompts to install the software. Note: If you are asked to restart your computer, click No. 8 When the Epson Printer Utilities Window appears, select EPSON AL-CX11 Advanced and click OK. 9 When you see this screen, select Manual, then select LPT1 as the printer port and click OK. 10 Select your country or region, then click OK. 11 When you are done installing the software, click Exit and remove the CD from your computer's CD-ROM drive. Add Port 1 From the Windows Start menu, select Settings > Printers and Faxes. 2 Right-click EPSON AL-CX11 Advanced and select Properties. 3 Select the Ports tab, then click Add Port. 4 Select Standard TCP/IP, then click New Port. The Add Standard TCP/IP Port Wizard appears. 5 Click Next. 6 Enter the IP Address that was assigned, then click Next. 7 Click Finish. 8 Select the IP address in the Ports list, then click Apply. 9 Restart your computer.
-
 1
1 -
 2
2 -
 3
3 -
 4
4 -
 5
5 -
 6
6 -
 7
7 -
 8
8
 |
 |