Epson C1100 Setup Guide
Epson C1100 - AcuLaser Color Laser Printer Manual
 |
View all Epson C1100 manuals
Add to My Manuals
Save this manual to your list of manuals |
Epson C1100 manual content summary:
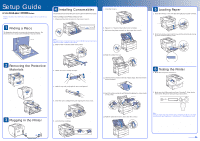
- Epson C1100 | Setup Guide - Page 1
important information and useful tips on the operation of your printer. Installing Consumables For specifications and handling precautions, see the Reference Guide. Toner Cartridges and Photoconductor Unit 1. Make sure the printer is turned on, then open cover A. 7. Close the cover A. Finding - Epson C1100 | Setup Guide - Page 2
Network Utility. 5. Select Network Guide. Then follow the on-screen instructions. Installing the Printer Software For Windows users 1. Make sure the printer is turned off. 3. For Mac OS 9 users, double-click the Mac OS 9 icon. For Mac OS X users, double-click the EPSON icon, then double-click the
-
 1
1 -
 2
2
 |
 |
Turn over
Setup Guide
Notes
contain important information and useful tips on the operation of your
printer.
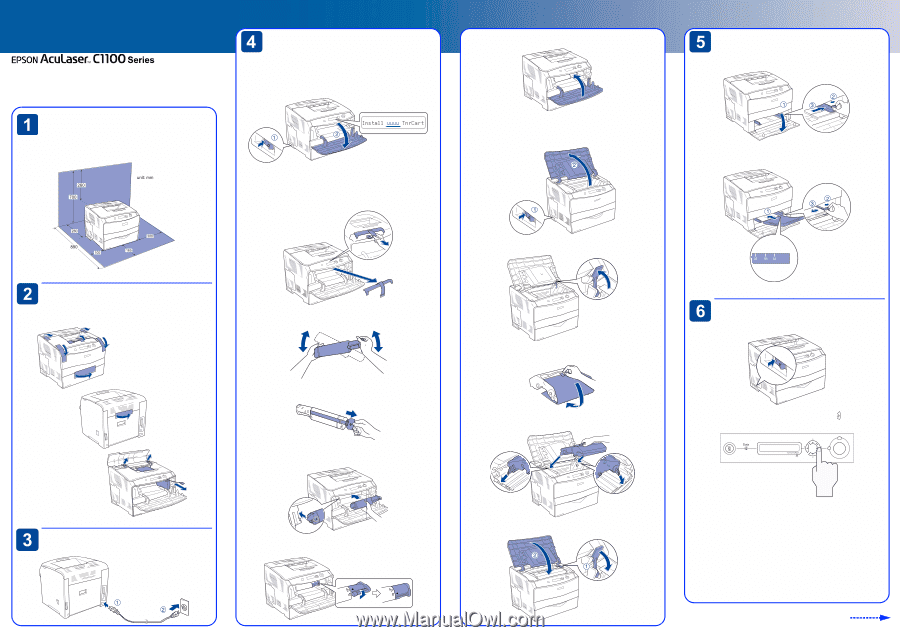
Finding a Place
The illustration shows the recommended amount of space. For
information and cautions, see the Safety Instructions sheet.
Removing the Protective
Materials
Plugging in the Printer
Installing Consumables
For specifications and handling precautions, see the
Reference Guide
.
Toner Cartridges and Photoconductor Unit
1.
Make sure the printer is turned on, then open cover A.
Note:
The letters C, M, Y, or K appear in place of uuuu and indicate the colors Cyan,
Magenta, Yellow, and Black respectively.
2.
Remove the cover from inside of the printer.
3.
Shake the toner cartridge enough.
4.
Hold the tag and gently pull the toner seal upward.
5.
Insert the toner cartridge firmly with aligning the arrow mark.
6.
Lock the toner cartridge.
7.
Close the cover A.
8.
Repeat 1 to 7 steps to install other toner cartridges.
9.
Make sure the printer is turned on, then open the cover B.
10. Raise the yellow lever up.
11. Take the photoconductor unit out of its package, then remove the
protective sheet.
12. Insert the photoconductor unit firmly with aligning the arrow marks
on the printer.
13. Push the yellow lever down, then close the cover B.
Loading Paper
1.
Open the MP tray cover, then slide the right paper guide outward.
2.
Set A4 or Letter size paper into the tray with the printable side facing
up, then close the MP tray cover.
Testing the Printer
1.
Make sure the printer is turned on.
2.
Make sure the LCD panel shows
Ready
. Press the
Enter button
three times. The printer starts printing a status sheet.
Note:
If you are unable to get the printer to print a normal status sheet or you have
a problem with print quality, see “Problem Solver” in the Reference Guide.
4049771-02
XXX