Epson CX4400 Product Information Guide - Page 5
Selecting the Correct Media Type, Placing Originals for Copying or Scanning - stylus all in one printer
 |
UPC - 010343865310
View all Epson CX4400 manuals
Add to My Manuals
Save this manual to your list of manuals |
Page 5 highlights
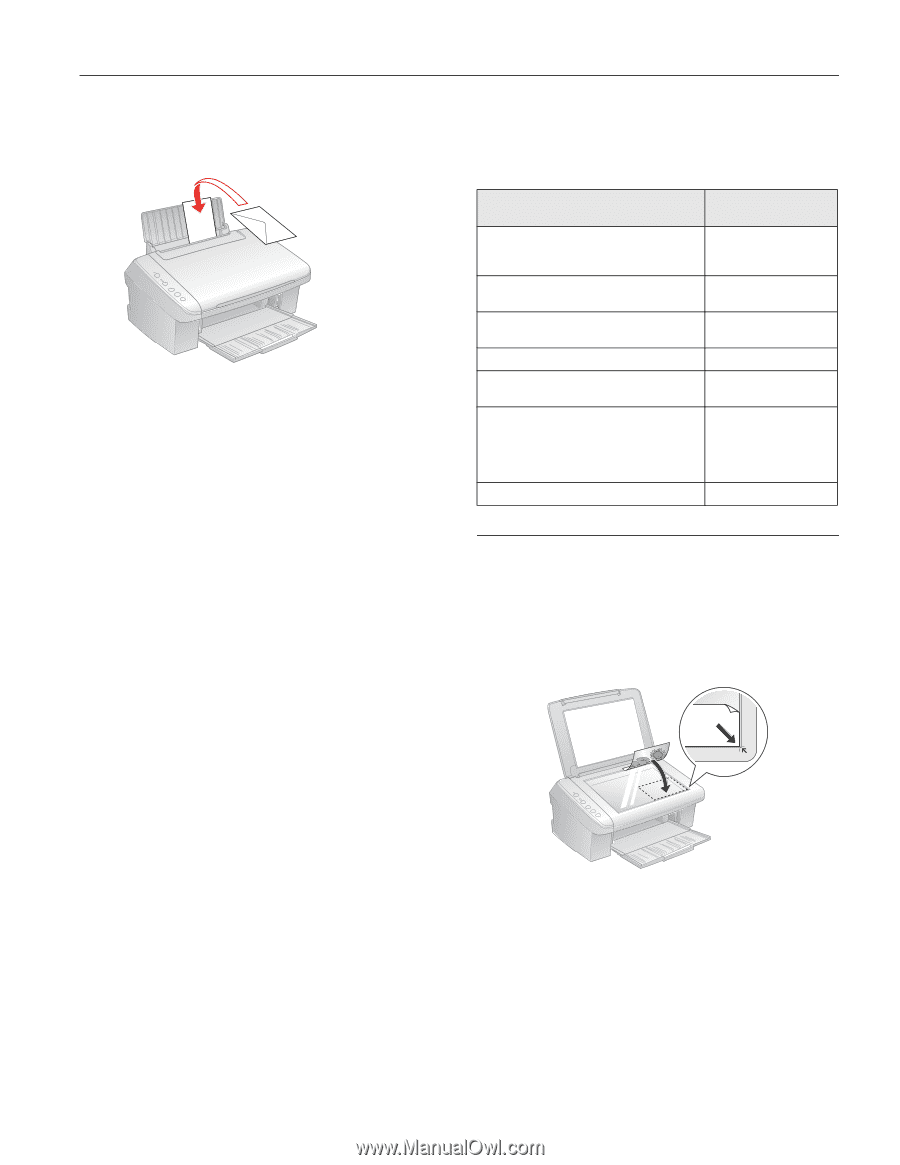
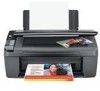
Epson Stylus CX4400 Series 3. Load up to 10 envelopes at a time, flap edge left, printable side up, against the right side. Load the flap edge left, printable side up Note: For best results, press each envelope flat before loading, or load one envelope at a time. 4. Slide the edge guide against the envelopes (but not too tightly). 5. Flip the feeder guard back. Select the following settings when printing on envelopes: ❏ Envelope as the paper Type or Media Type setting ❏ Envelope #10 as the Size or Paper Size setting ❏ Landscape as the Orientation setting Selecting the Correct Media Type The table below lists the settings you should choose for your paper in the printer software: Paper Plain paper Epson Bright White Paper Epson Presentation Paper Matte Epson Ultra Premium Photo Paper Glossy Epson Premium Photo Paper Glossy Epson Photo Paper Glossy Epson Premium Photo Paper Semi-gloss Epson Premium Presentation Paper Matte Epson Premium Presentation Paper Matte Double-Sided Epson Photo Quality Self-Adhesive Sheets Epson Iron-On Cool Peel Transfer Paper Envelopes Type or Media Type setting Plain Paper / Bright White Paper Ultra Premium Photo Paper Glossy Premium Photo Paper Glossy Photo Paper Glossy Premium Photo Paper Semi-Gloss Premium Presentation Paper Matte Envelope Placing Originals for Copying or Scanning Caution: Do not place heavy objects on the scanner or document cover. 1. Open the document cover and place your original facedown on the glass, in the front right corner. Move the photo or document slightly away from the edges to avoid cropping. 2. Close the document cover gently so that your original does not move. 5/07 5
-
 1
1 -
 2
2 -
 3
3 -
 4
4 -
 5
5 -
 6
6 -
 7
7 -
 8
8 -
 9
9 -
 10
10 -
 11
11 -
12
 |
 |