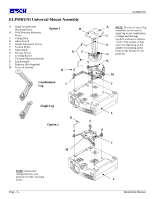
Epson PowerLite 713c Installation Guide - ELPMBUNI Universal Mount Assembly - Page 8
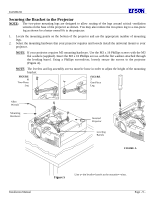
Securing the Bracket to the Projector
 |
View all Epson PowerLite 713c manuals
Add to My Manuals
Save this manual to your list of manuals |
Page 8 highlights
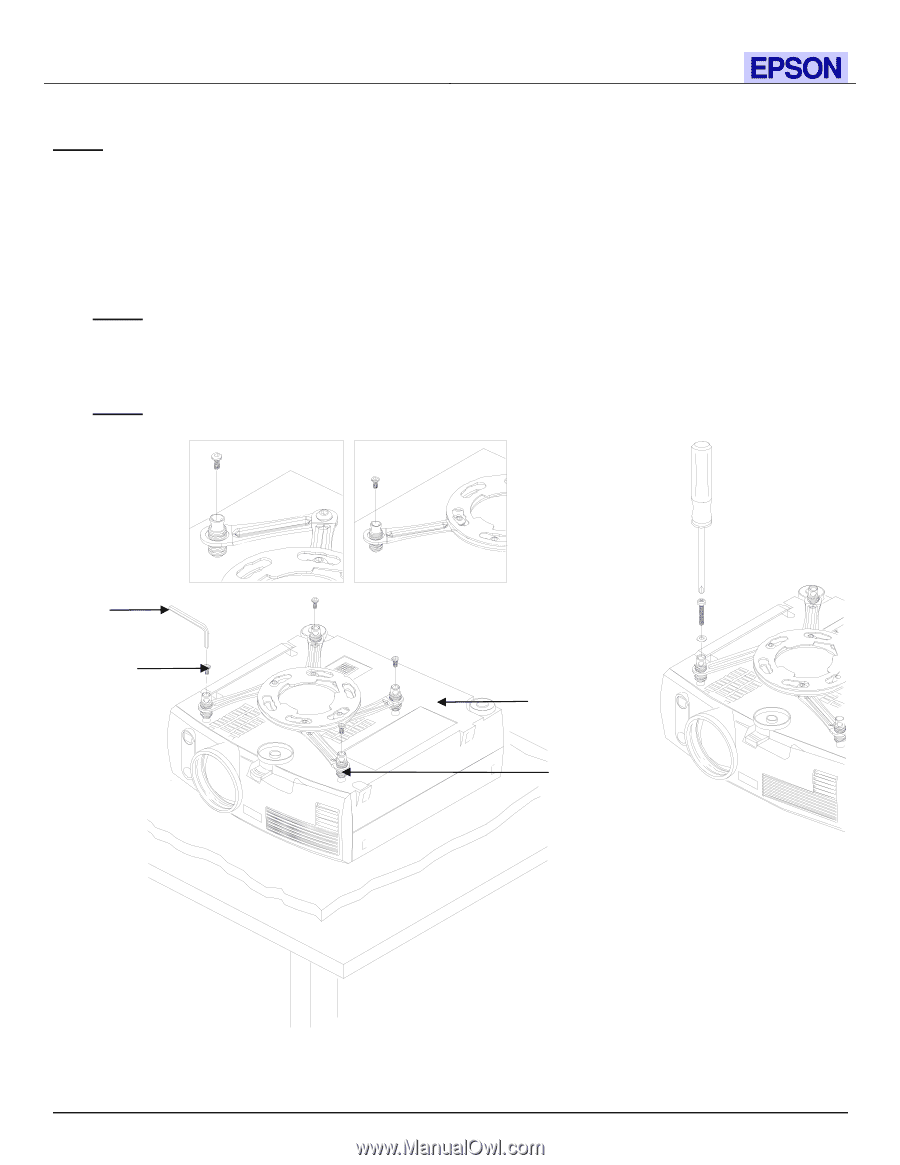
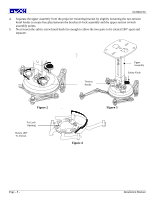
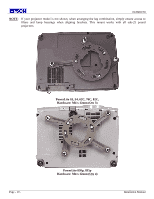
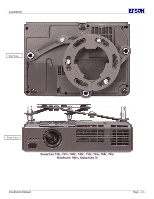
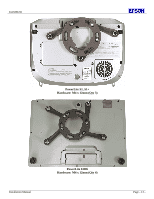
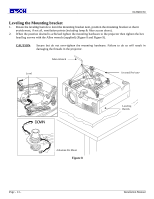
ELPMBUNI Securing the Bracket to the Projector NOTE: The two-piece mounting legs are designed to allow routing of the legs around critical ventilation screens on the base of the projector as shown. You may also reduce the two-piece leg to a one-piece leg as shown for a better overall fit to the projector. 1. Locate the mounting points on the bottom of the projector and use the appropriate number of mounting legs. 2. Select the mounting hardware that your projector requires and loosely install the universal mount to your projector. NOTE: If your projector requires M3 mounting hardware. Use the M3 x 16 Phillips screws with the M3 flat washers (supplied). Insert the M3 x 16 Phillips screws with the flat washers attached through the leveling barrel. Using a Phillips screwdriver, loosely secure the screws to the projector (Figure A). NOTE: The levelers and leg assembly screws must be loose in order to adjust the height of the mounting bracket. FIGURE 6 Two-Piece Leg FIGURE 7 One-Piece Leg Allen Wrench Mounting Hardware Inverted Projector Leveling Barrels FIGURE A Installation Manual Figure 5 Line up the leveling barrels to the mounting points. Page - 9 -
-
 1
1 -
2
-
 3
3 -
 4
4 -
 5
5 -
 6
6 -
 7
7 -
 8
8 -
 9
9 -
 10
10 -
 11
11 -
 12
12 -
 13
13 -
14
-
15
-
16
-
17
-
18
-
19
 |
 |