Epson PowerLite Pro Z8000WUNL User's Guide - Page 69
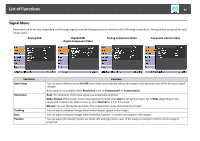
Signal Menu, Analog Component Video
 |
View all Epson PowerLite Pro Z8000WUNL manuals
Add to My Manuals
Save this manual to your list of manuals |
Page 69 highlights
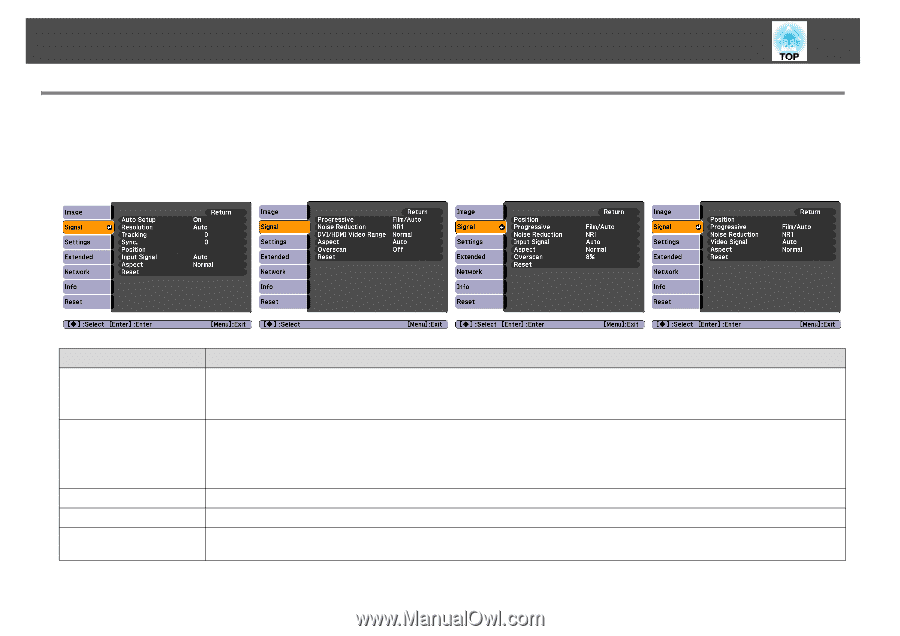
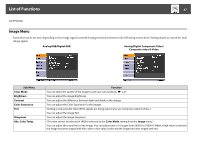
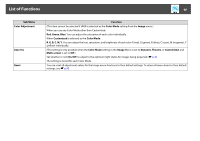
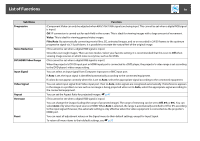
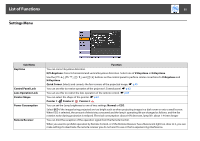
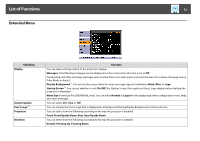
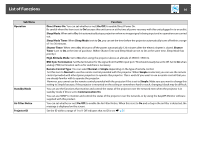
List of Functions 69 Signal Menu Items that can be set vary depending on the image signal currently being projected as shown in the following screen shots. Setting details are saved for each image signal. Analog RGB Digital RGB/ Digital Component Video Analog Component Video Composite video/S-Video Sub Menu Auto Setup Resolution Tracking Sync. Position Function You can select whether or not (On/Off) Auto Setup automatically adjusts the image to the optimum state when the Input Signal changes. Auto Setup is not available when Resolution is set to Customized 1 or Customized 2. Auto: The resolution of the input signal is automatically identified. Wide, Normal: If the images cannot be projected correctly when Auto is set, set this menu. Set to Wide depending on the connected computer for wide screens, or set to Normal for 4:3 or 5:4 screens. Manual: You can specify the resolution. This is ideal when connected computer is fixed, You can adjust computer images when vertical stripes appear in the images. You can adjust computer images when flickering, fuzziness, or interference appear in the images. You can adjust the display Position up, down, left, and right when a part of the image is missing so that the whole image is projected.
-
 1
1 -
2
-
3
-
4
-
5
-
6
-
7
-
8
-
9
-
10
-
11
-
12
-
13
-
14
-
15
-
16
-
17
-
18
-
19
-
20
-
21
-
22
-
23
-
24
-
25
-
26
-
27
-
28
-
29
-
30
-
31
-
32
-
33
-
34
-
35
-
36
-
37
-
38
-
39
-
40
-
41
-
42
-
43
-
44
-
45
-
46
-
47
-
48
-
49
-
50
-
51
-
52
-
53
-
54
-
55
-
56
-
57
-
58
-
59
-
60
-
61
-
62
-
63
-
 64
64 -
 65
65 -
 66
66 -
 67
67 -
 68
68 -
 69
69 -
 70
70 -
 71
71 -
 72
72 -
 73
73 -
 74
74 -
75
-
76
-
77
-
78
-
79
-
80
-
81
-
82
-
83
-
84
-
85
-
86
-
87
-
88
-
89
-
90
-
91
-
92
-
93
-
94
-
95
-
96
-
97
-
98
-
99
-
100
-
101
-
102
-
103
-
104
-
105
-
106
-
107
-
108
-
109
-
110
-
111
-
112
-
113
-
114
-
115
-
116
-
117
-
118
-
119
-
120
-
121
-
122
-
123
-
124
-
125
-
126
-
127
-
128
-
129
-
130
-
131
-
132
-
133
-
134
-
135
-
136
-
137
-
138
-
139
-
140
-
141
-
142
-
143
-
144
-
145
-
146
-
147
-
148
-
149
-
150
-
151
-
152
-
153
-
154
-
155
-
156
-
157
-
158
-
159
-
160
-
161
-
162
-
163
-
164
-
165
-
166
-
167
-
168
-
169
 |
 |