Epson PowerLite S5 Product Information Guide - Page 9
Turning Off the Picture and Sound, Stopping Action, Zooming Your Image, Changing the Image’s Aspect - remote controller
 |
View all Epson PowerLite S5 manuals
Add to My Manuals
Save this manual to your list of manuals |
Page 9 highlights
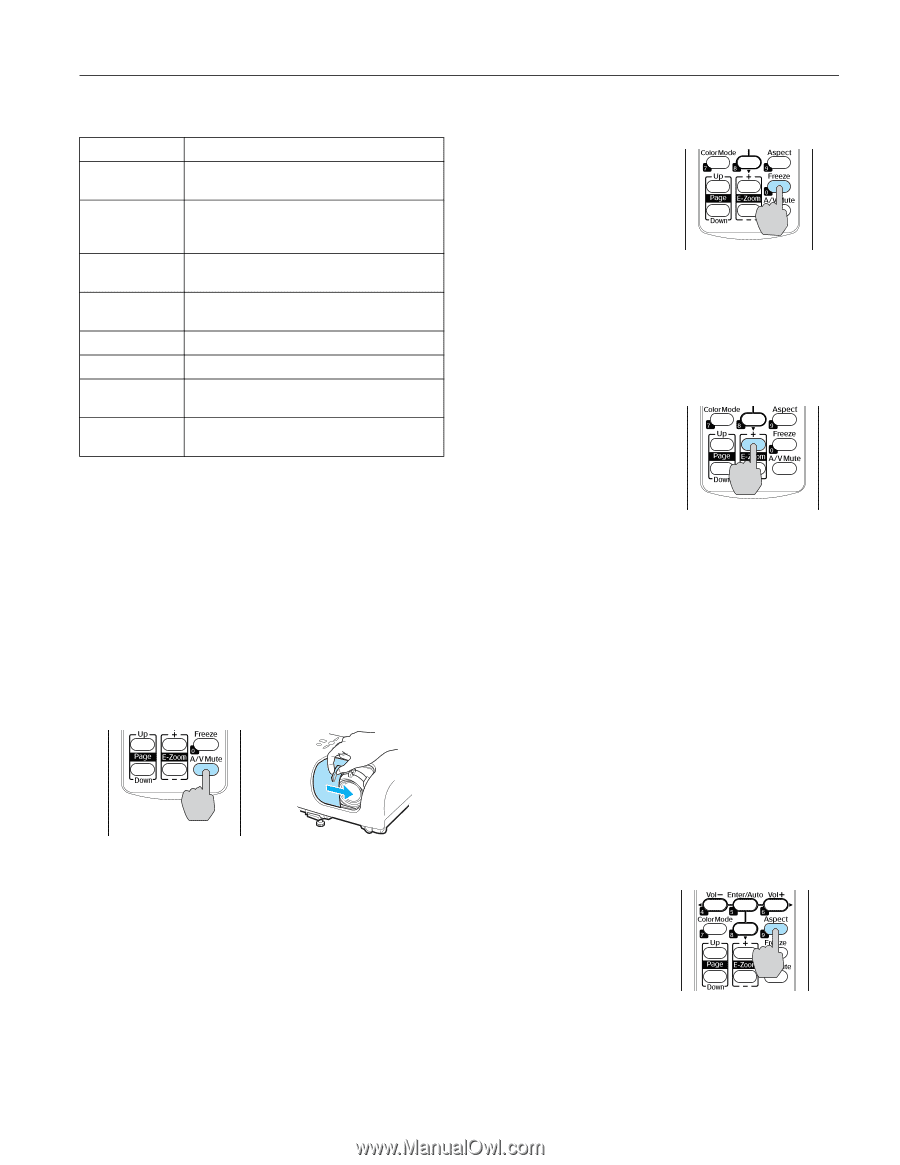
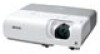
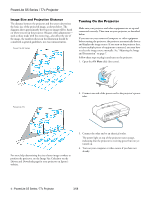
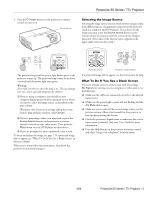
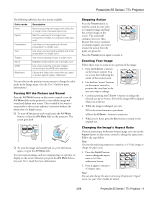
PowerLite S5 Series / 77c Projector The following table lists the color modes available. Color mode Photo Sports Presentation Text Theatre Game sRGB Blackboard Description Best for projecting still images with vivid color in a bright room (computer input only). Best for watching TV in a bright room (component, S-video, or composite video input only). Use when you're projecting a full-color presentation in a bright room. Use when you're projecting a black and white presentation in a bright room. Use when projecting movies in a dark room. Brightest mode, best for use in a bright room. Use when projecting computer images conforming to the sRGB color standard. Choose this fixed color mode when you need to project against a green chalkboard. You can also use the projector menu system to change the color mode in the Image menu. (See the User's Guide for more information.) Turning Off the Picture and Sound Press the A/V Mute button on the remote control or use the A/V Mute slide on the projector to turn off the image and sound and darken your screen. This is useful if you want to temporarily re-direct your audience's attention without the distraction of a bright screen. ❏ To turn off the picture and sound, press the A/V Mute button or close the A/V Mute slide on the projector. The screen goes dark. ❏ To turn the image and sound back on, press the button again, or open the AV Mute slide. You can create an image, such as a company logo or a picture, to display on the screen whenever you press the A/V Mute button. See your User's Guide for more information. Stopping Action Press the Freeze button to stop the action in your video or computer image and keep the current image on the screen. The sound will continue, however. Also, because the source continues to transmit signals, you won't resume the action from the point you paused it. Press the Freeze button again to restart it. Zooming Your Image Follow these steps to zoom in on a portion of the image: 1. Press the E-Zoom + button on the remote control. You see a cross-hair indicating the center of the zoom-in area. 2. Use the four "arrow" buttons on the remote control to position the cross-hair in the area you want to enlarge. 3. Continue pressing the E-Zoom + button to enlarge the selected area up to 4 times. (Part of the image will be clipped when you zoom in.) 4. While the image is enlarged, you can: ❏ Use the arrow buttons to pan about. ❏ Press the E-Zoom - button to zoom out. 5. When you're done, press the Esc button to return to the original size. Changing the Image's Aspect Ratio If you're projecting a widescreen format image, you can use the Aspect button on the remote control to change the aspect ratio. Follow the steps below. Note: You must be projecting component, composite, or S-Video images to change the aspect ratio. 1. Press the Aspect button once to change the aspect ratio to 16:9 for widescreen format. 2. Press it again to return to 4:3 aspect ratio. Note: You can also change the aspect ratio using the projector's Signal menu. See your User's Guide for details. 3/08 PowerLite S5 Series / 77c Projector - 9
-
 1
1 -
2
-
3
-
 4
4 -
 5
5 -
 6
6 -
 7
7 -
 8
8 -
 9
9 -
 10
10 -
 11
11 -
 12
12 -
 13
13 -
 14
14 -
15
 |
 |