Epson Stylus COLOR 850N Product Information Guide - Page 7
Using Hex Dump Mode, Printing An Ethernet Card Status Sheet
 |
View all Epson Stylus COLOR 850N manuals
Add to My Manuals
Save this manual to your list of manuals |
Page 7 highlights
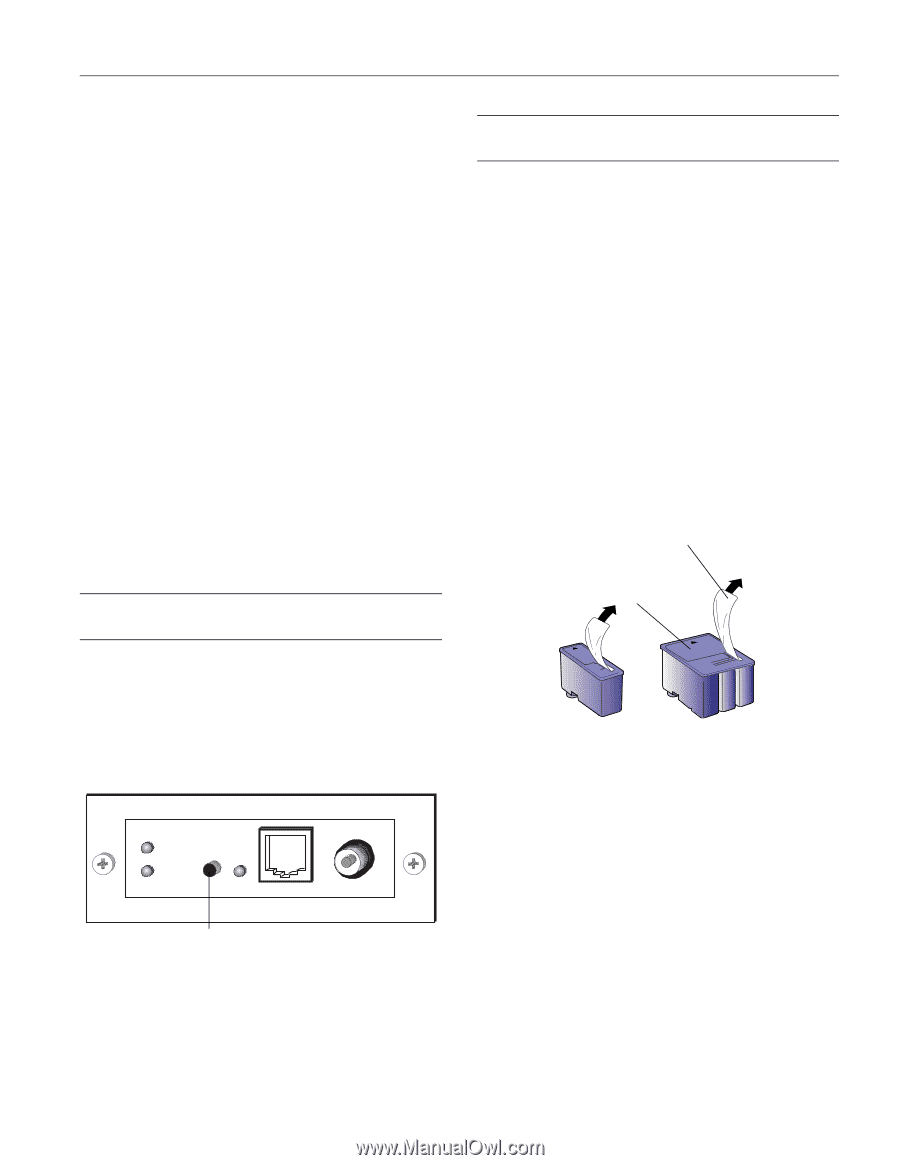
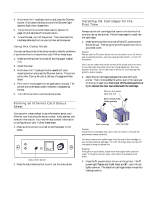
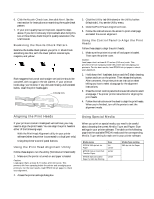
EPSON Stylus COLOR 850N 4. Hold down the E load/eject button and press the Ppower button. Hold down the buttons until the Ppower light starts to flash, then release them. 5. The printer prints a nozzle check pattern (shown on page 11) and samples of fonts and colors. 6. To end the test, turn off the printer. Then reconnect the interface cable and turn on your printer and computer. Using Hex Dump Mode You can use the printer's hex dump mode to identify problems if you know how to interpret hex code. Follow these steps: 1. Make sure the printer is turned off and has paper loaded in it. 2. Open the cover. 3. Hold down the E load/eject button and the X color cleaning button and press the Ppower button. The printer prints Hex Dump Mode at the top of a page and then stops. 4. Print one or more pages from an application as usual. The printer prints the exact code it receives in hexadecimal format. 5. Turn off the printer to exit hex dump mode. Printing an Ethernet Card Status Sheet You can print a status sheet to see information about your Ethernet card including the serial number, node address, and network information. You need the status sheet information to configure your card. Follow these steps: 1. Make sure the printer is turned on and has paper in the feeder. status sheet button 2. Press the status sheet button to print out the status sheet. Installing Ink Cartridges for the First Time Always use the ink cartridges that came in the box the first time you set up the printer. Follow these steps to install the ink cartridges: 1. Make sure the printer is turned off (the P power button should be up). Then plug the printer's power cord into a grounded outlet. Caution: Always use the P power button to turn the printer on or off. Never use an external switch-such as a power strip switch-to turn off the printer. Don't use an outlet that can be turned off by a wall switch or timer, or one that uses the same circuit as a large appliance. This may disrupt the power, which can erase memory or even damage the printer's power supply. 2. Open the ink cartridge packages that came with your printer. Then remove only the yellow part of the tape seal on the top of each one. Don't pull off the white portion or try to remove the clear seal underneath the cartridge. Remove the yellow tape seal, but don't remove the white portion black cartridge color cartridge Caution: Install the ink cartridges that came with the printer to ensure the print heads charge correctly. You must remove the yellow tape from the top of the cartridge or you will permanently damage it. It's OK if the tape does not tear off completely along its dotted line. Warning: If ink gets on your hands, wash them thoroughly with soap and water. If ink gets into your eyes, flush them immediately with water. 3. Press the P power button to turn on the printer. The P power light flashes and the B black and A color ink out lights come on. The black ink cartridge holder moves into loading position. 4/98 EPSON Stylus COLOR 850N - 7
-
 1
1 -
 2
2 -
 3
3 -
 4
4 -
 5
5 -
 6
6 -
 7
7 -
 8
8 -
 9
9 -
 10
10 -
 11
11 -
 12
12
 |
 |