Epson Stylus NX330 Start Here - Page 1
Epson Stylus NX330 Manual
 |
View all Epson Stylus NX330 manuals
Add to My Manuals
Save this manual to your list of manuals |
Page 1 highlights
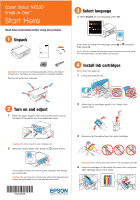
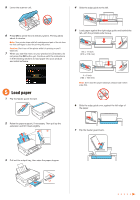
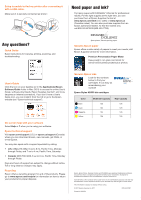
Epson Stylus® NX330 Small-in-One™ Start Here Read these instructions before using your product. 1 Unpack Caution: Do not open ink cartridge packages until you are ready to install the ink. Cartridges are vacuum packed to maintain reliability. Remove all protective materials. 3 Select language To select English as your language, press OK. If you want to change the language, press or to select it, then press OK. Note: You can change the language using the product's control panel. For more information, see the online User's Guide. 4 Install ink cartridges Note: Don't load paper yet. 1 Lift up the scanner unit. 2 Turn on and adjust 1 Raise the paper support, then connect the power cord to the back of the printer and to an electrical outlet. 2 Shake the ink cartridges gently 4 or 5 times, then unpack them. Caution: Do not connect to your computer yet. 2 Raise the control panel, then press the power button. 3 Remove only the yellow tape from each cartridge. If you want to lower the control panel, squeeze the release bar underneath. Caution: Do not lower the control panel without first squeezing the release bar underneath or you may damage the product. *412183500* *412183500* Caution: Don't remove any other seals or the cartridges may leak. 4 Insert the cartridges in the holder for each color, and press each cartridge down until it clicks.
-
 1
1 -
 2
2 -
 3
3 -
 4
4
 |
 |