Epson WorkForce WF-2760 User Manual - Page 2
Load paper - all in one printer
 |
View all Epson WorkForce WF-2760 manuals
Add to My Manuals
Save this manual to your list of manuals |
Page 2 highlights
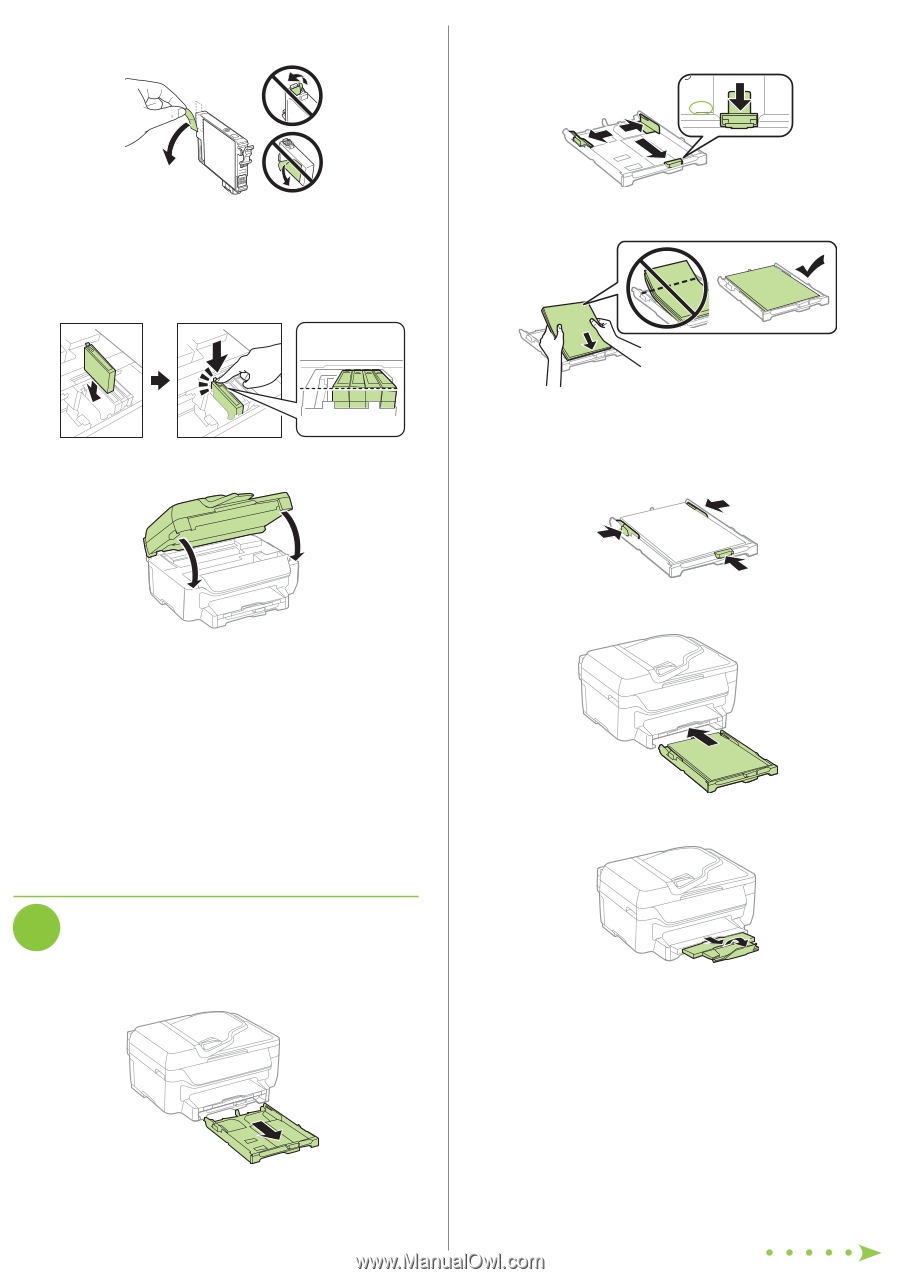
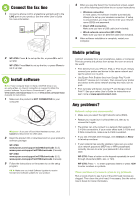
4 Remove only the yellow tape from each ink cartridge. 2 Slide the side edge guides all the way out and set the front edge guide to the paper size you are using. LTR Caution: Do not remove any other labels or seals, or ink will leak. Do not touch the green chip on the cartridge. 5 Insert the cartridge in the holder for each color. Press each cartridge down until it clicks. Make sure all cartridges are pushed down into place. 3 Insert paper with the glossy or printable side down. 6 Lower the scanner unit. Note: Make sure the paper is loaded against the front edge guide and not sticking out from the end of the cassette. 4 Slide the side edge guides against the paper, but not too tightly. 7 The printer starts charging the ink. Ink charging takes approximately 4 minutes. When you see a completion message on the printer's LCD screen, charging is complete. Caution: Don't turn off the printer or raise the scanner unit while the printer is charging or you'll waste ink. Note: • The printer is designed for use with Epson® cartridges only, not third-party cartridges or ink. • The cartridges included with the printer are designed for printer setup and not for resale. After some ink is used for charging, the rest is available for printing. 4 Load paper 1 Make sure the product is done charging the ink, and then pull out the paper cassette. 5 Keep the cassette flat as you insert it all the way. 6 Pull out the output tray and its extensions. 7 Select the paper settings on the product's control panel. For more information on loading different paper types or envelopes, see the online User's Guide.
-
 1
1 -
 2
2 -
 3
3 -
 4
4
 |
 |