Fantec QB-35US3 Manual - Page 2
Quick Installation Guide
 |
View all Fantec QB-35US3 manuals
Add to My Manuals
Save this manual to your list of manuals |
Page 2 highlights
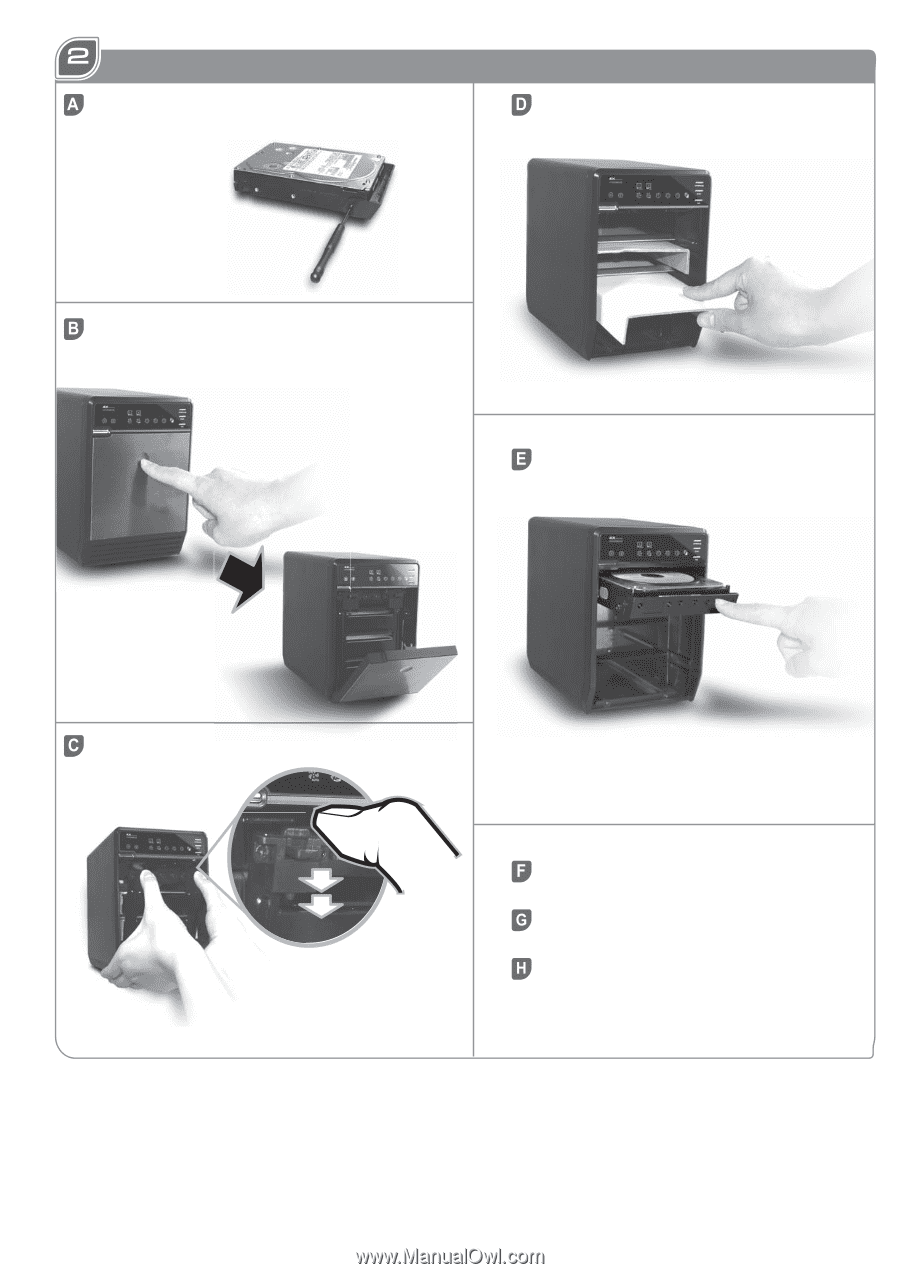
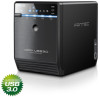
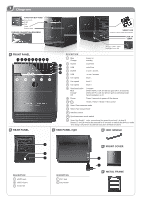
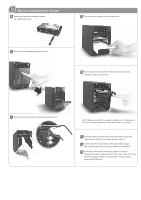
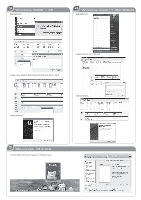
STEP Quick Installation Guide Please use the provided handles to secure the 4 HDDs with screws. Take the transport paper board out of the device. Press the circular deepening to open the cover. Slide 4 HDDs into the chassis and make sure they are securely installed in order from up to down. Press down the rib to detach the metal frame and remove it. NOTE: Make sure the HDD1 is securely installed in slot 1. Otherwise the PC may not recognize the device. The content of slot 2 - 4 may very. Adjust the metal frame that was removed back to the chassis and close the cover (based on how it was opened in Step 2). Connect the FANTEC QB-35US3 to the power adapter, plug in USB or eSATA cable in the rear panel and power on the device. If the HDD is unformatted, you have to initialize it at your PC. Please run the steps as followed: At first click "Start", "Execute" at your Windows based PC and key in "diskmgmt.msc". After that please press the "RETURN" key.
-
 1
1 -
 2
2 -
 3
3 -
 4
4
 |
 |